1 Nov 2024

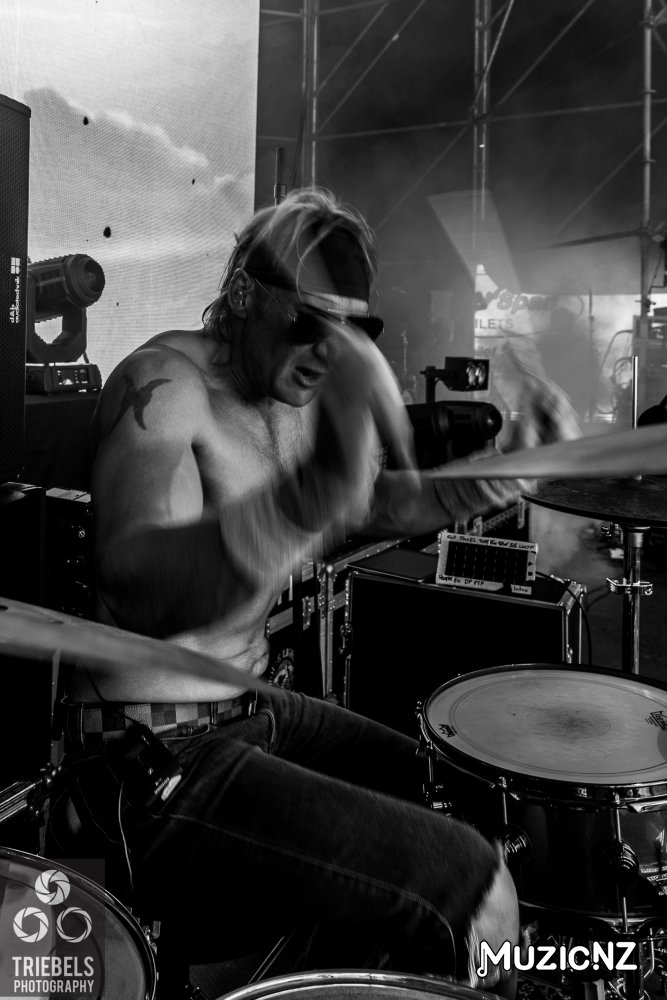
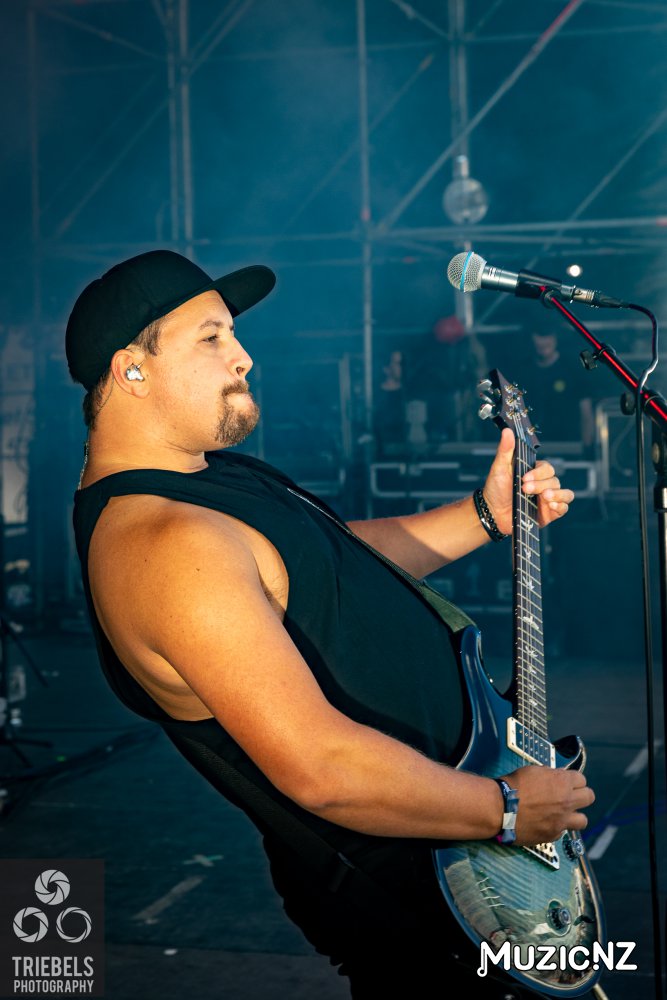
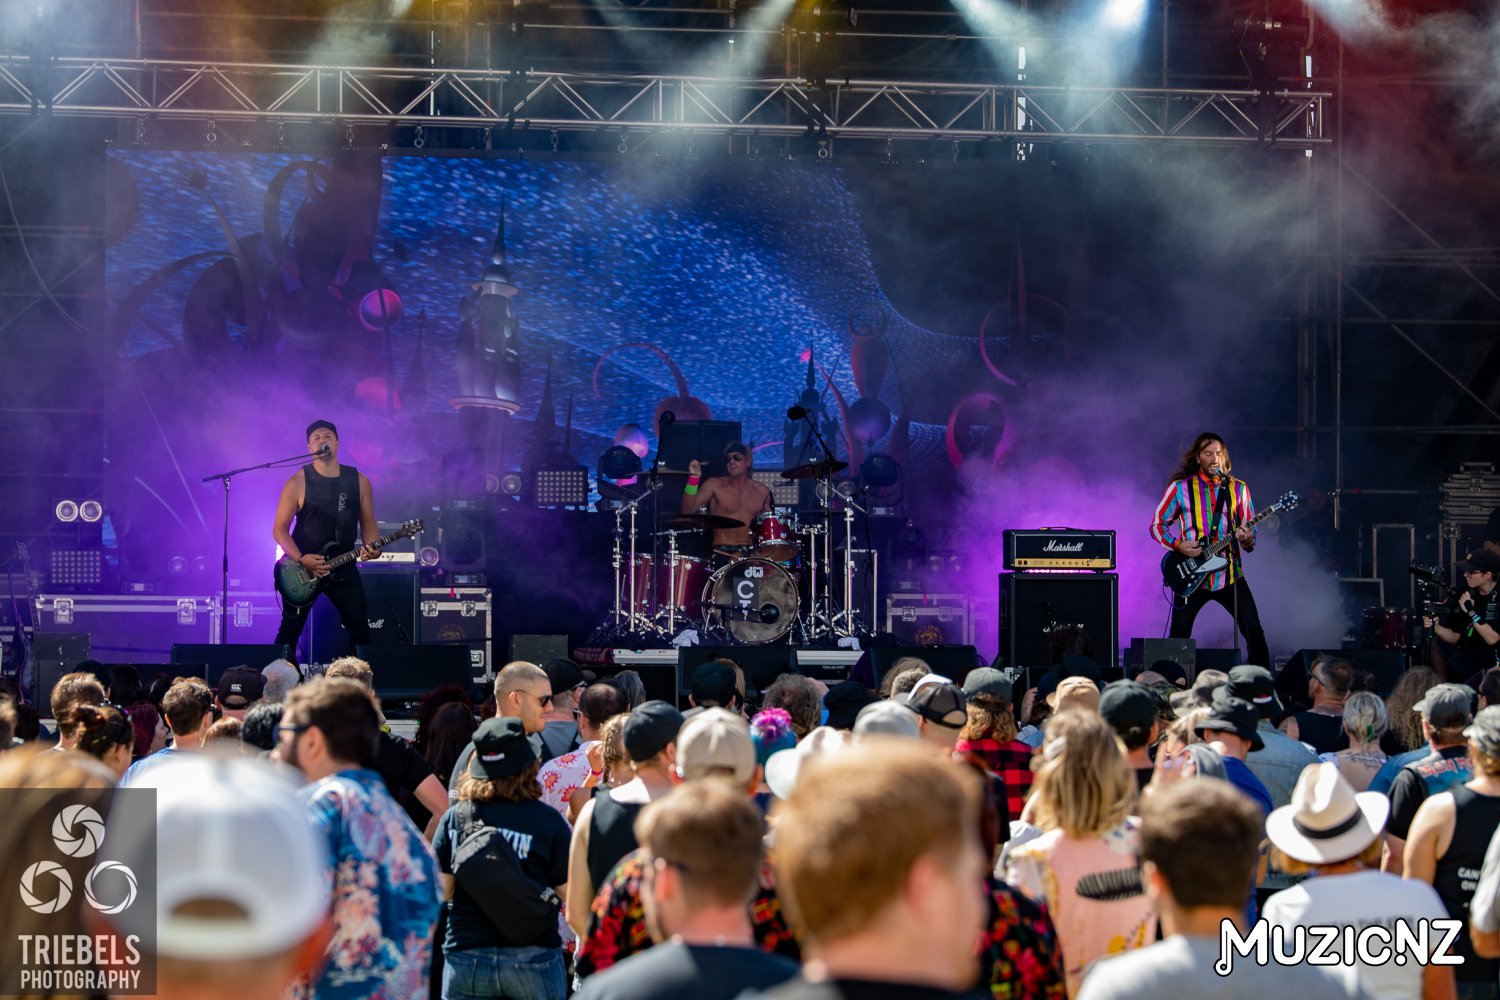
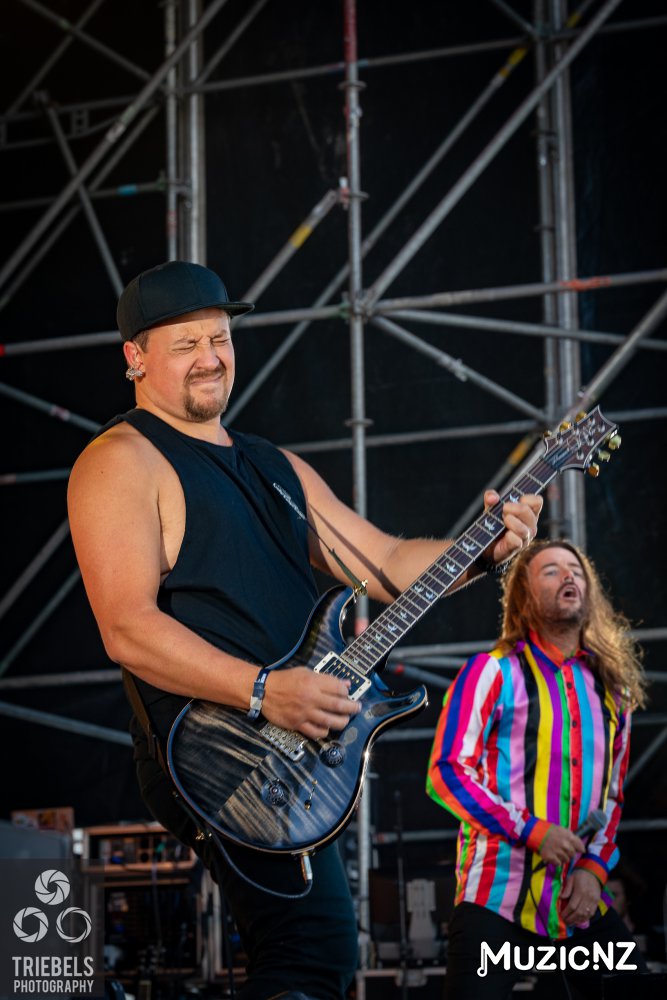
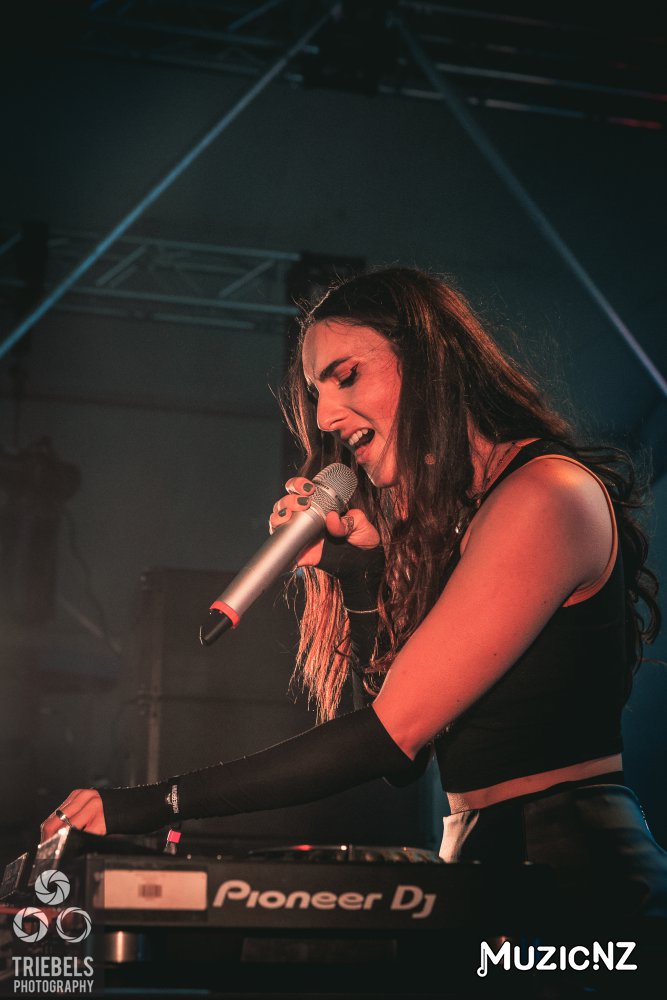
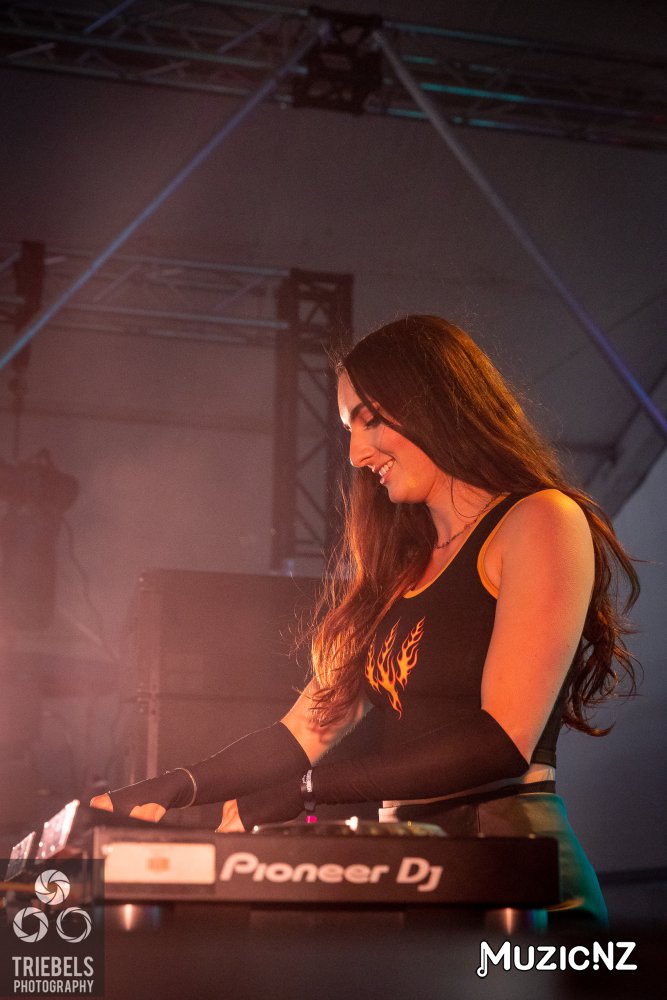
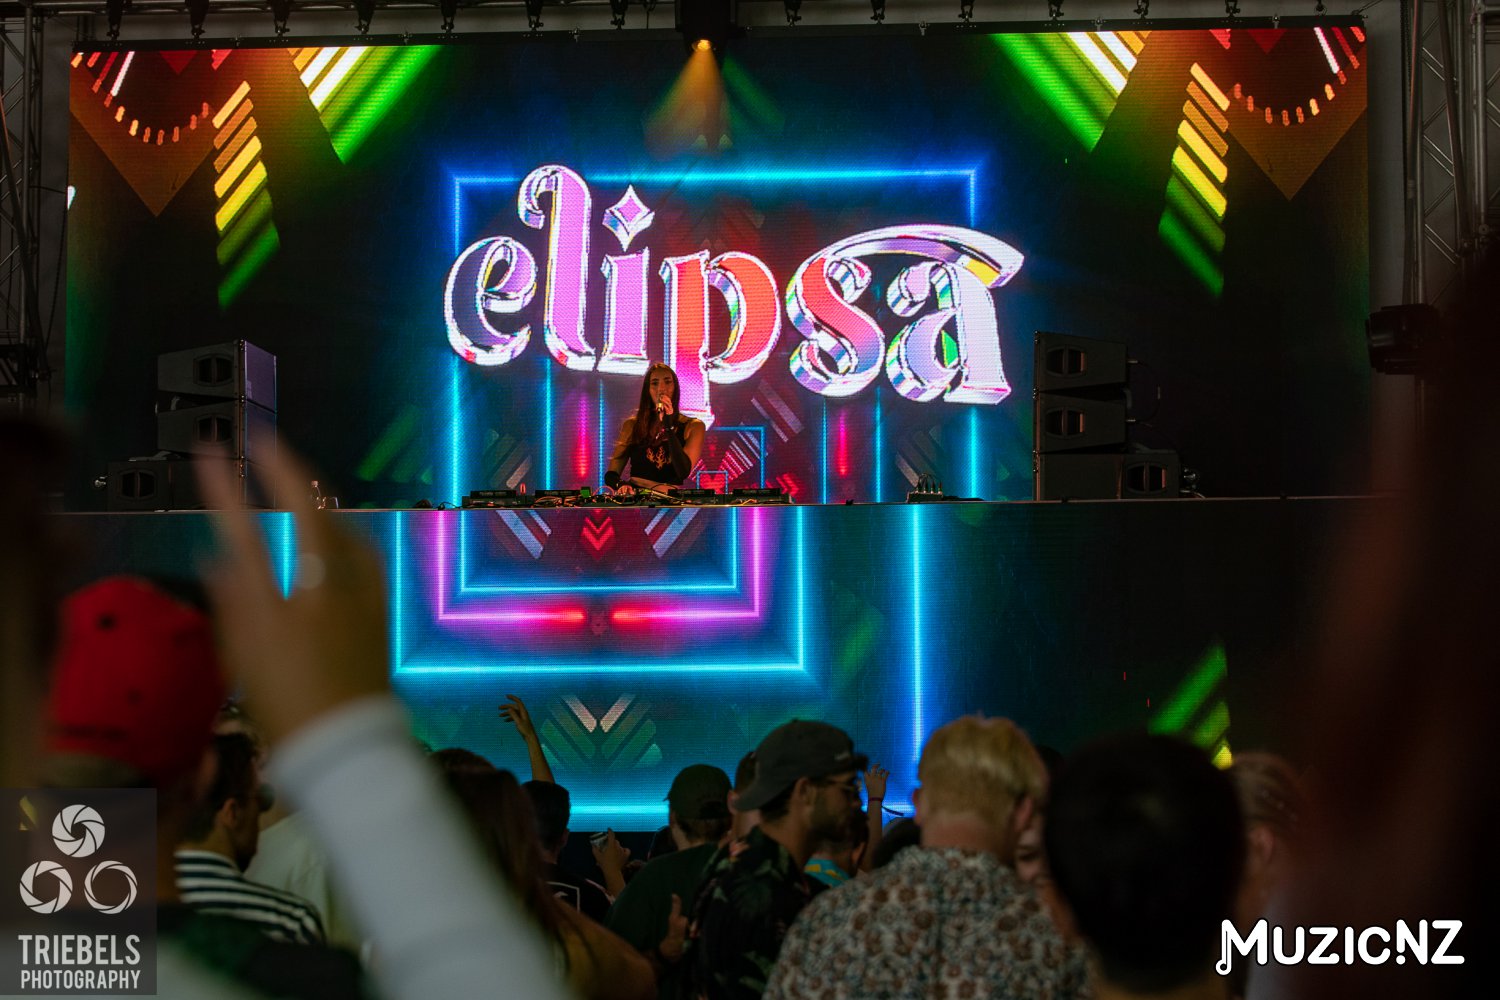
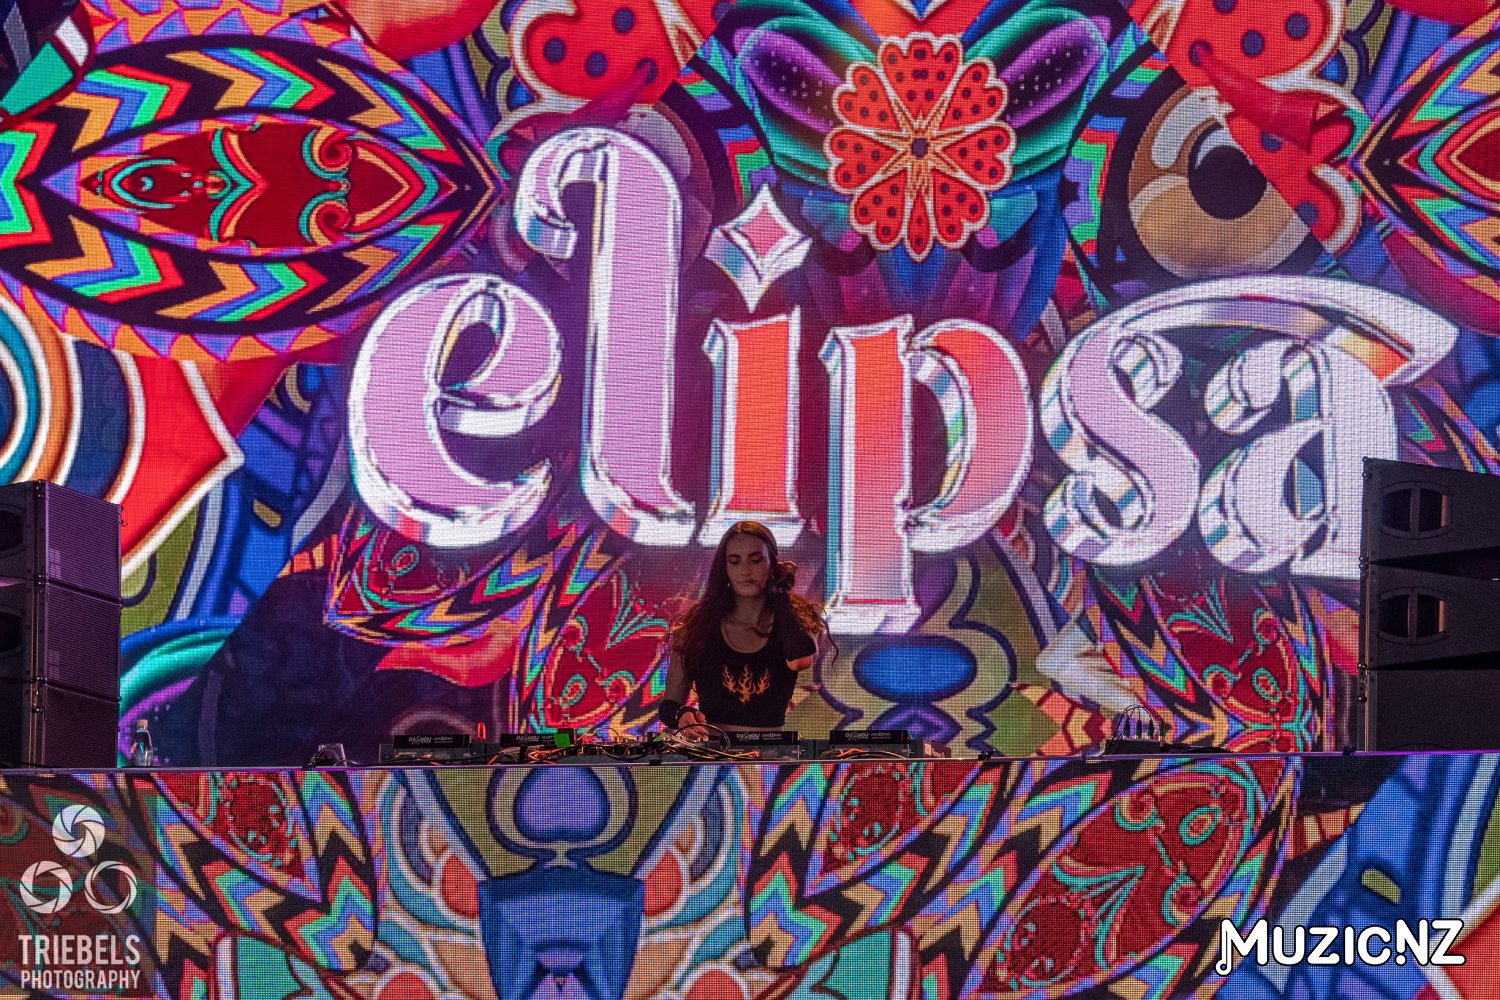
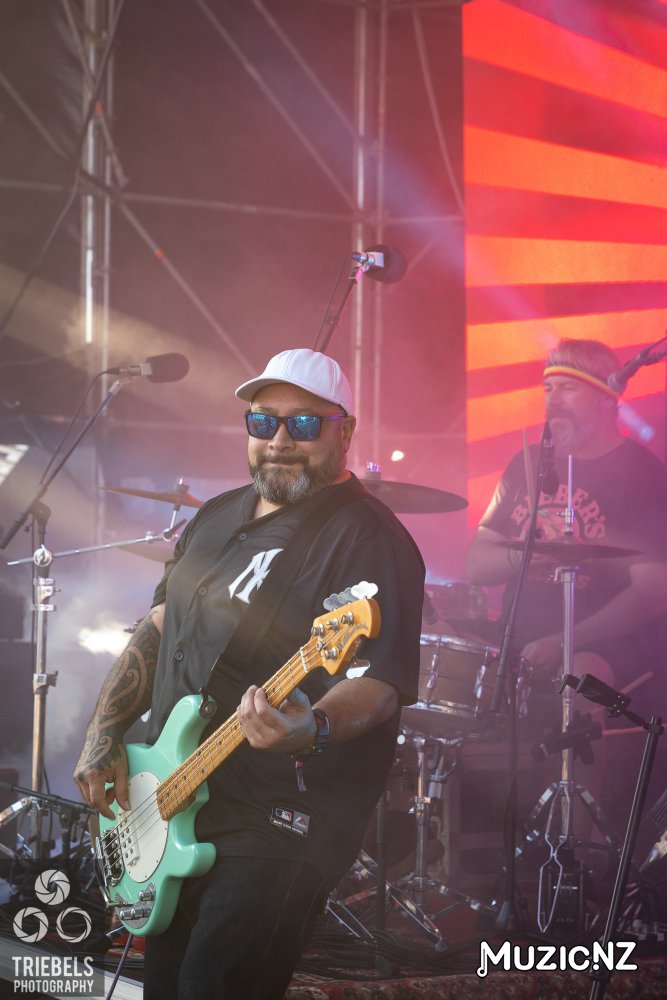
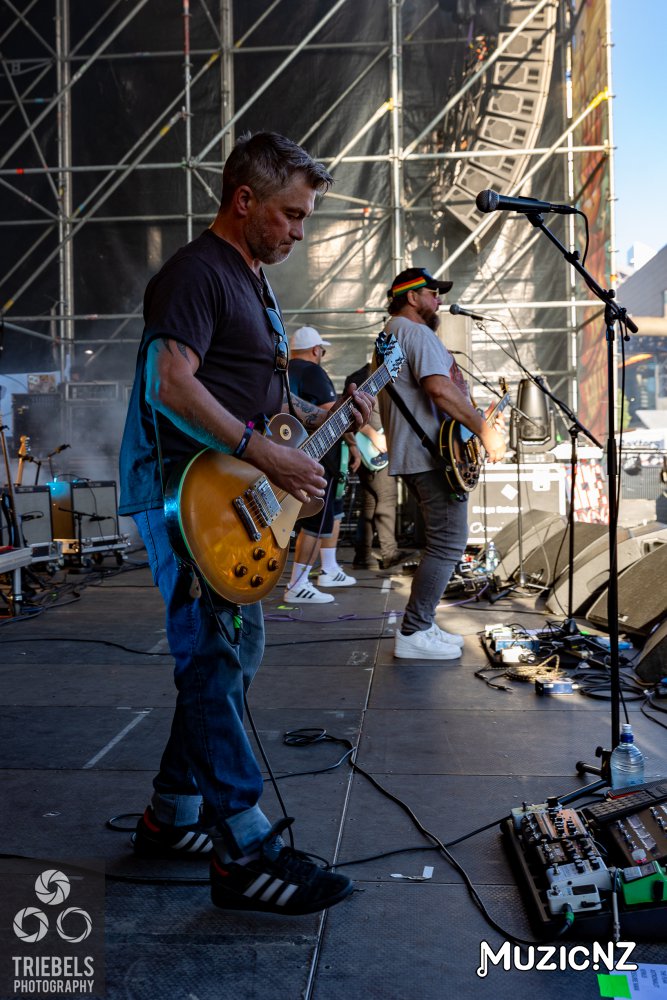
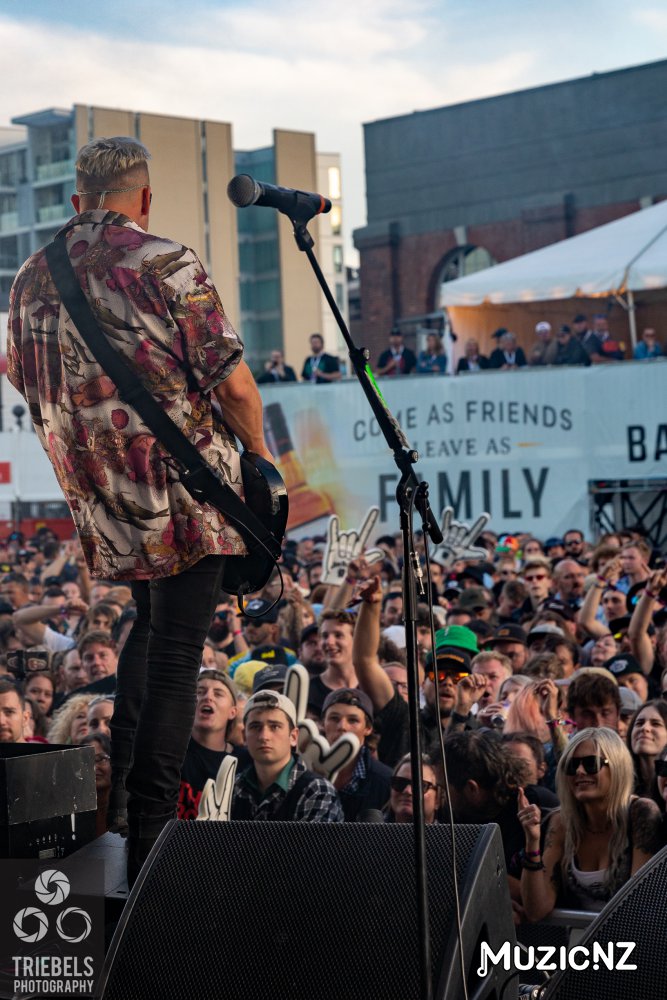
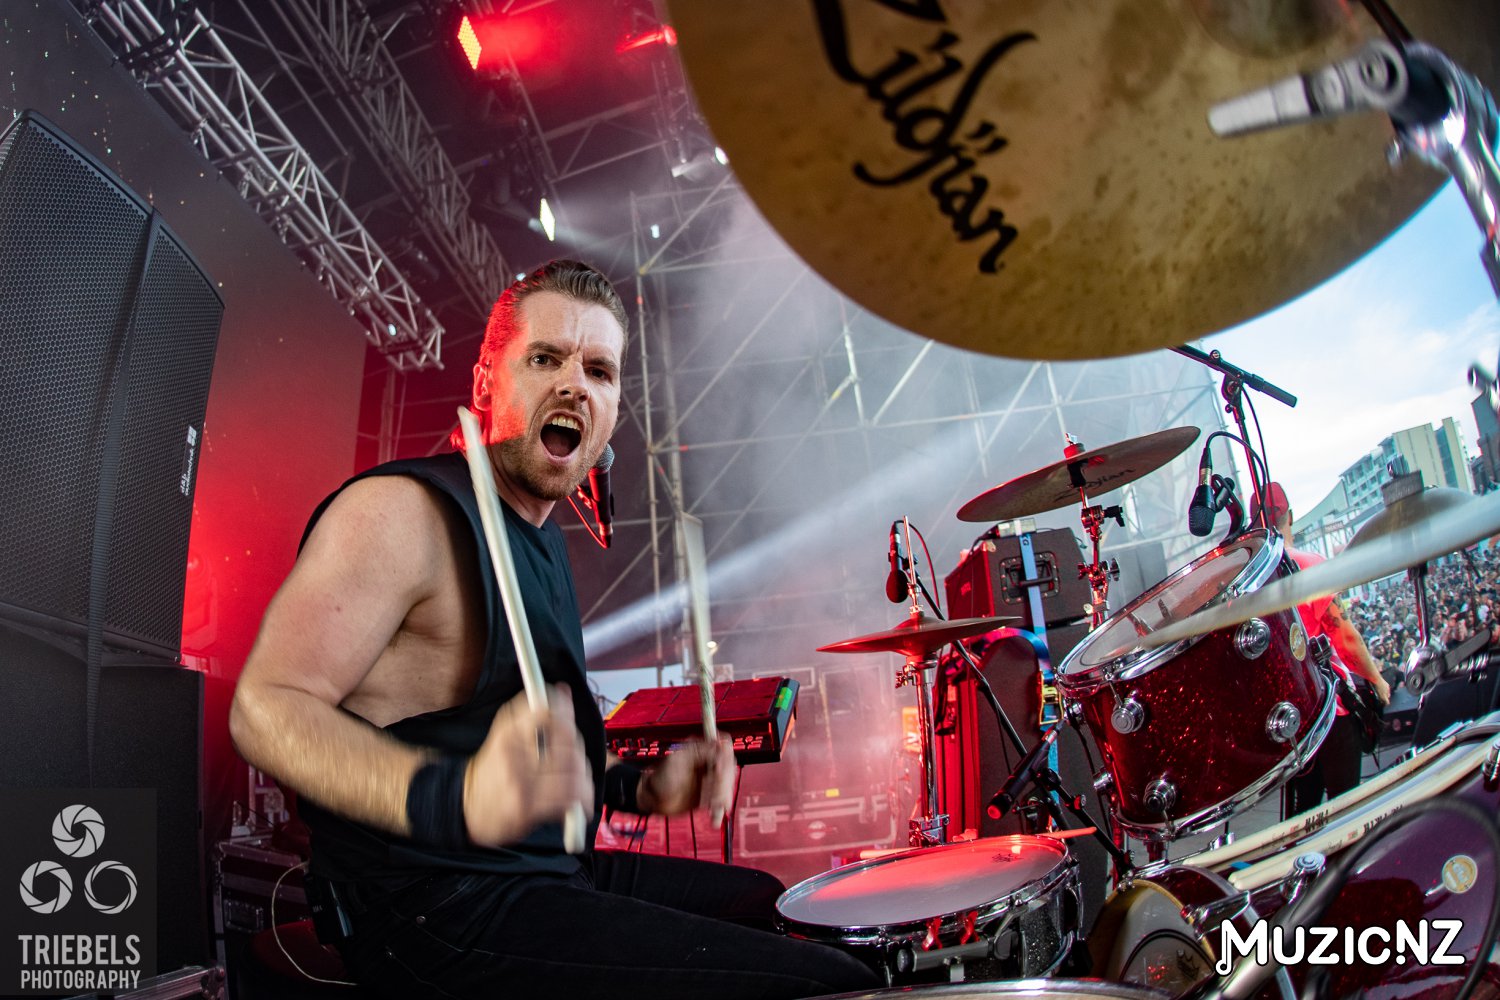
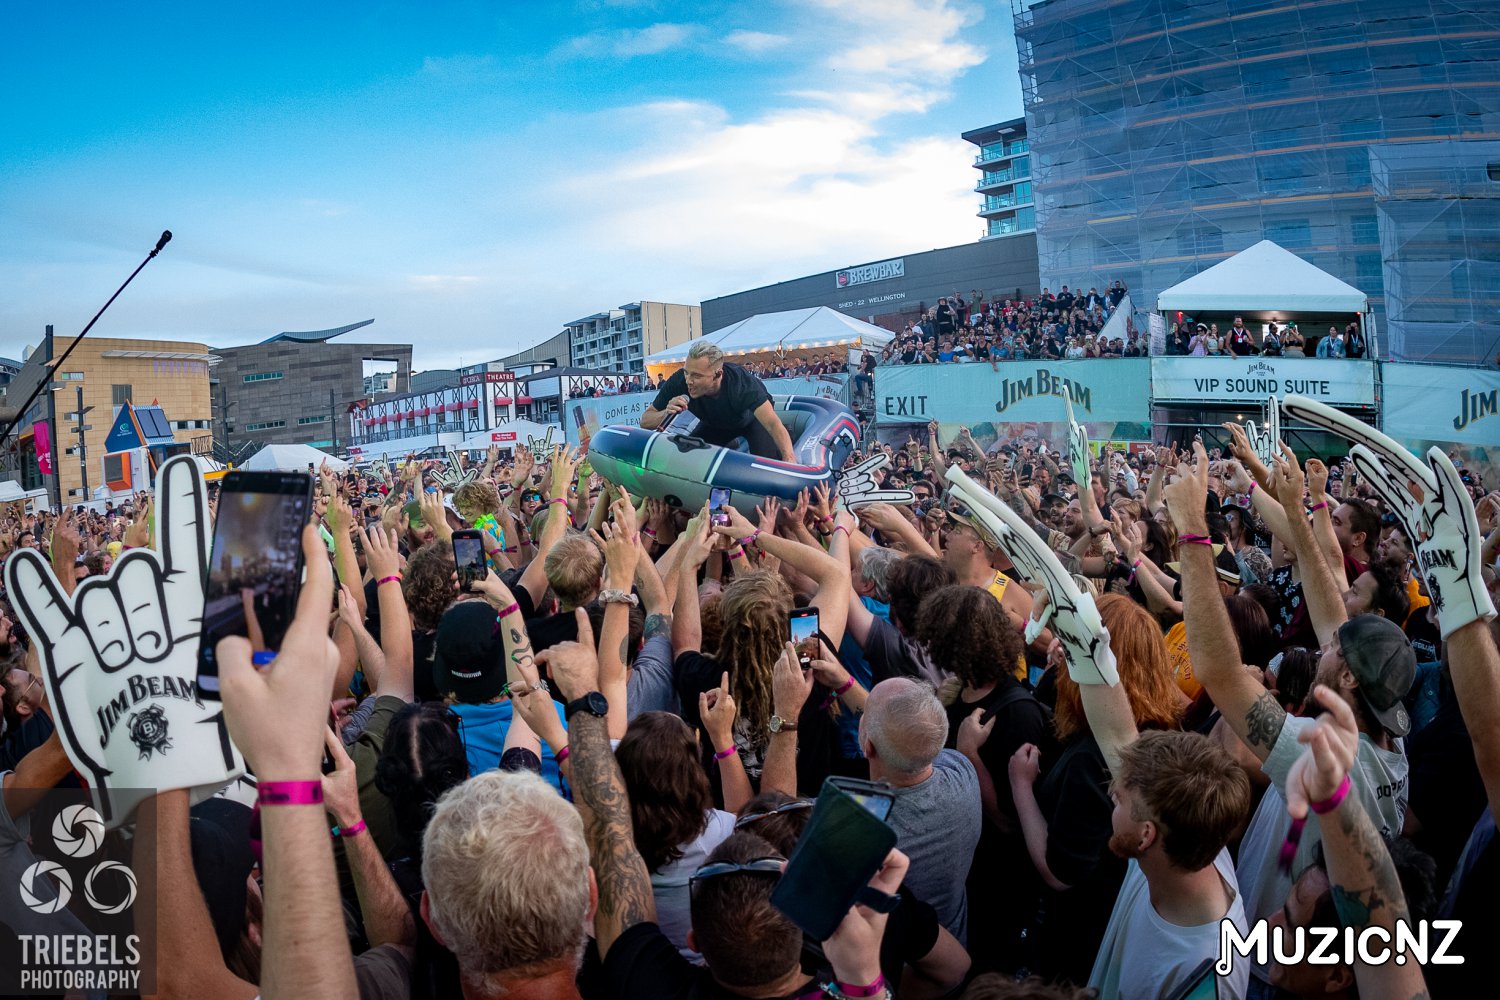
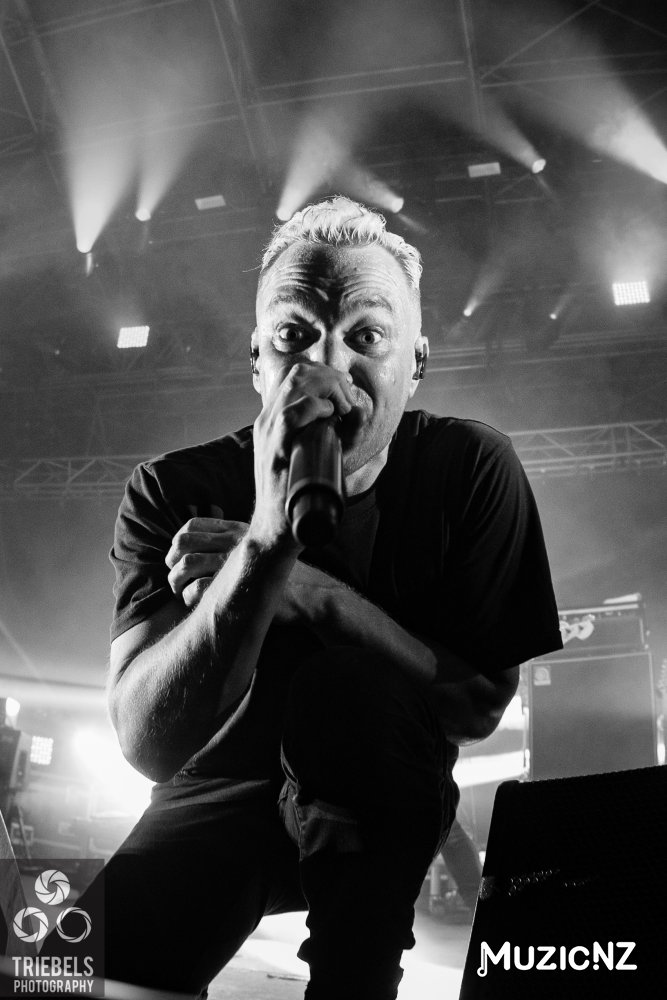
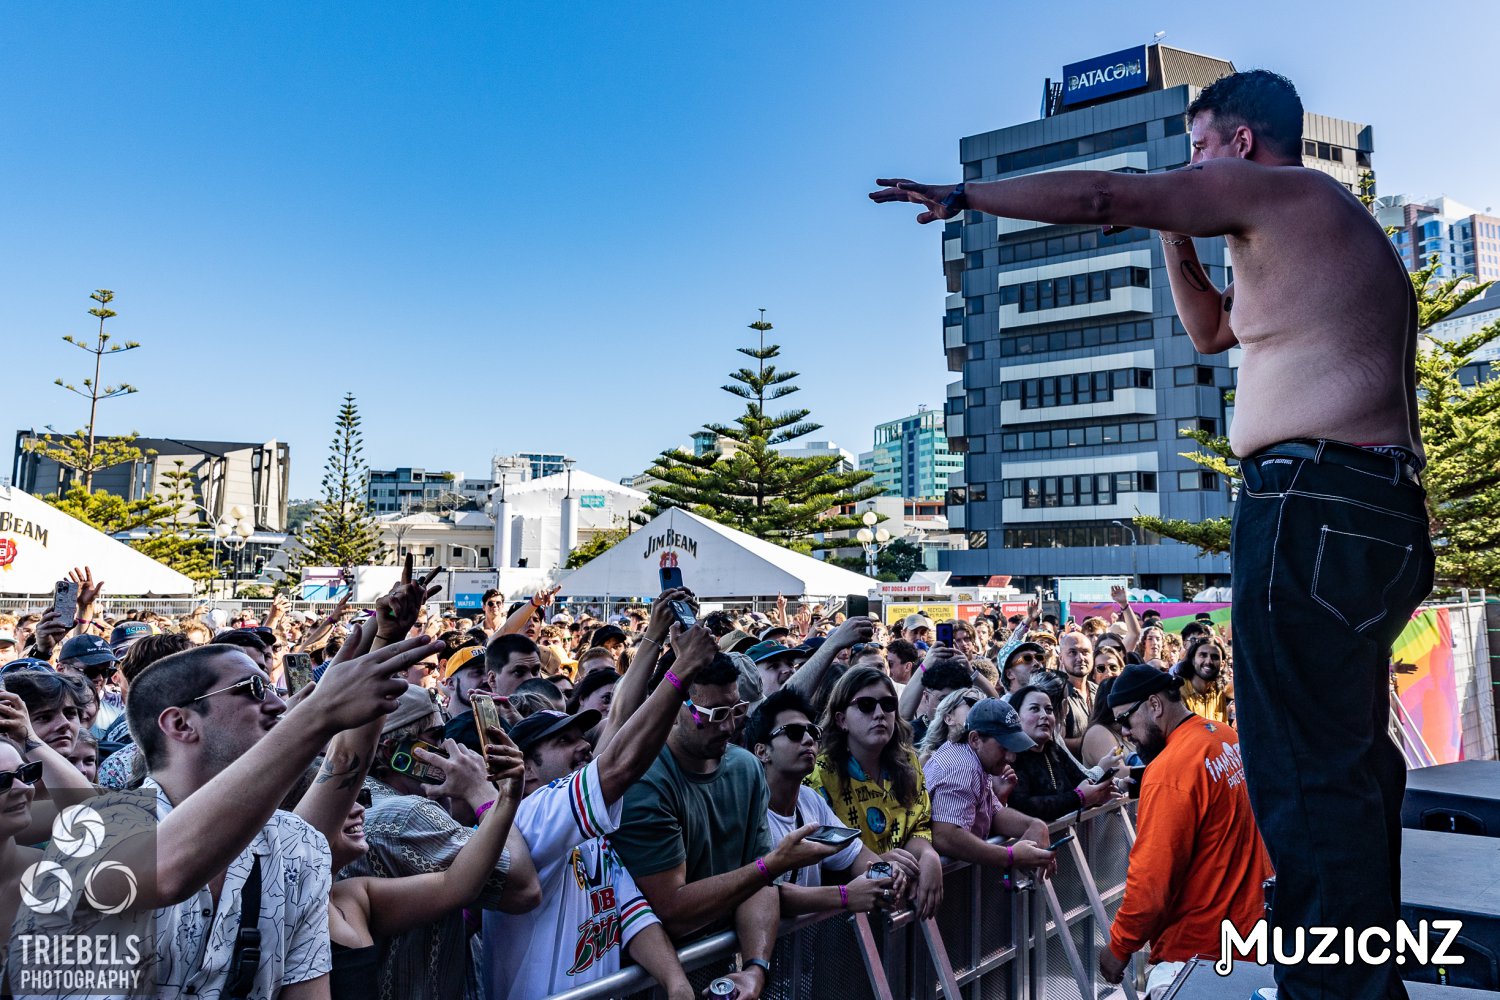
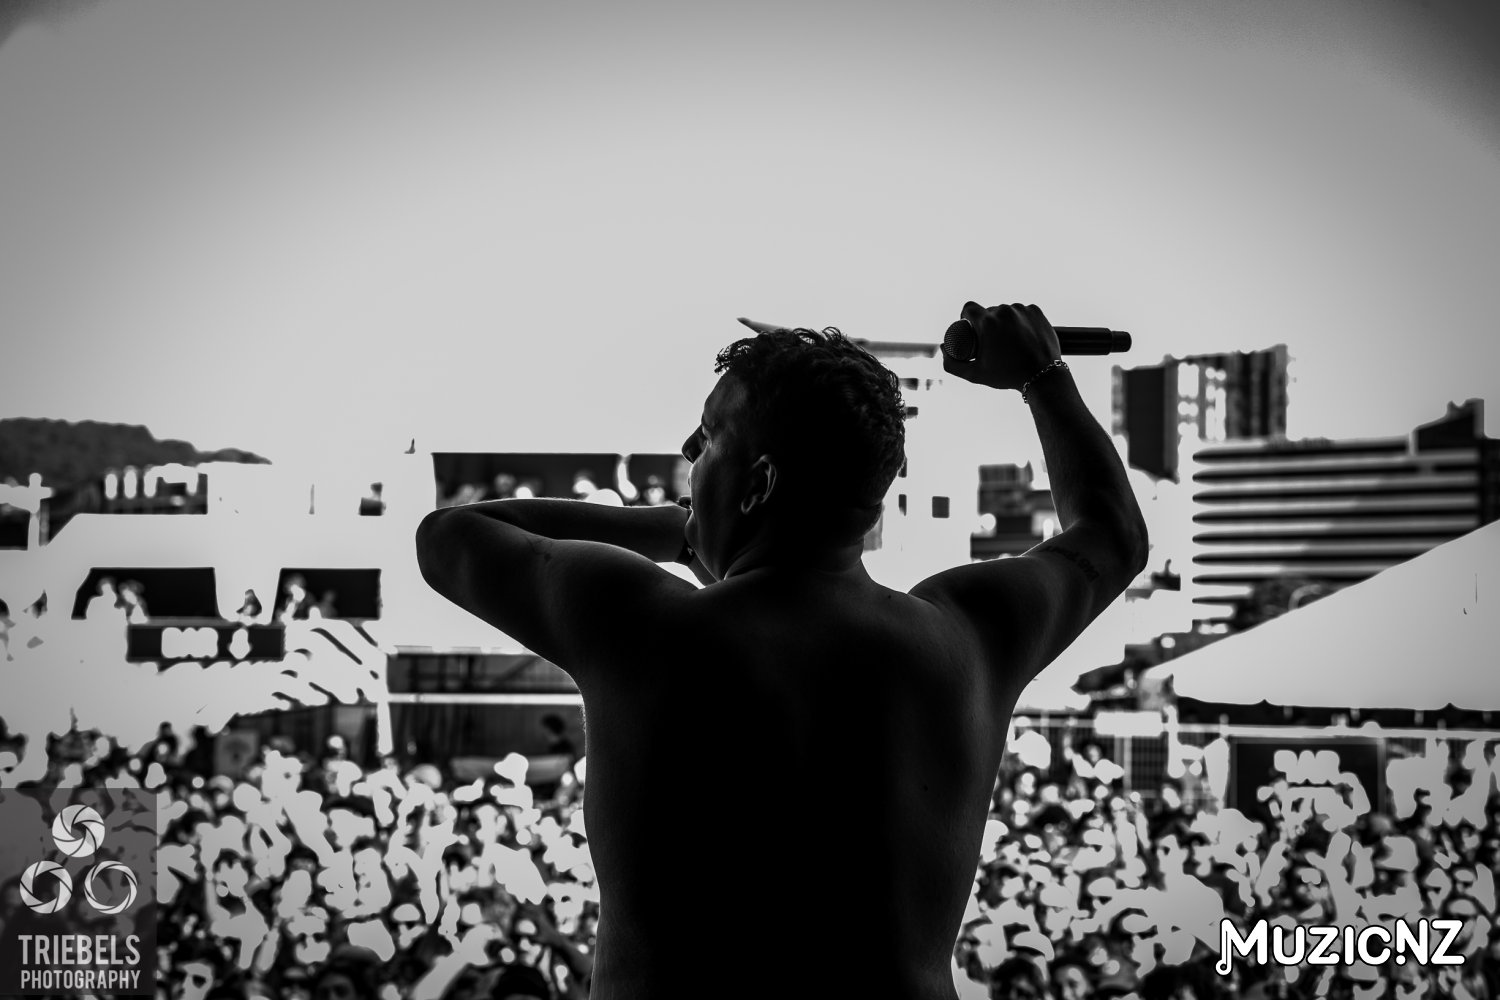
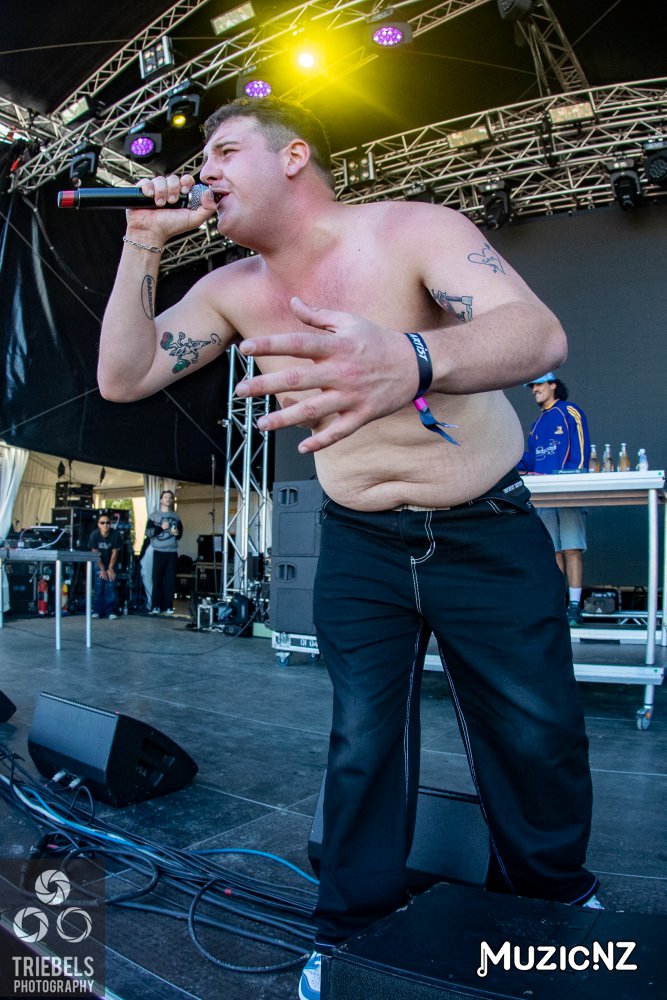
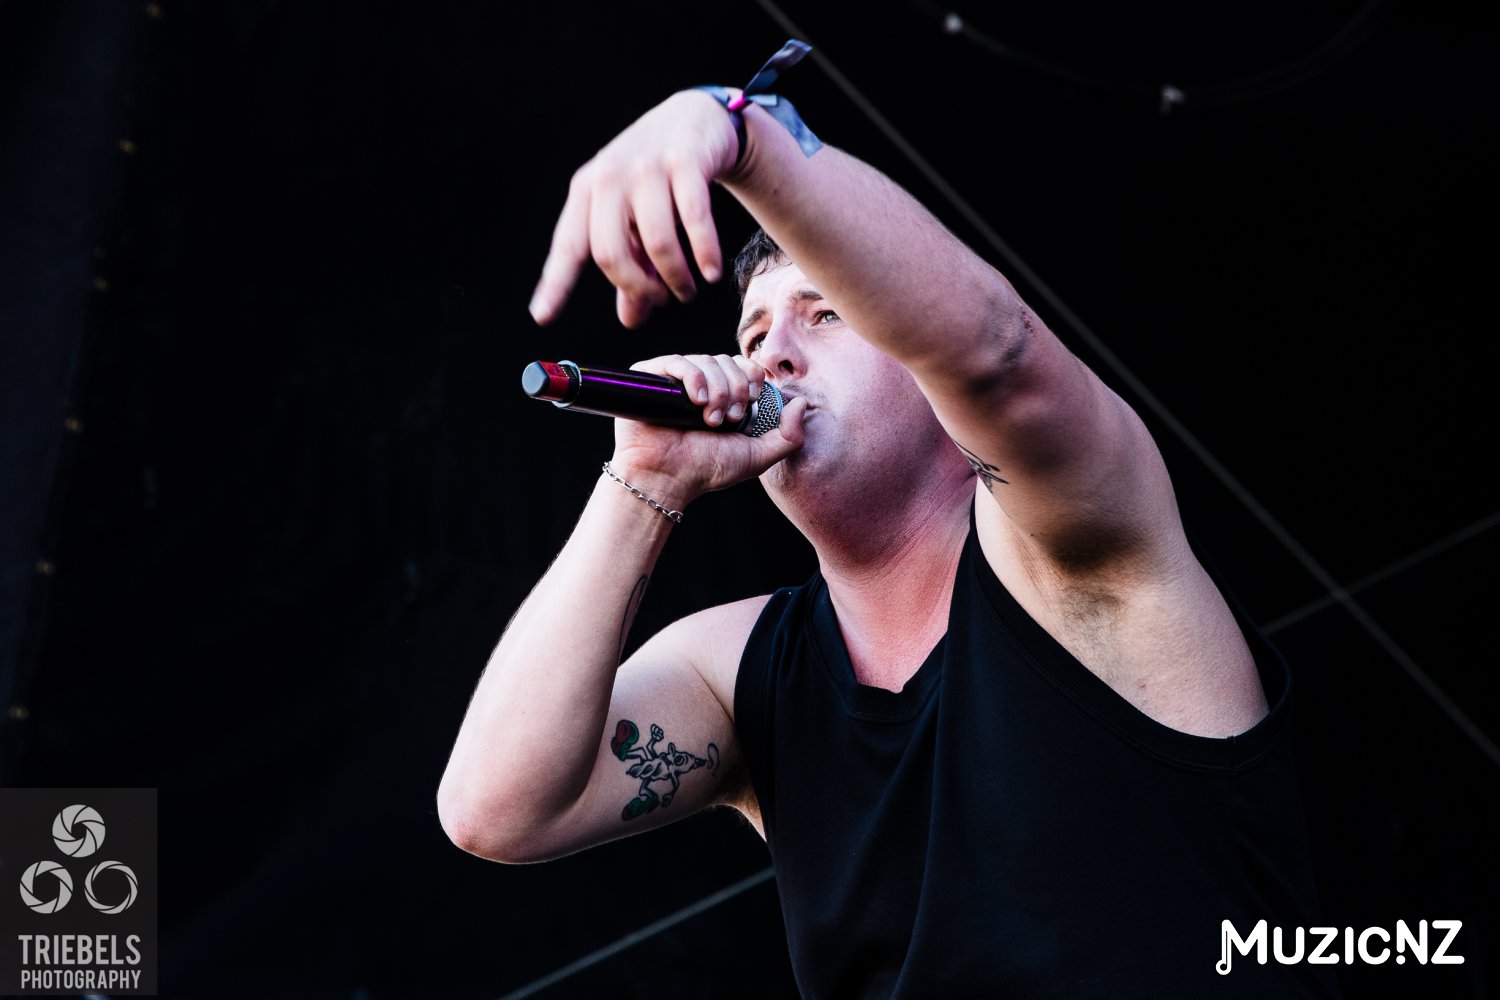
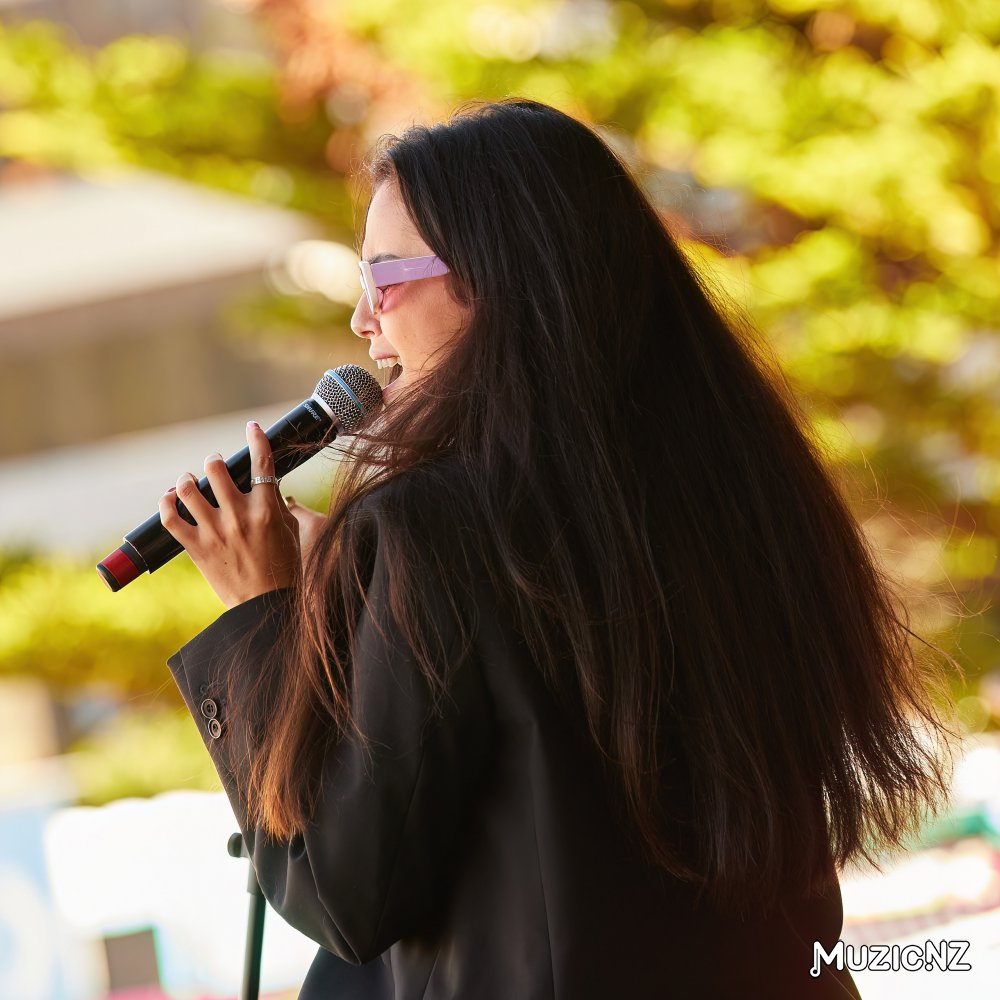
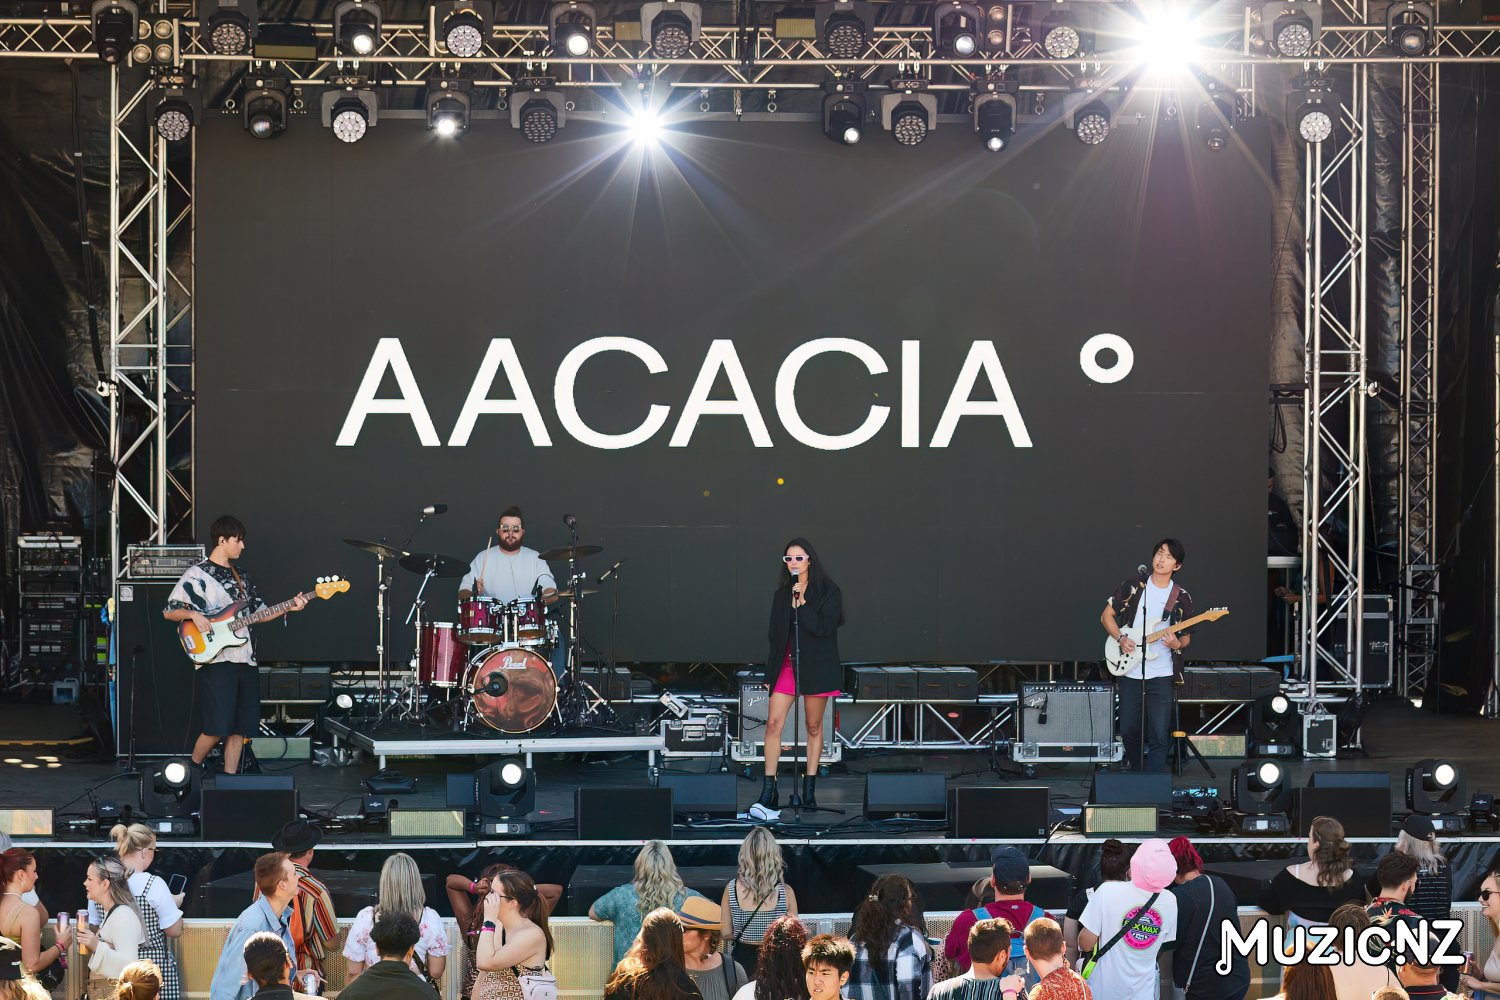
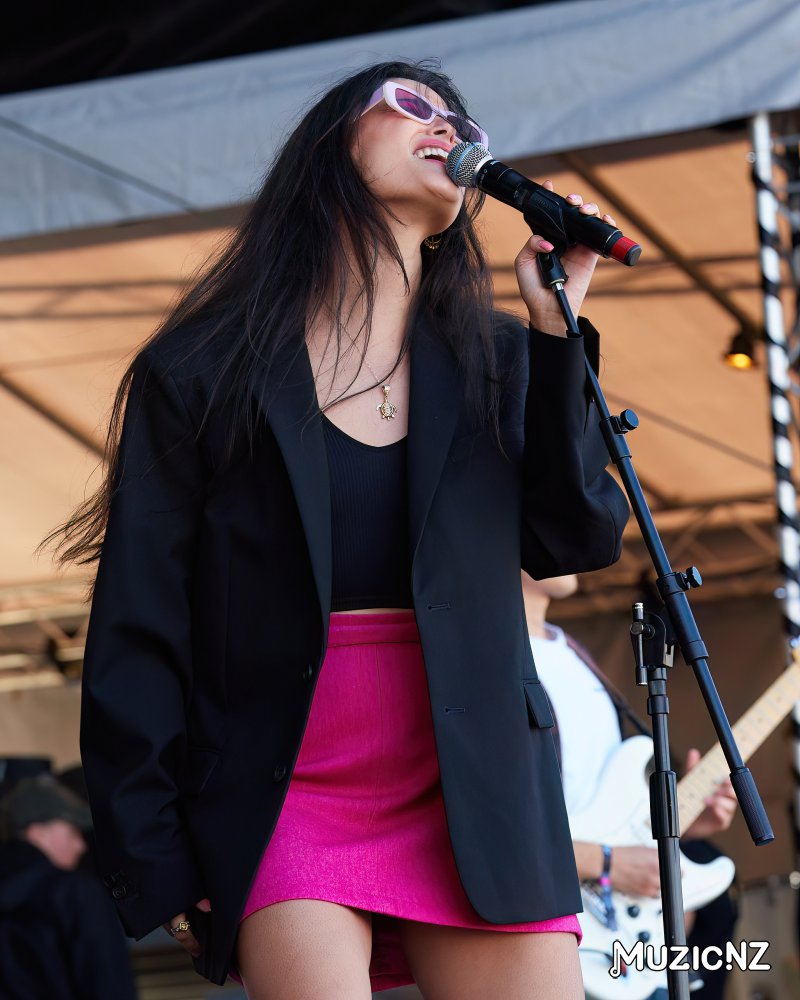
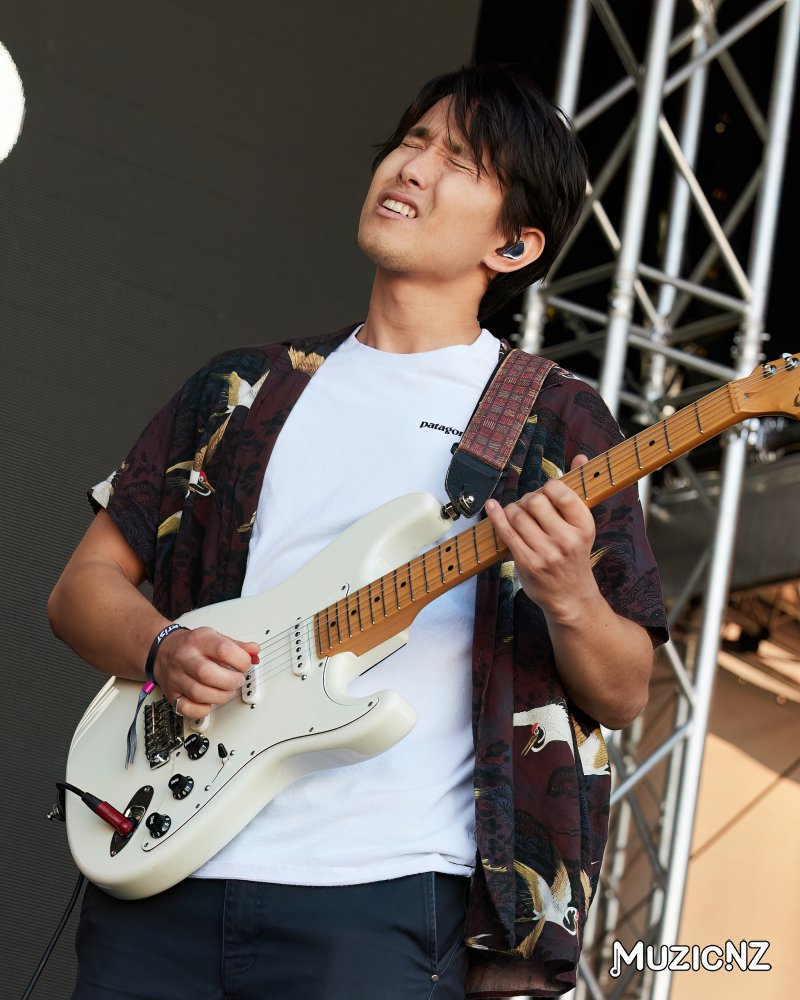
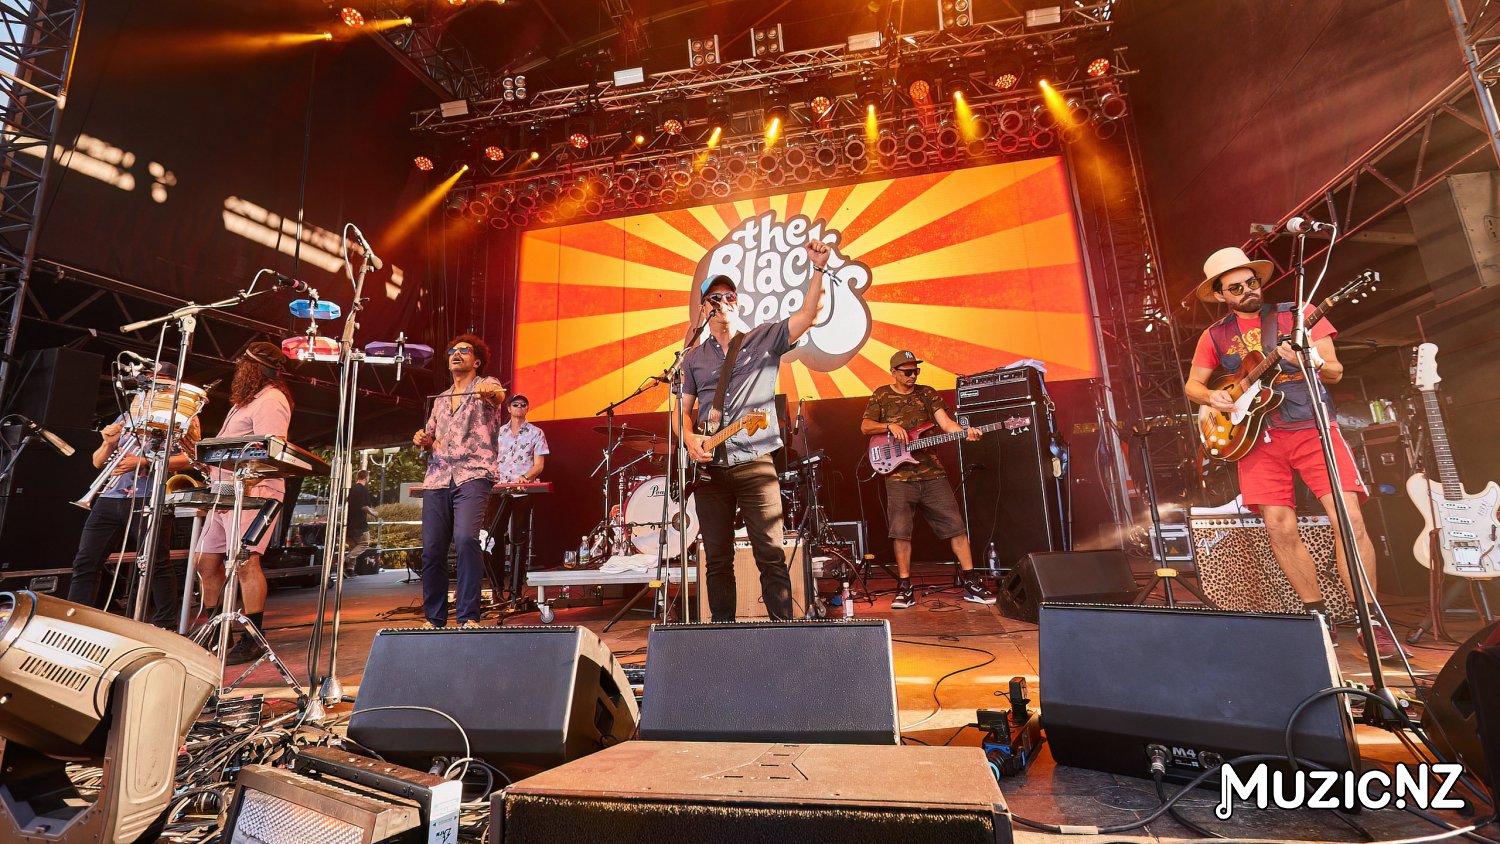
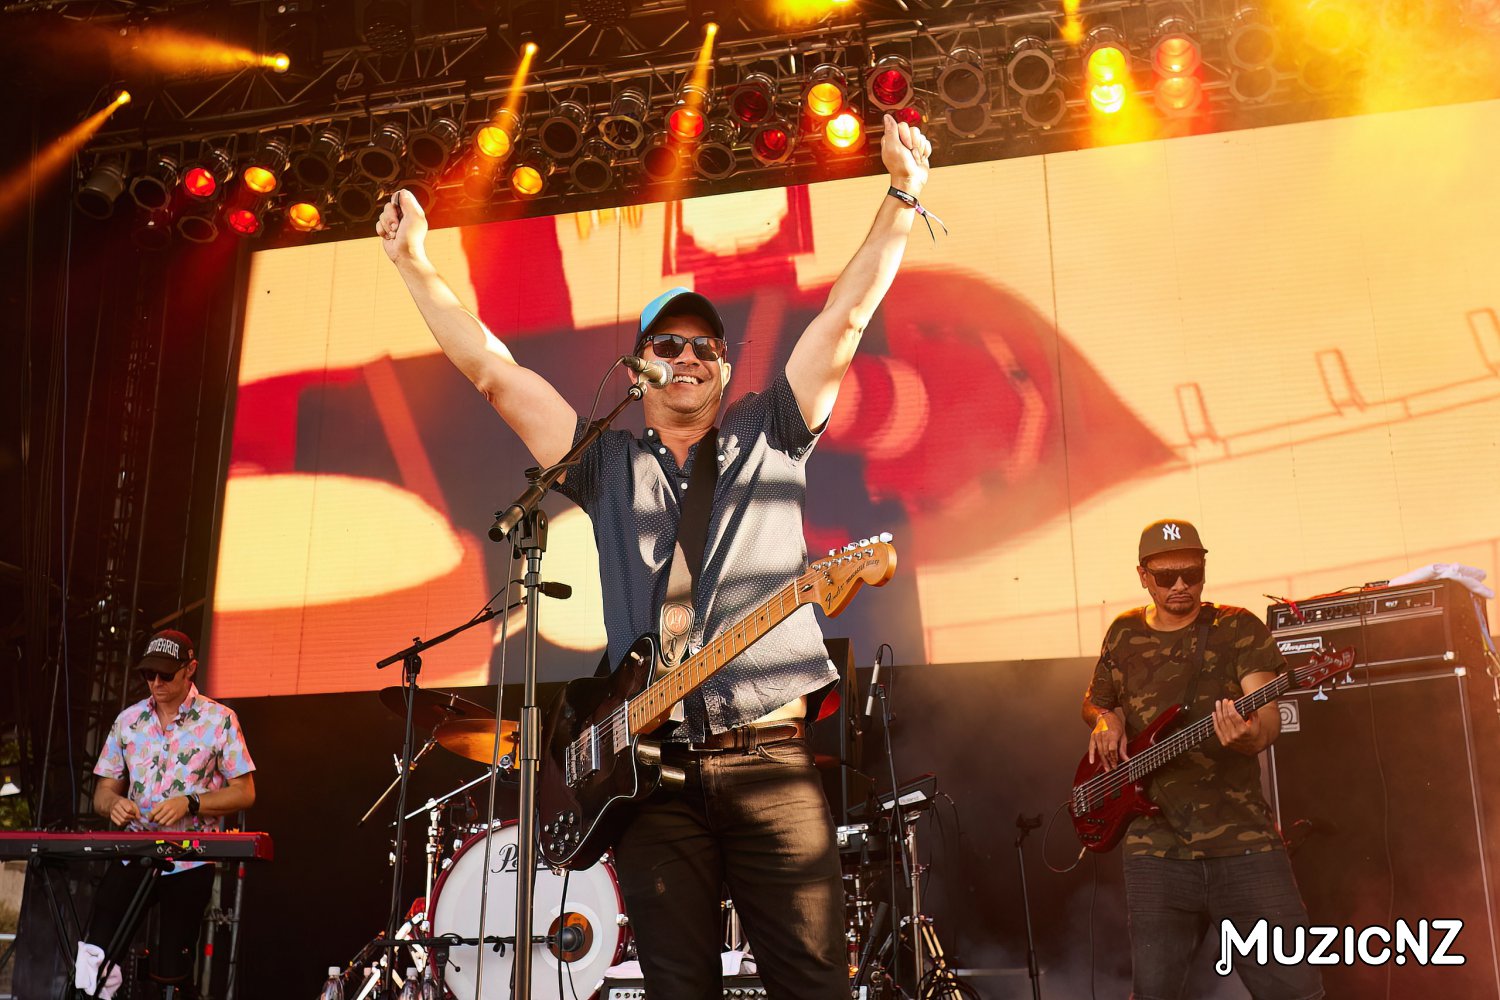
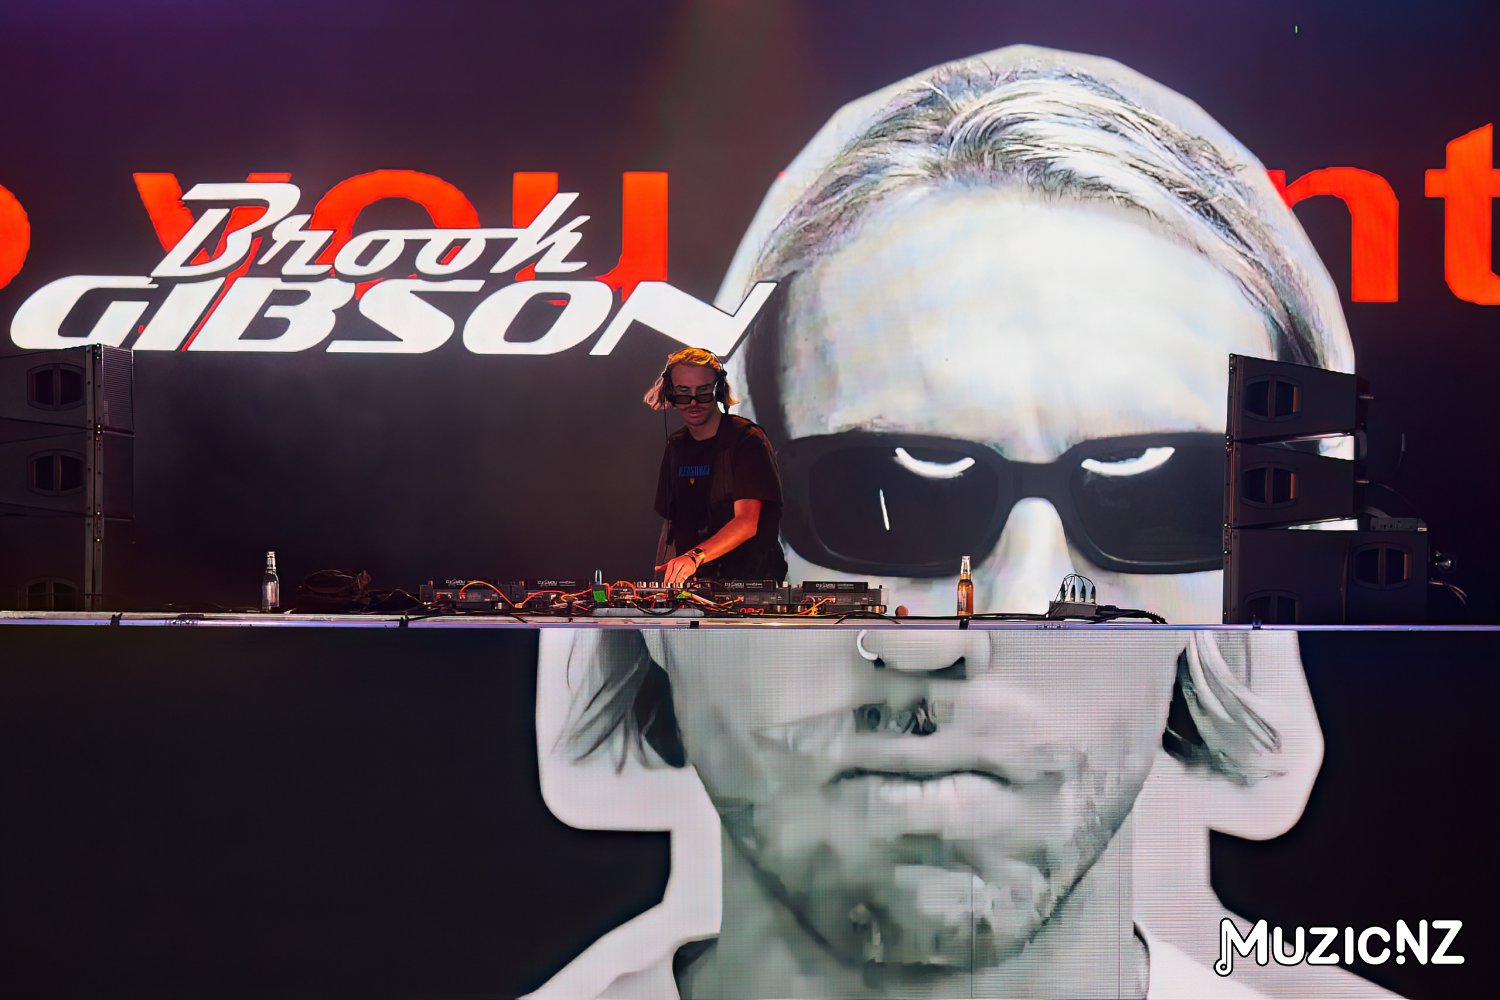
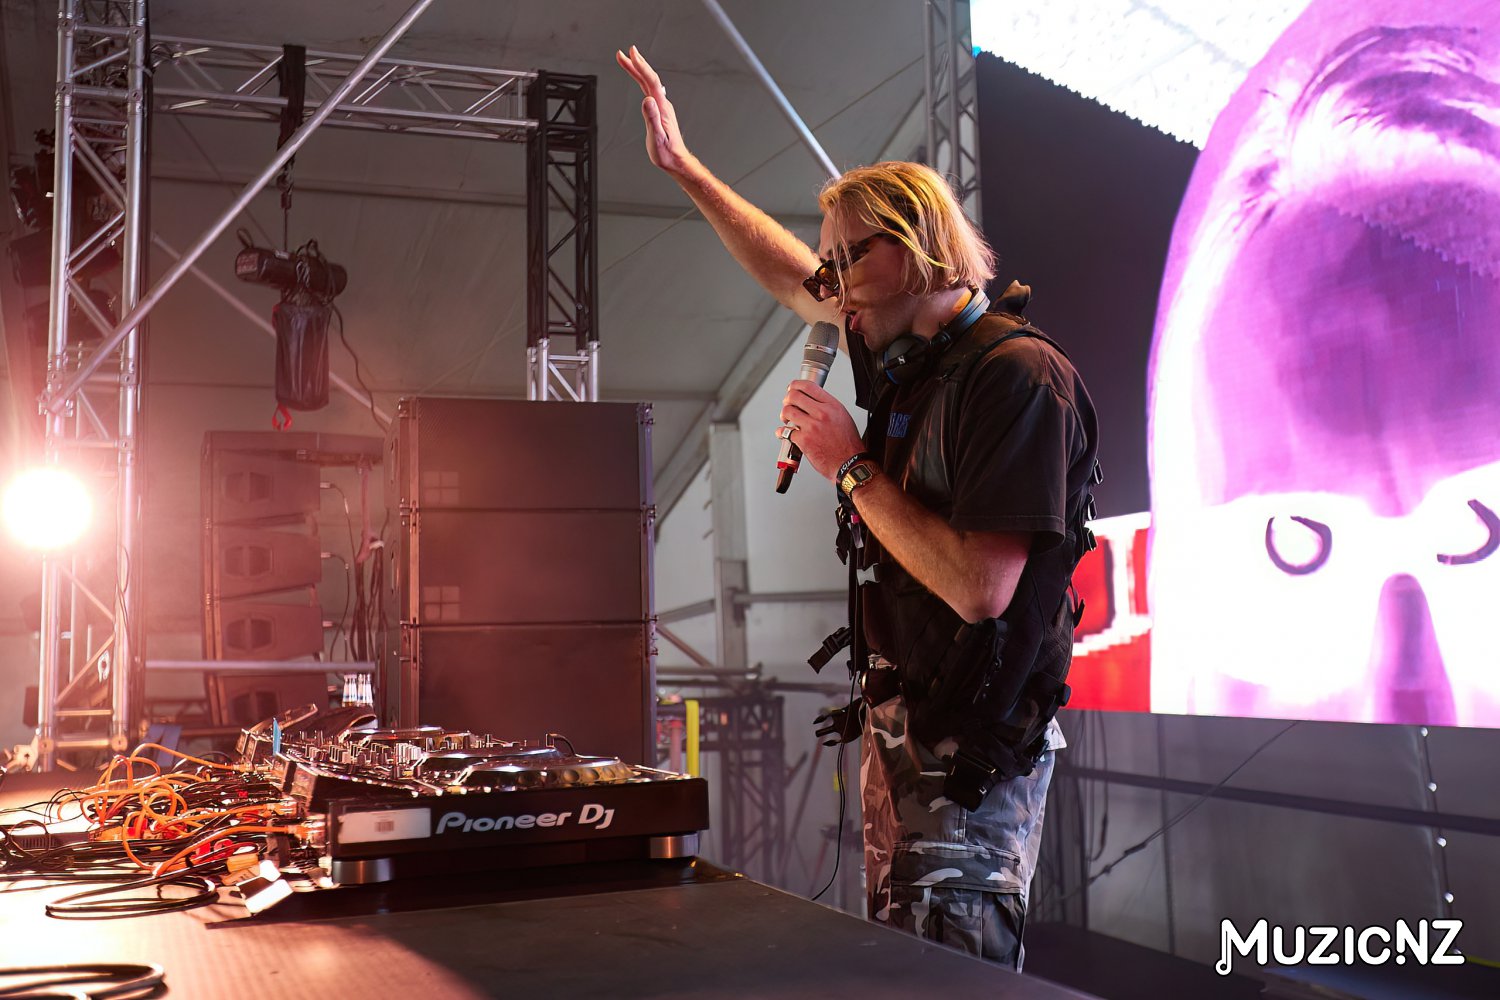
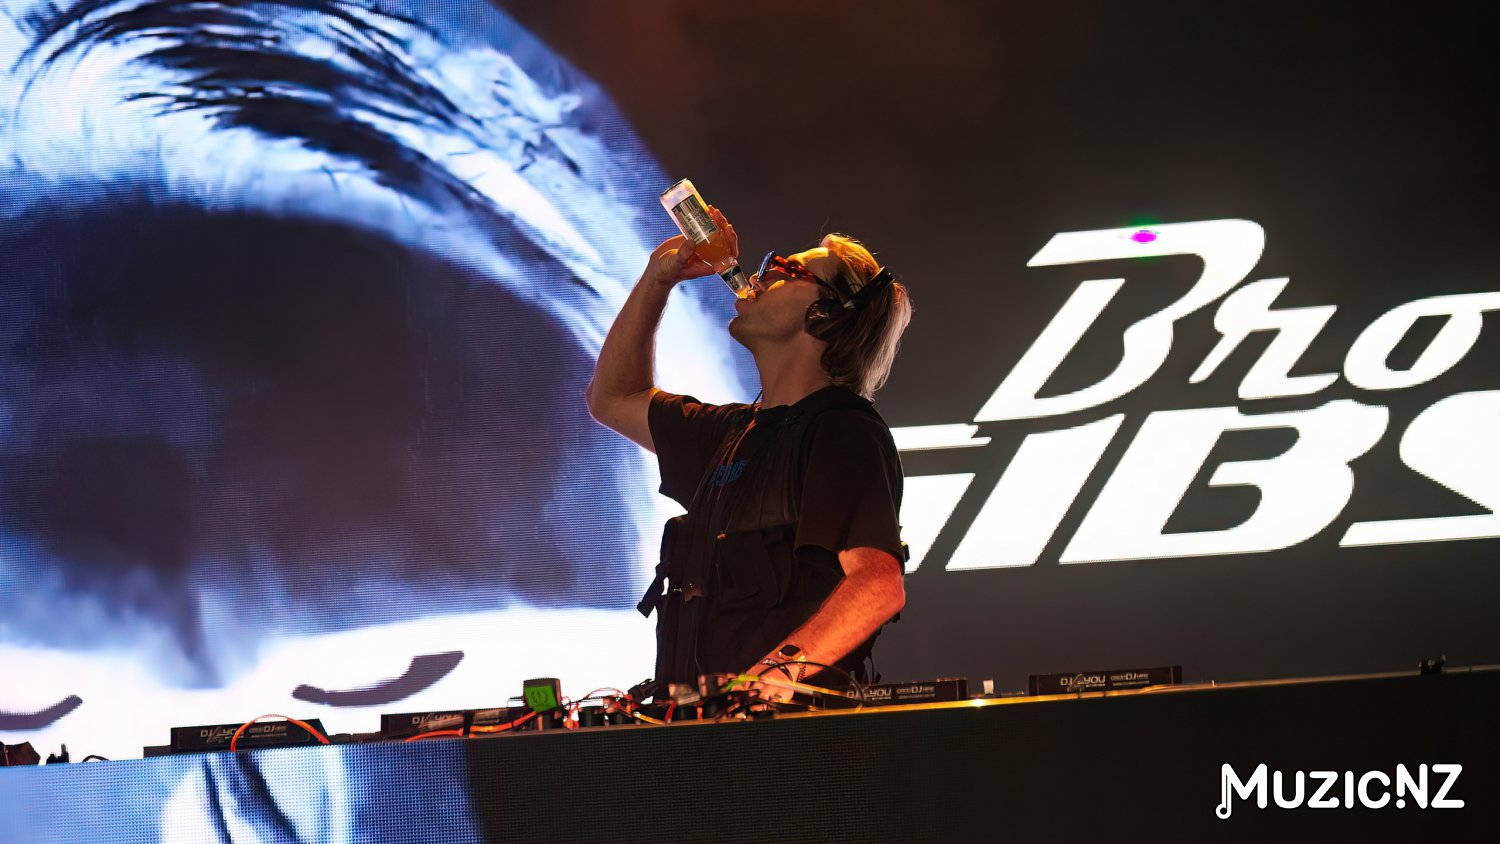
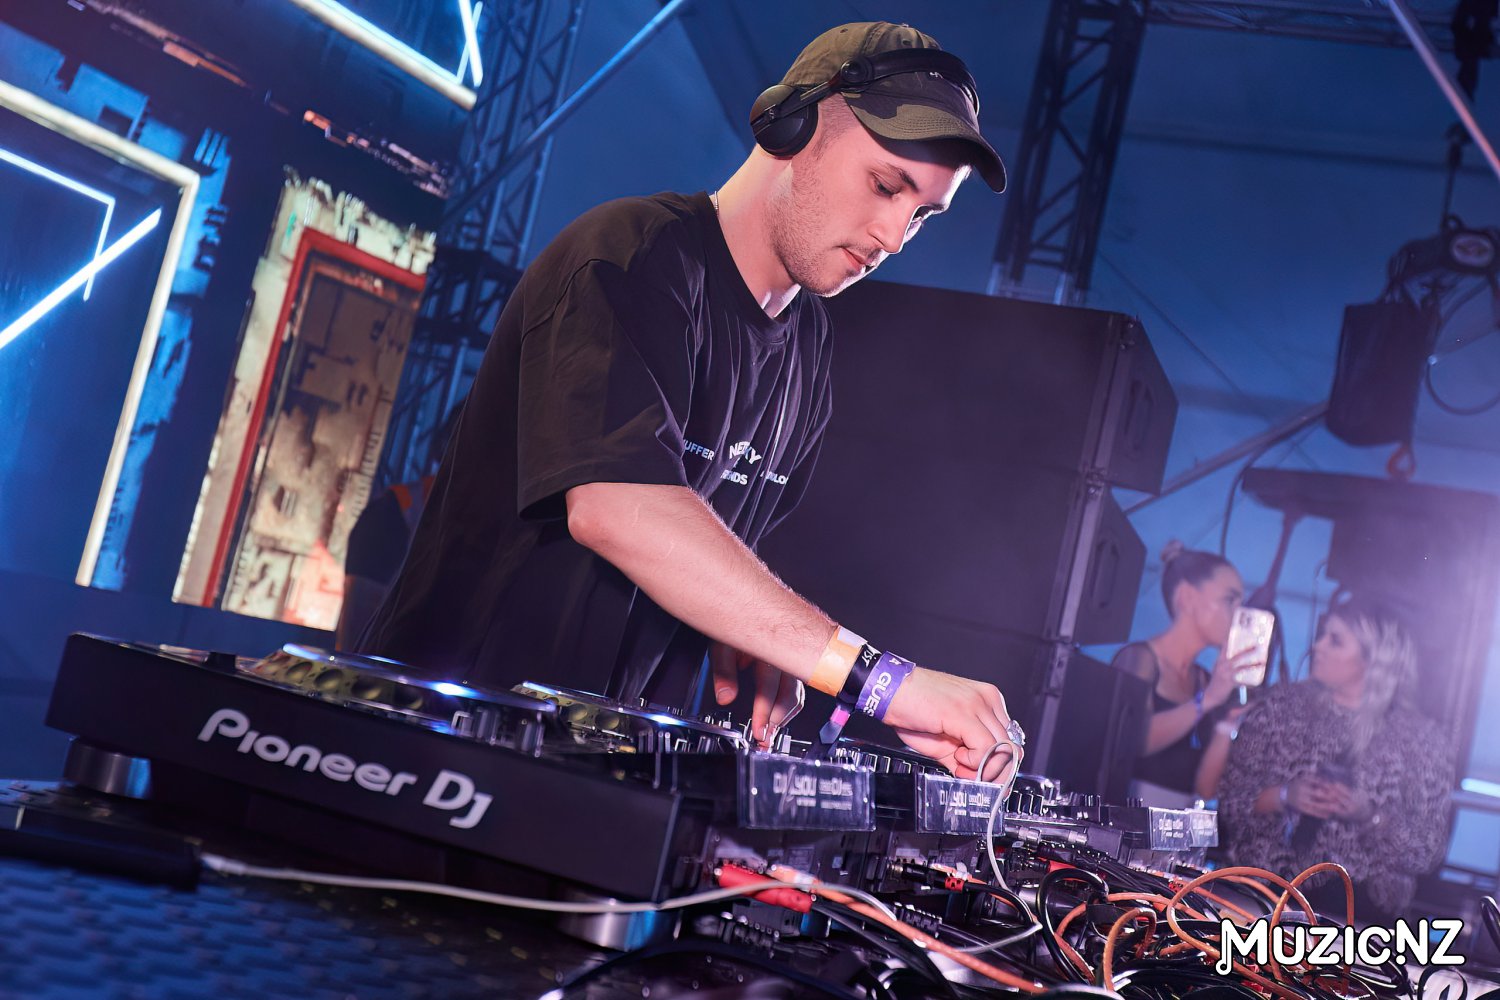
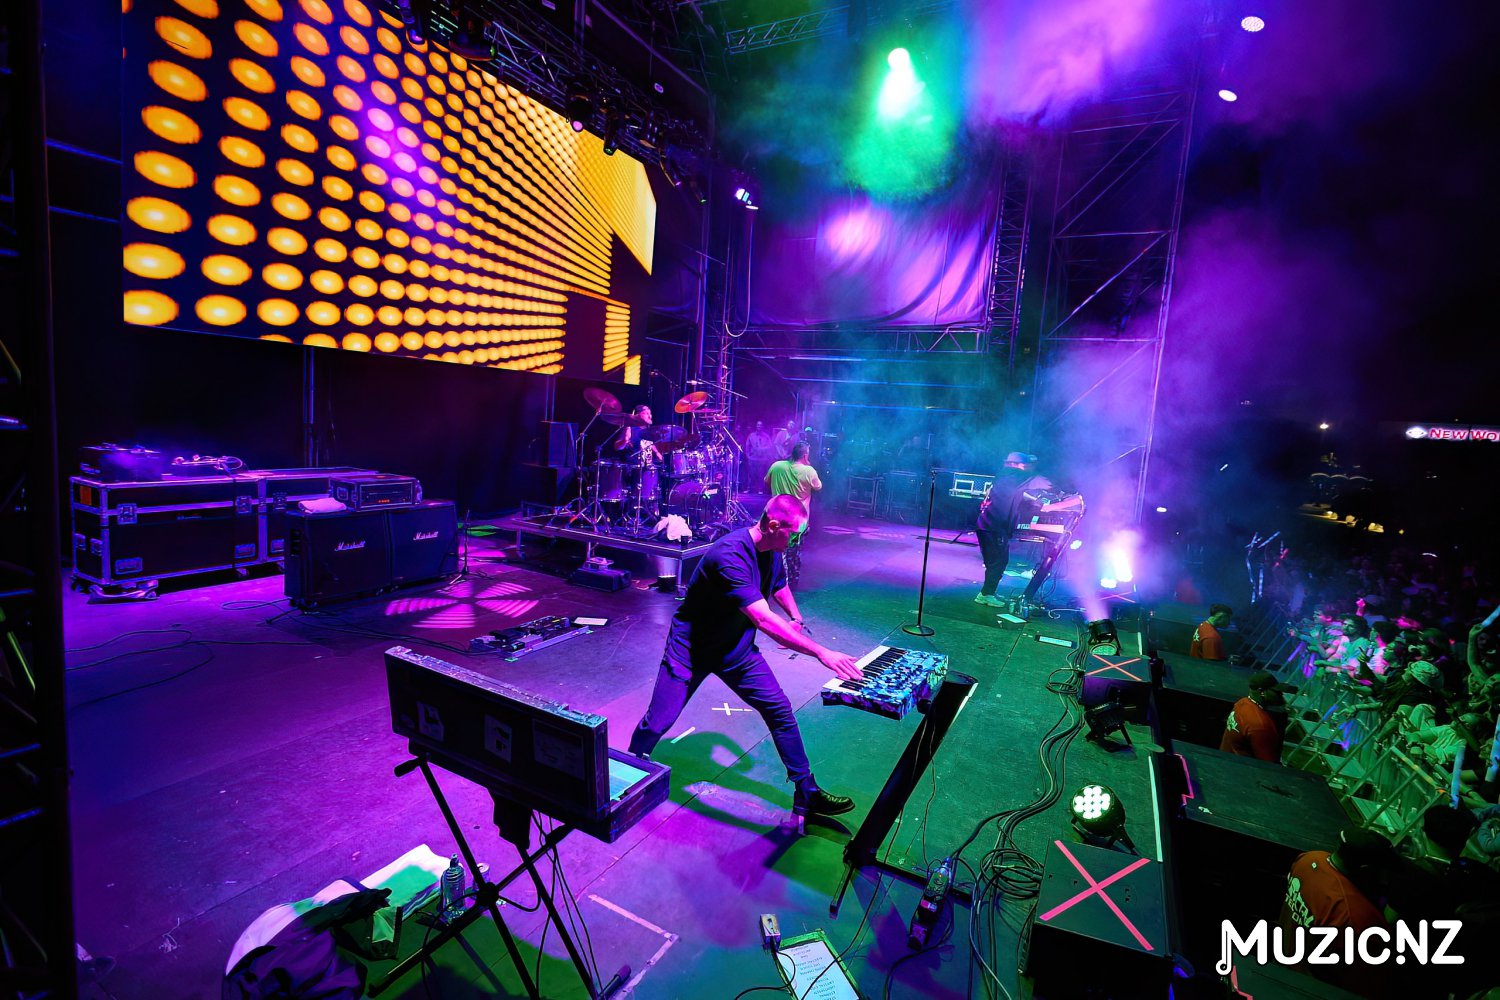
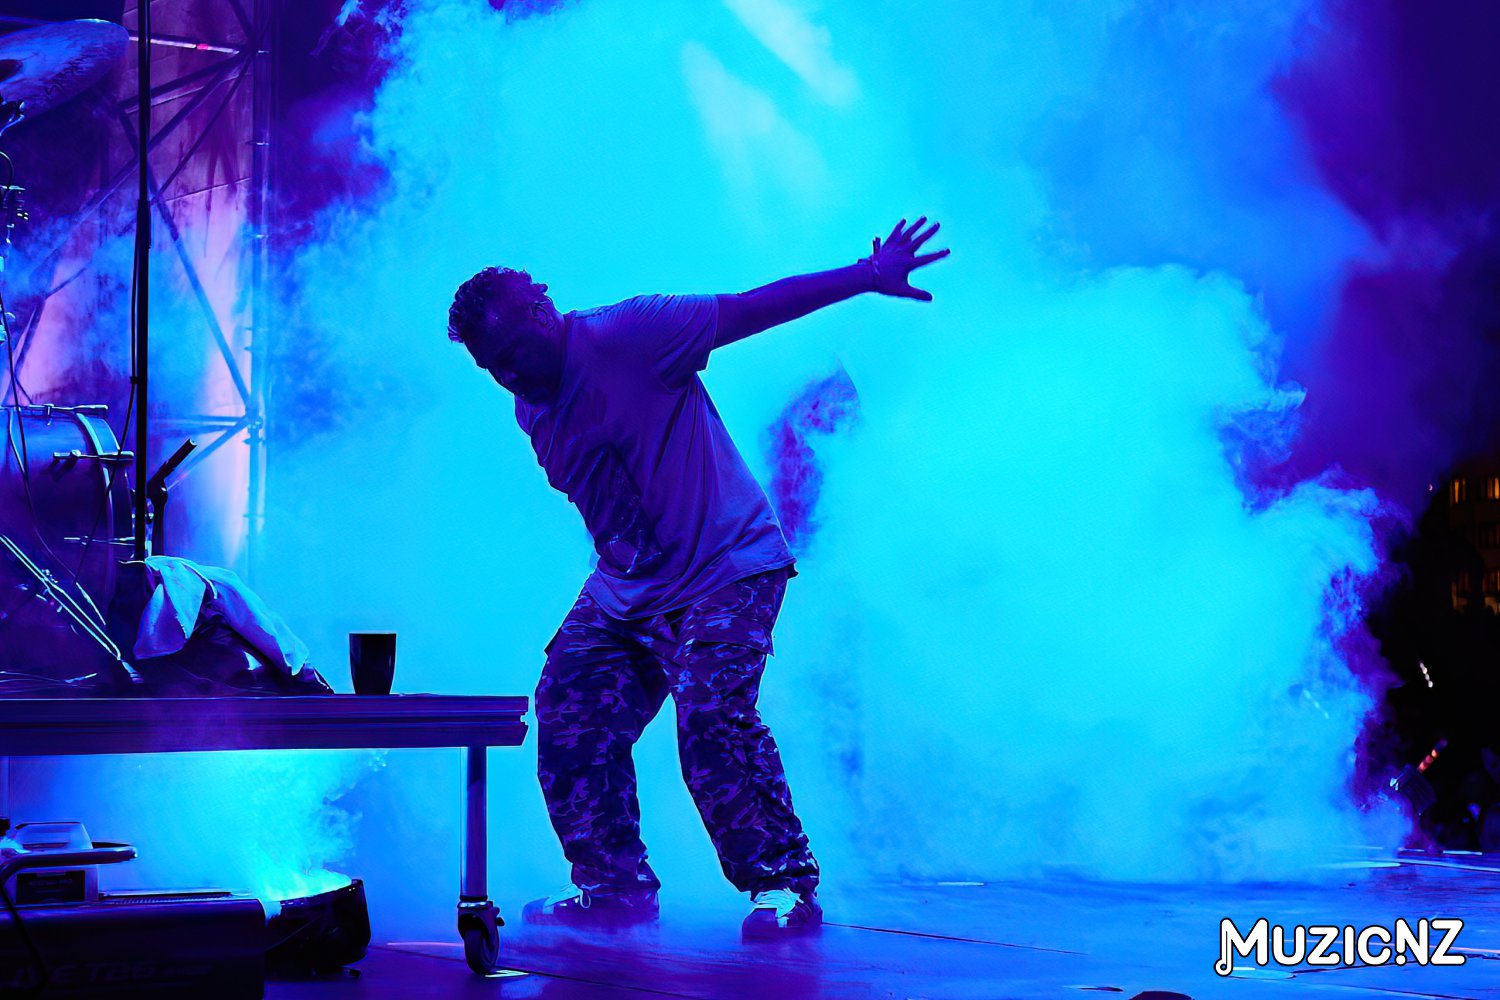
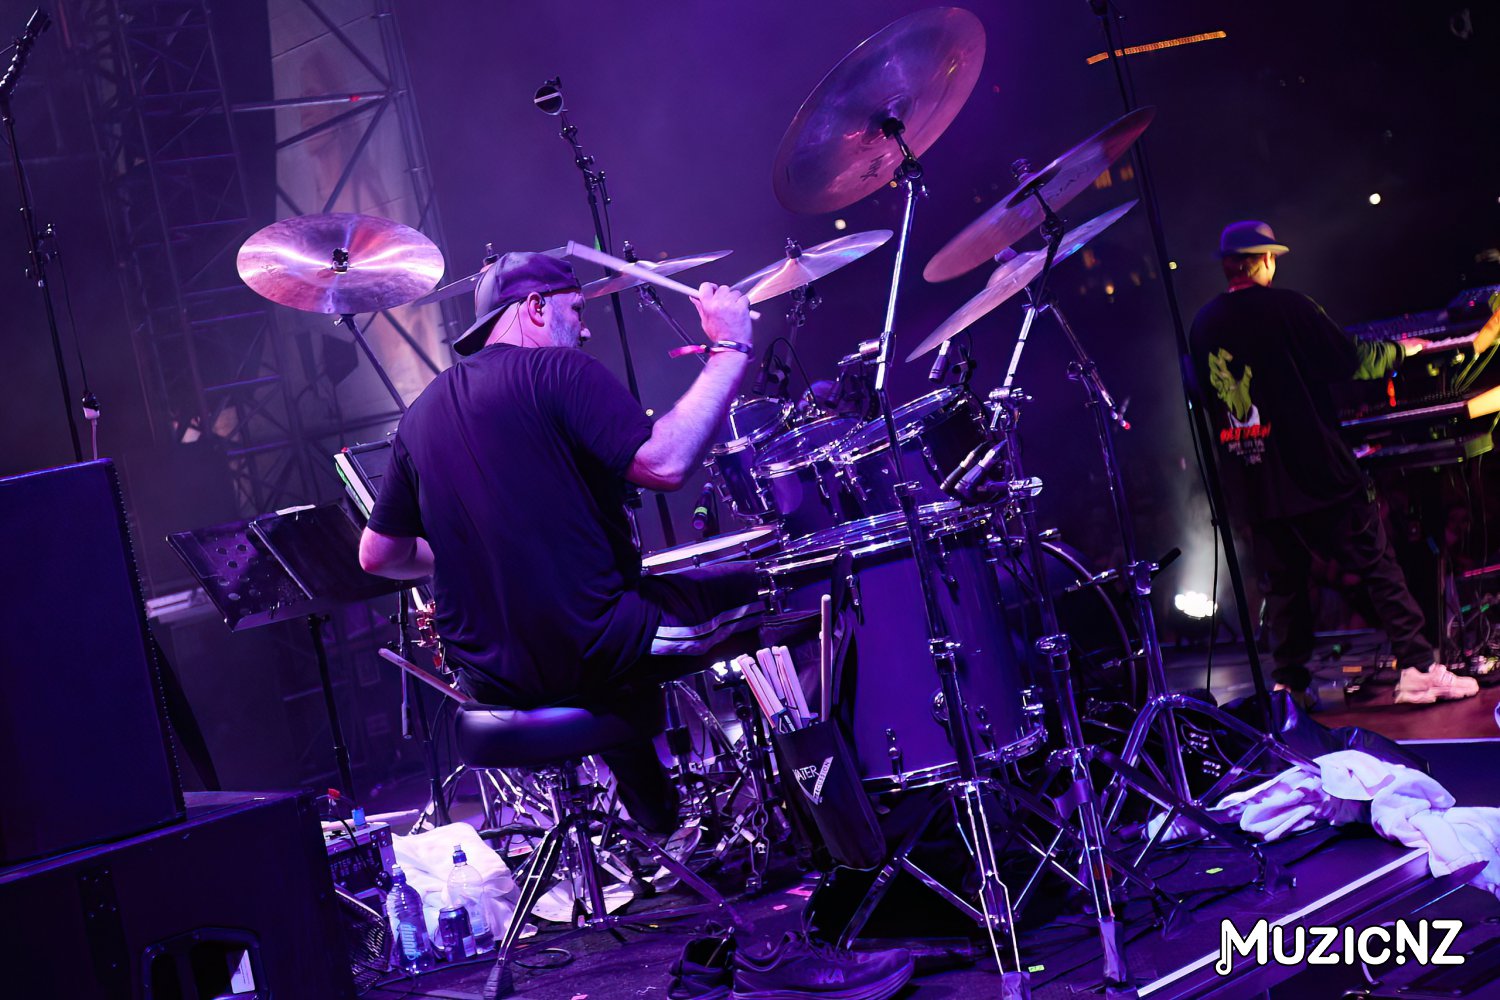
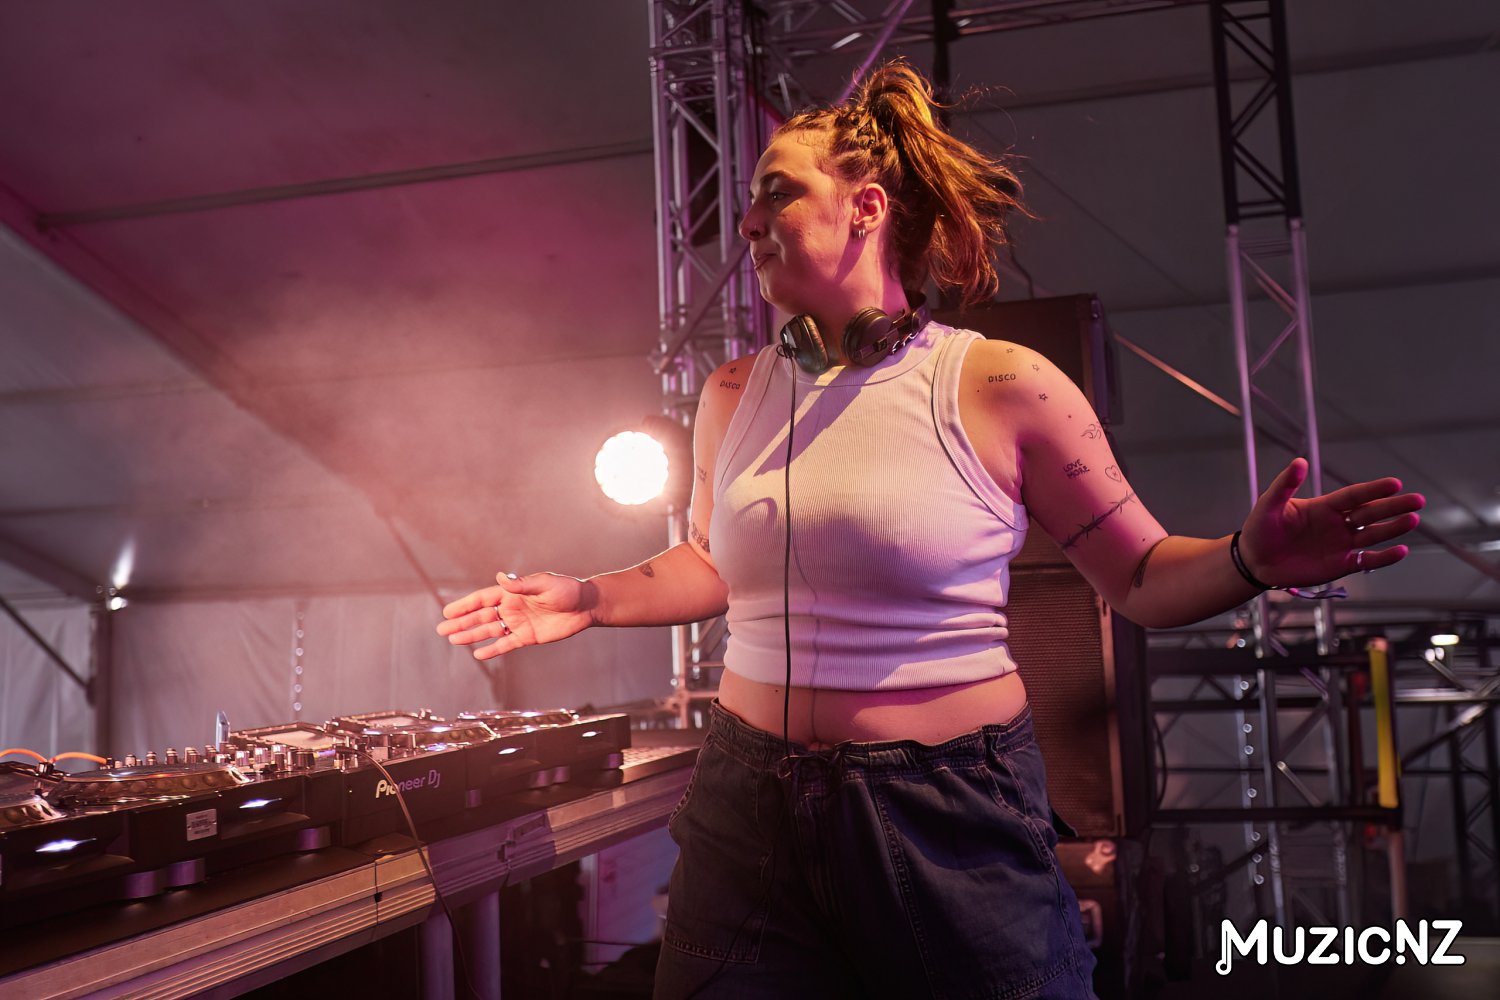
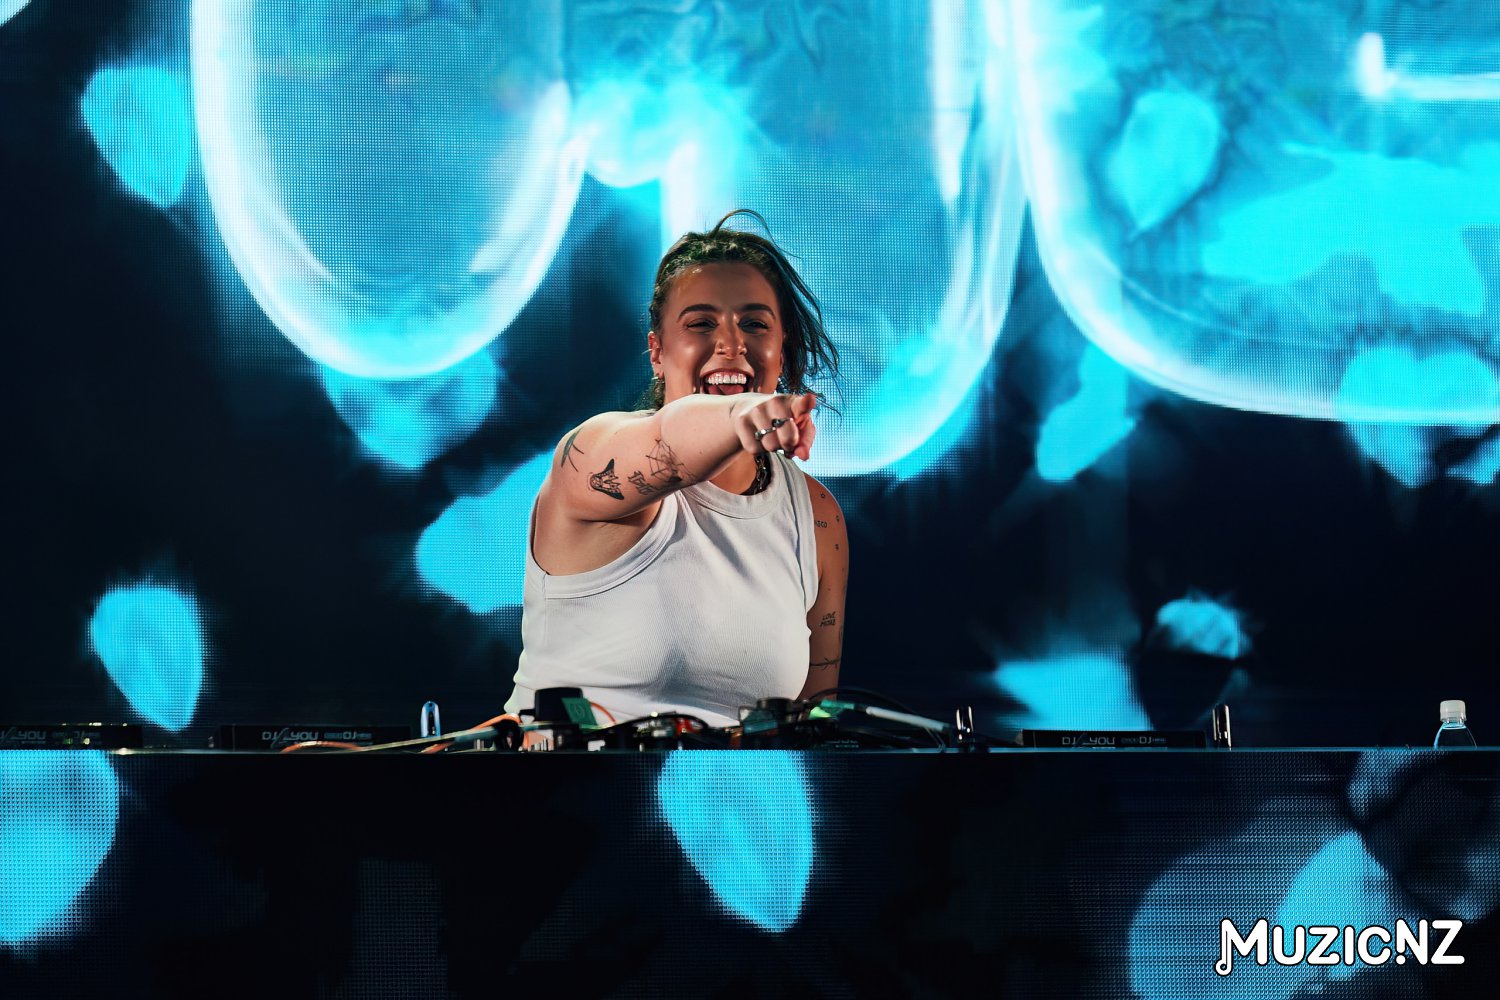
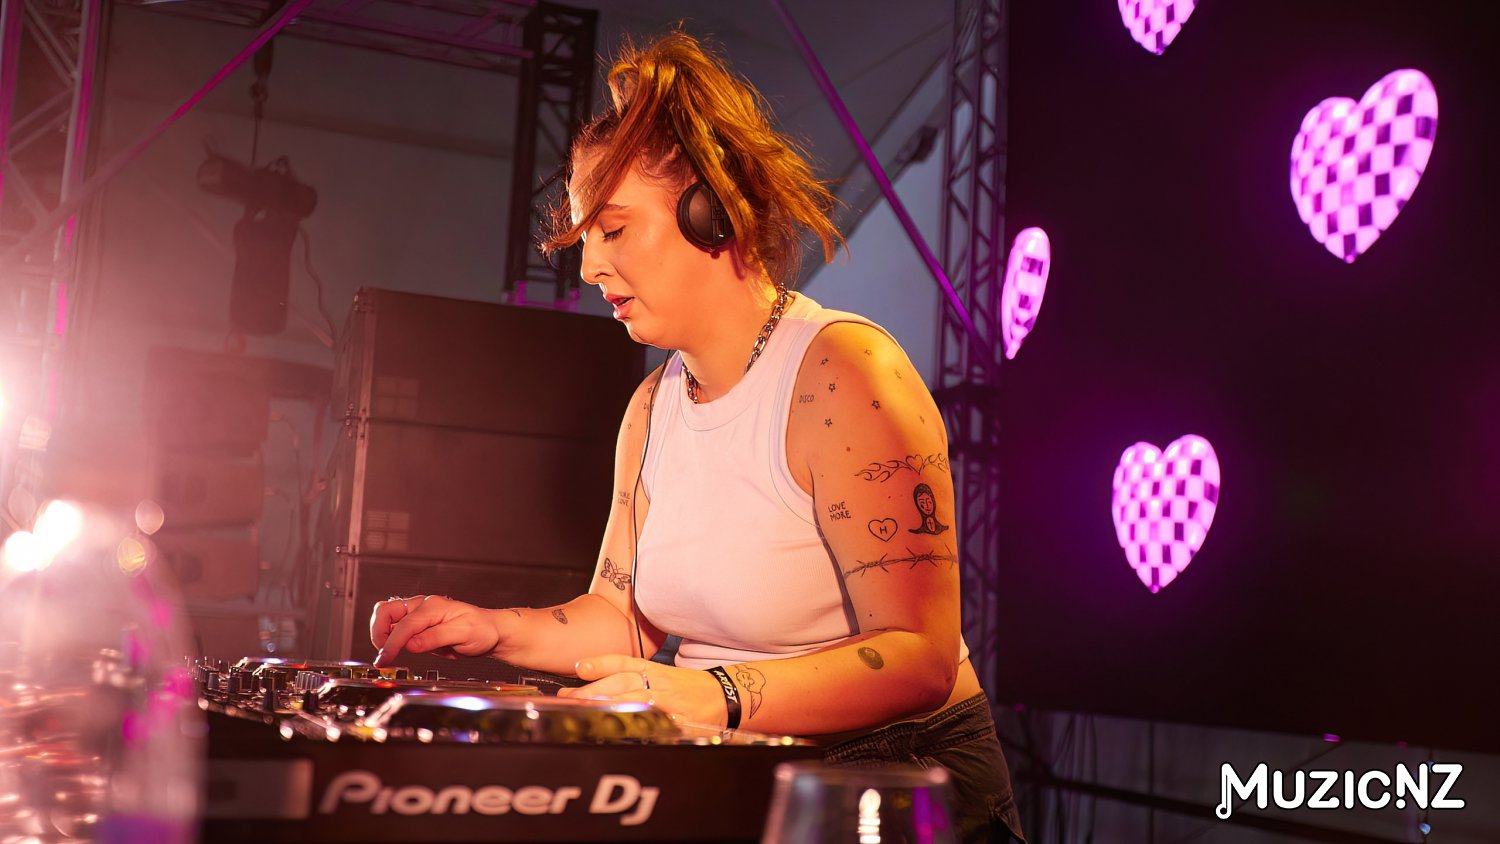
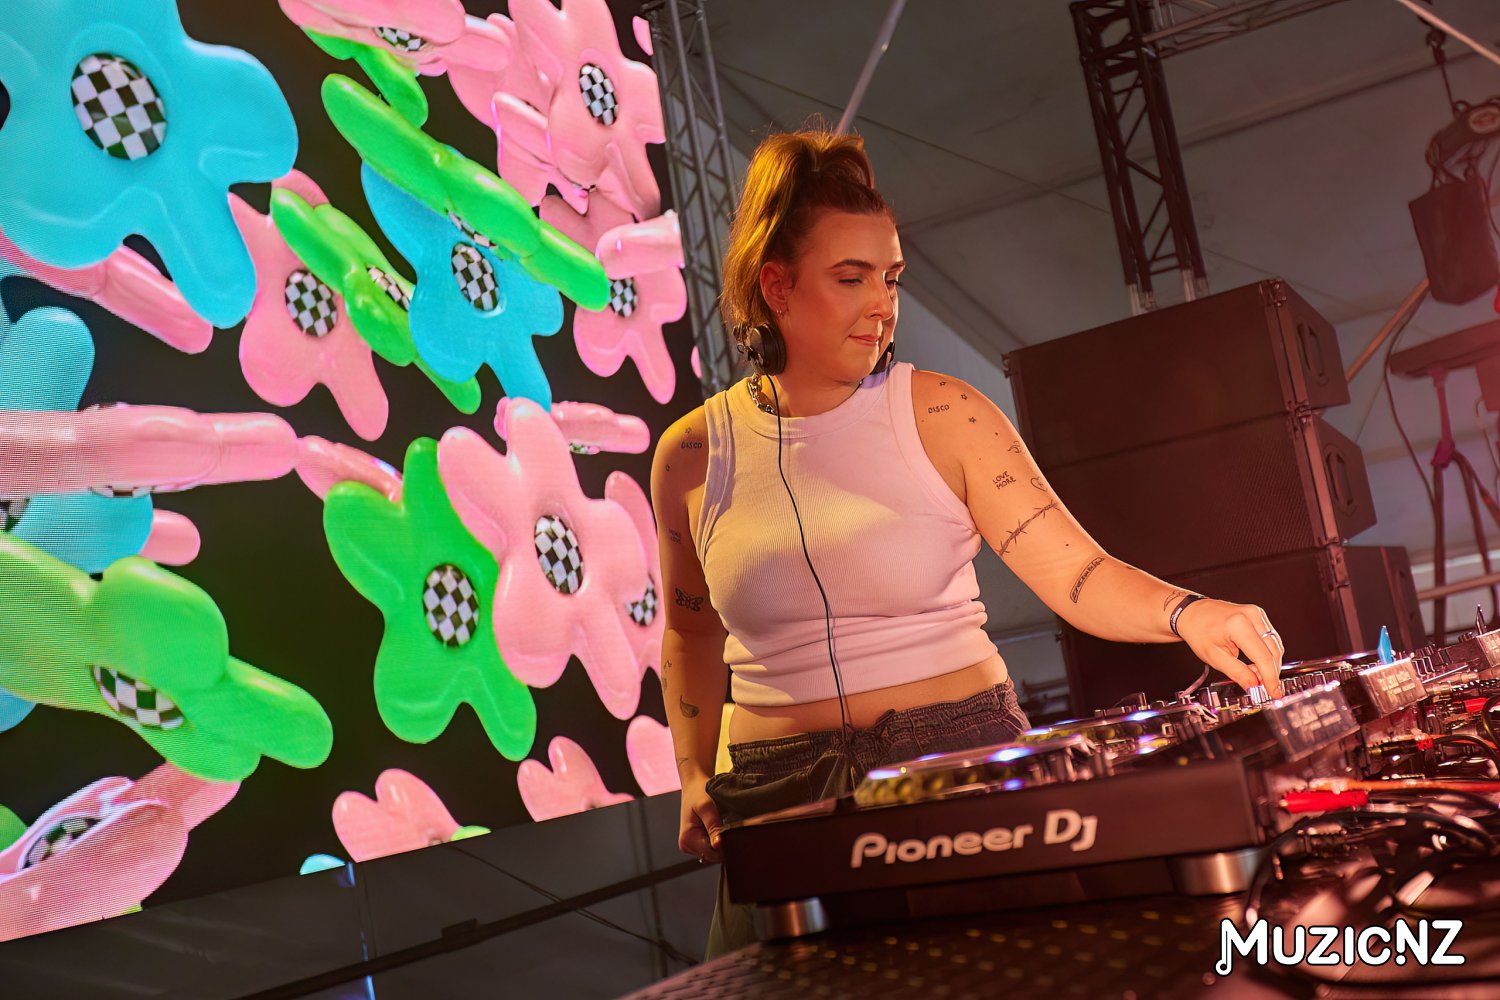
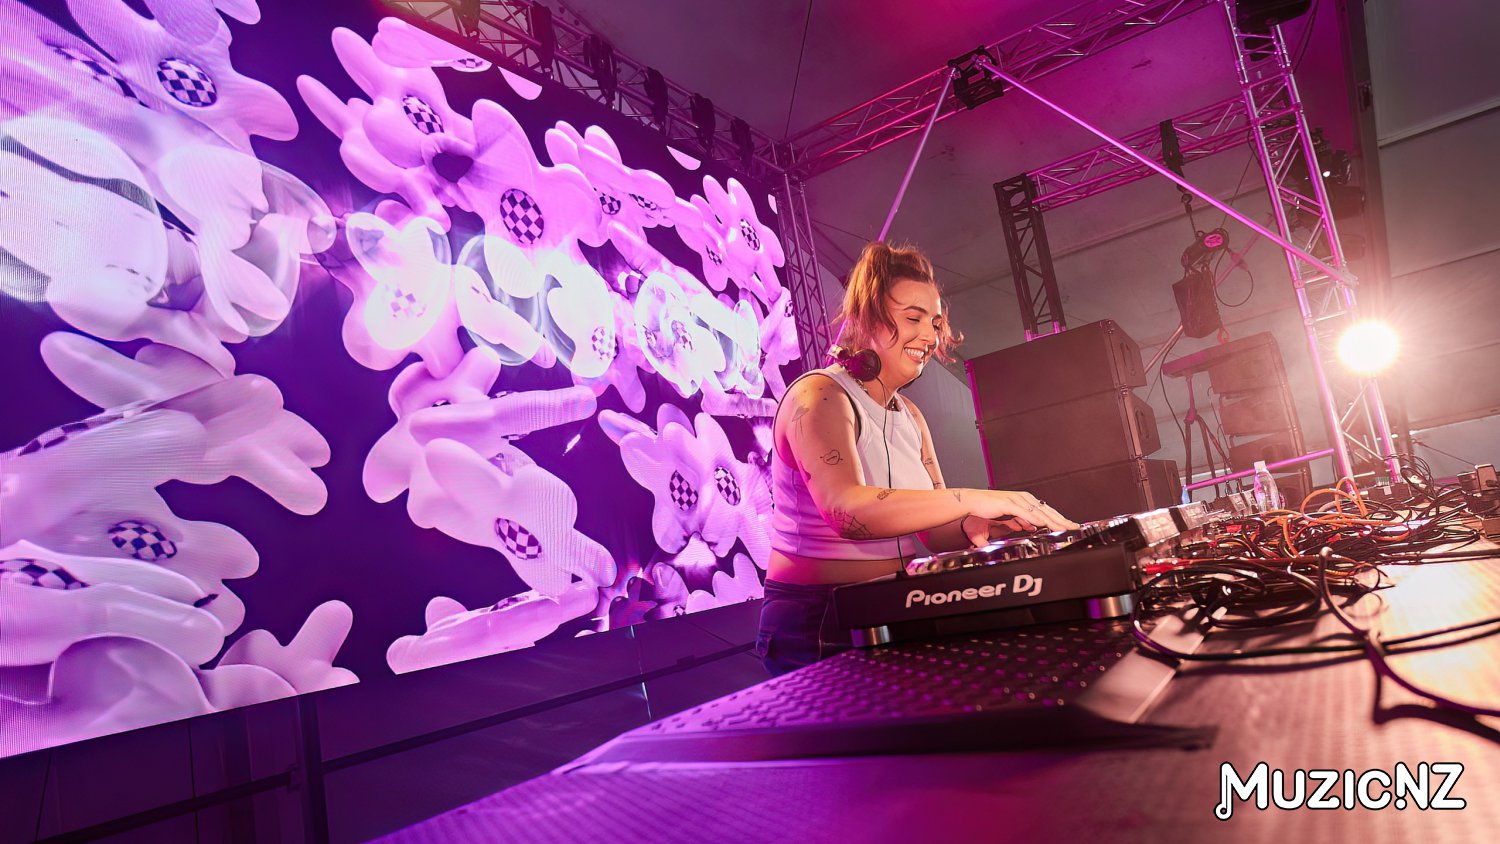
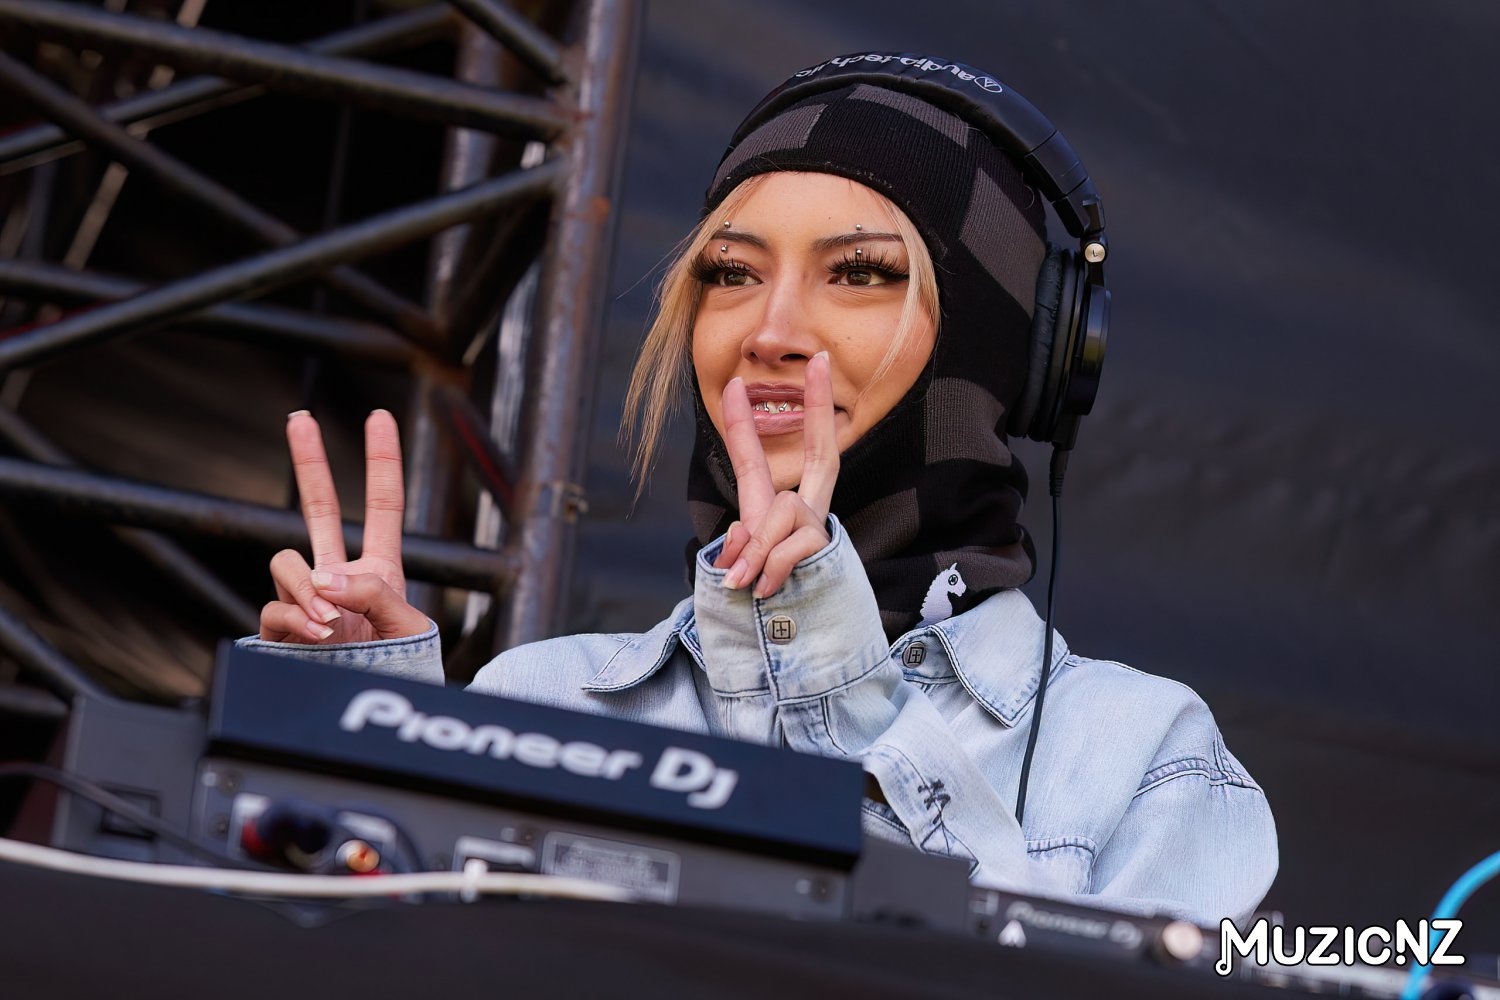
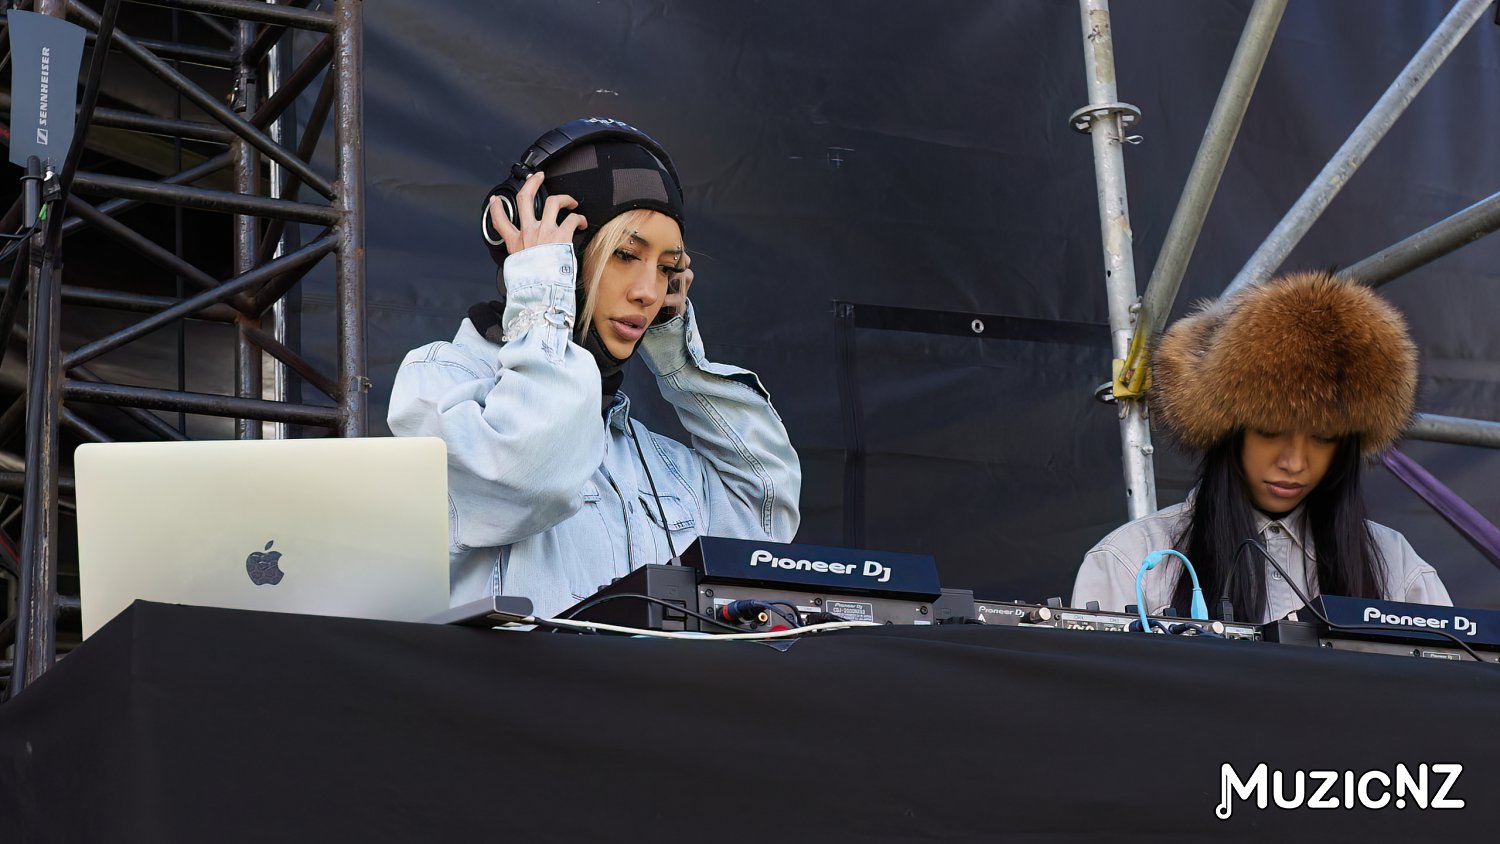
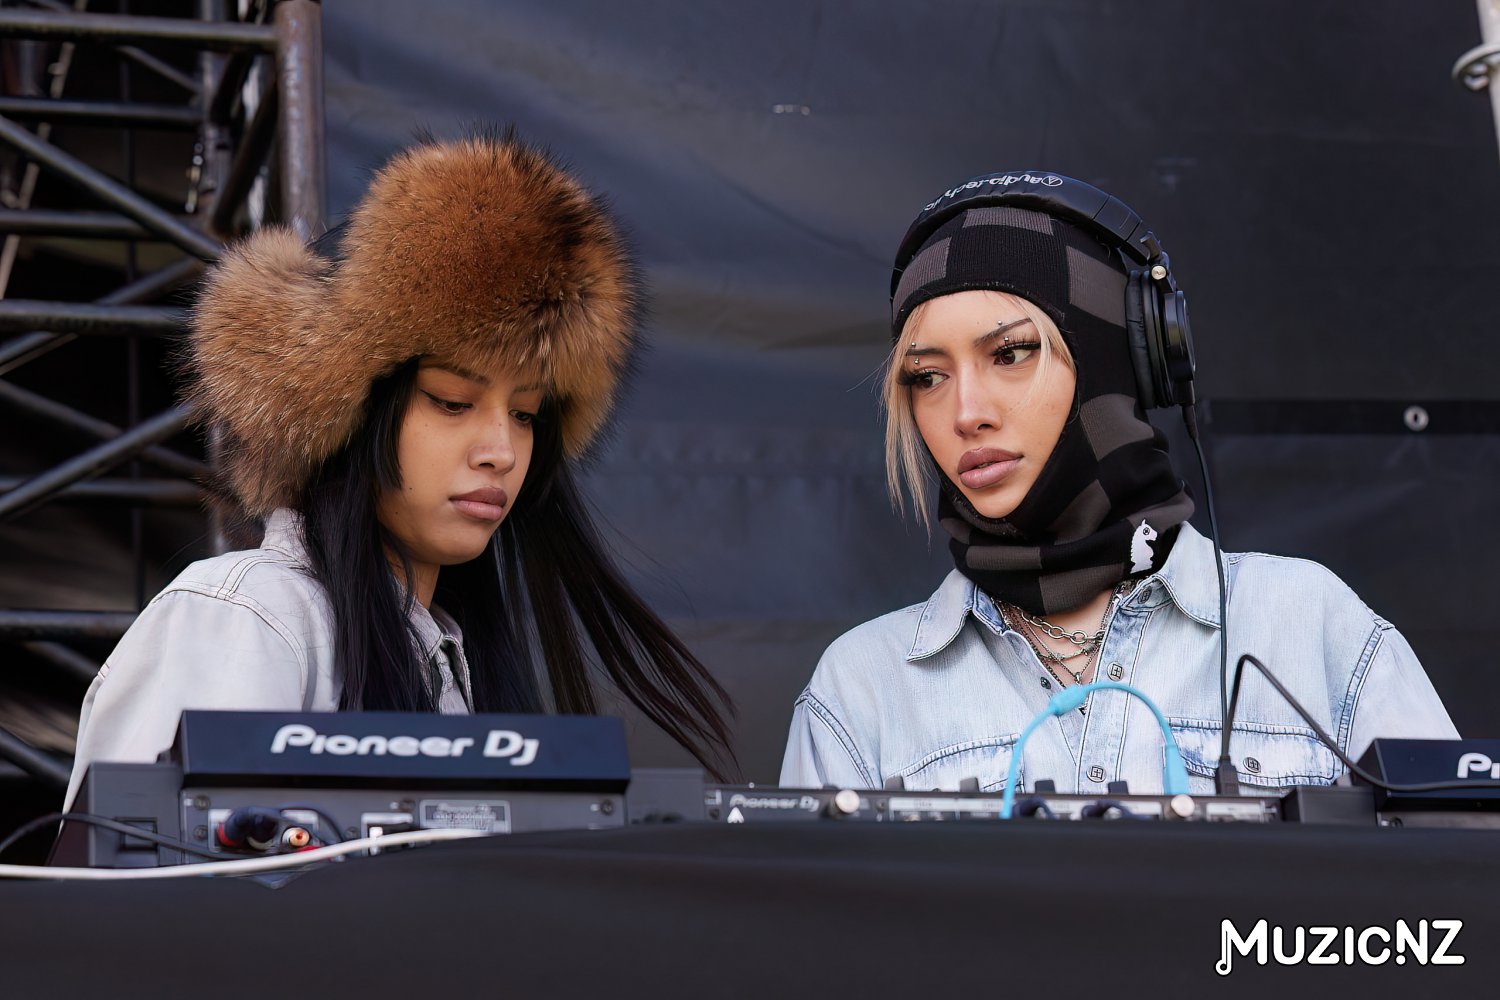
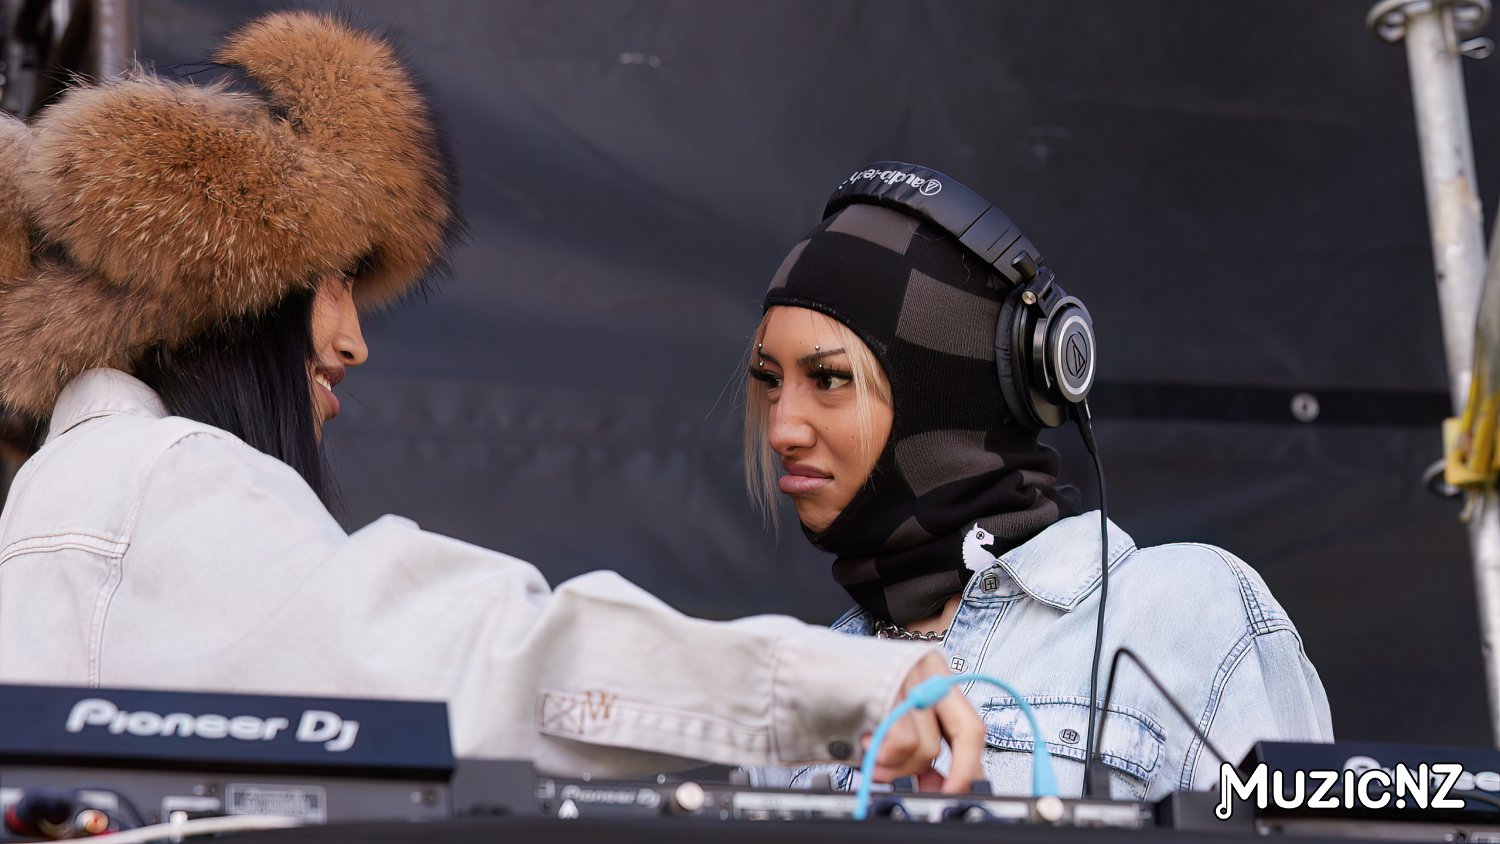
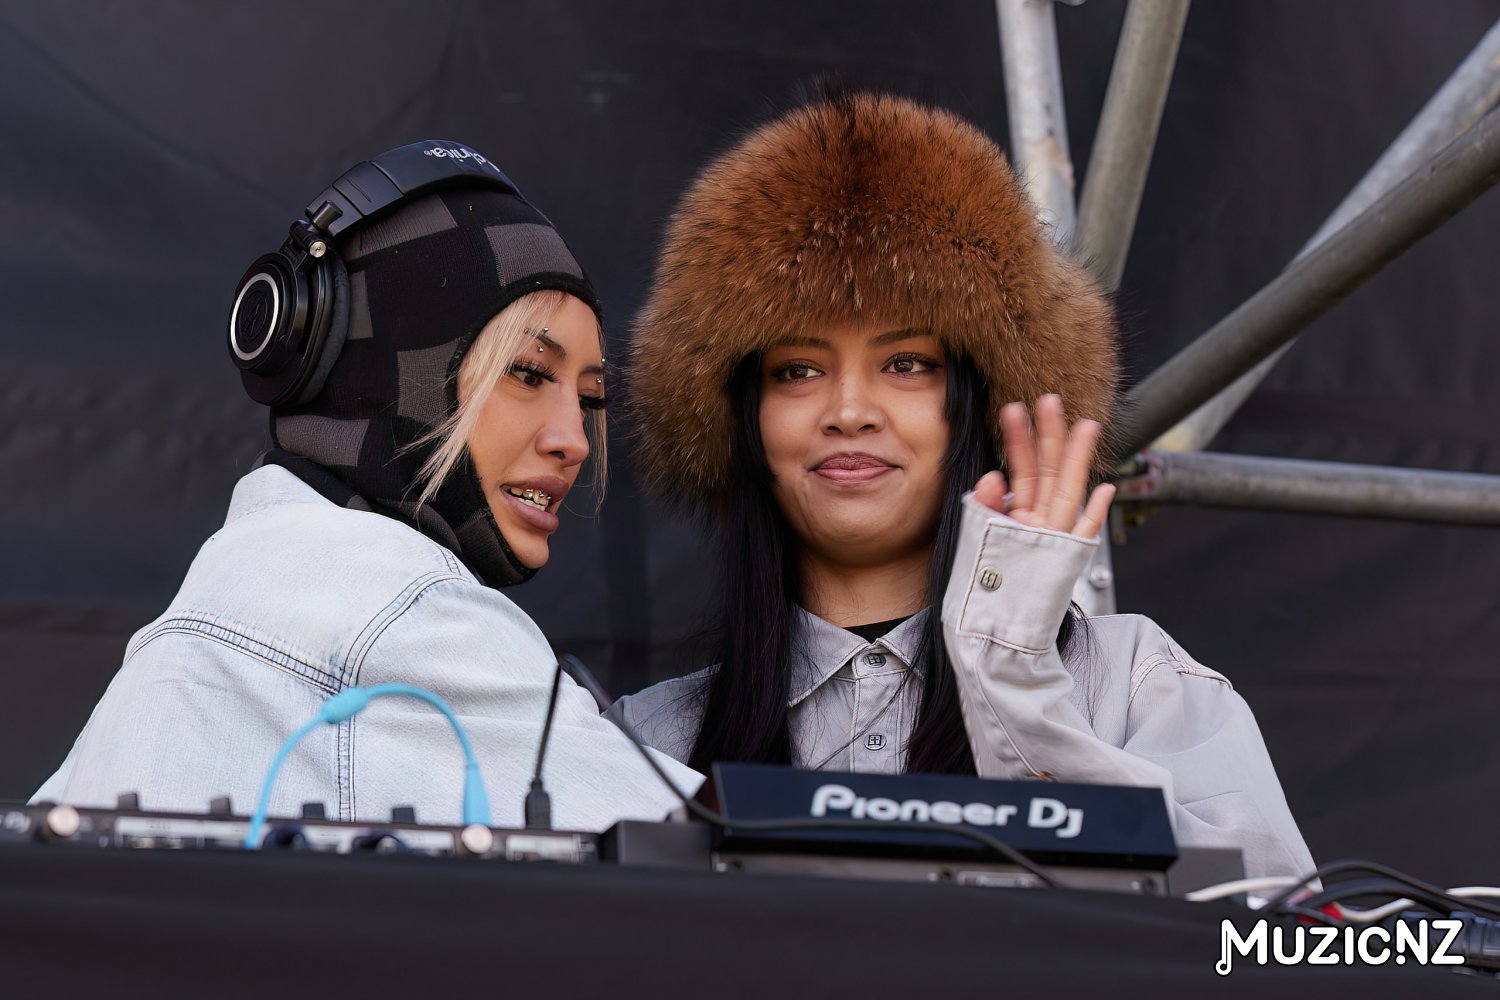
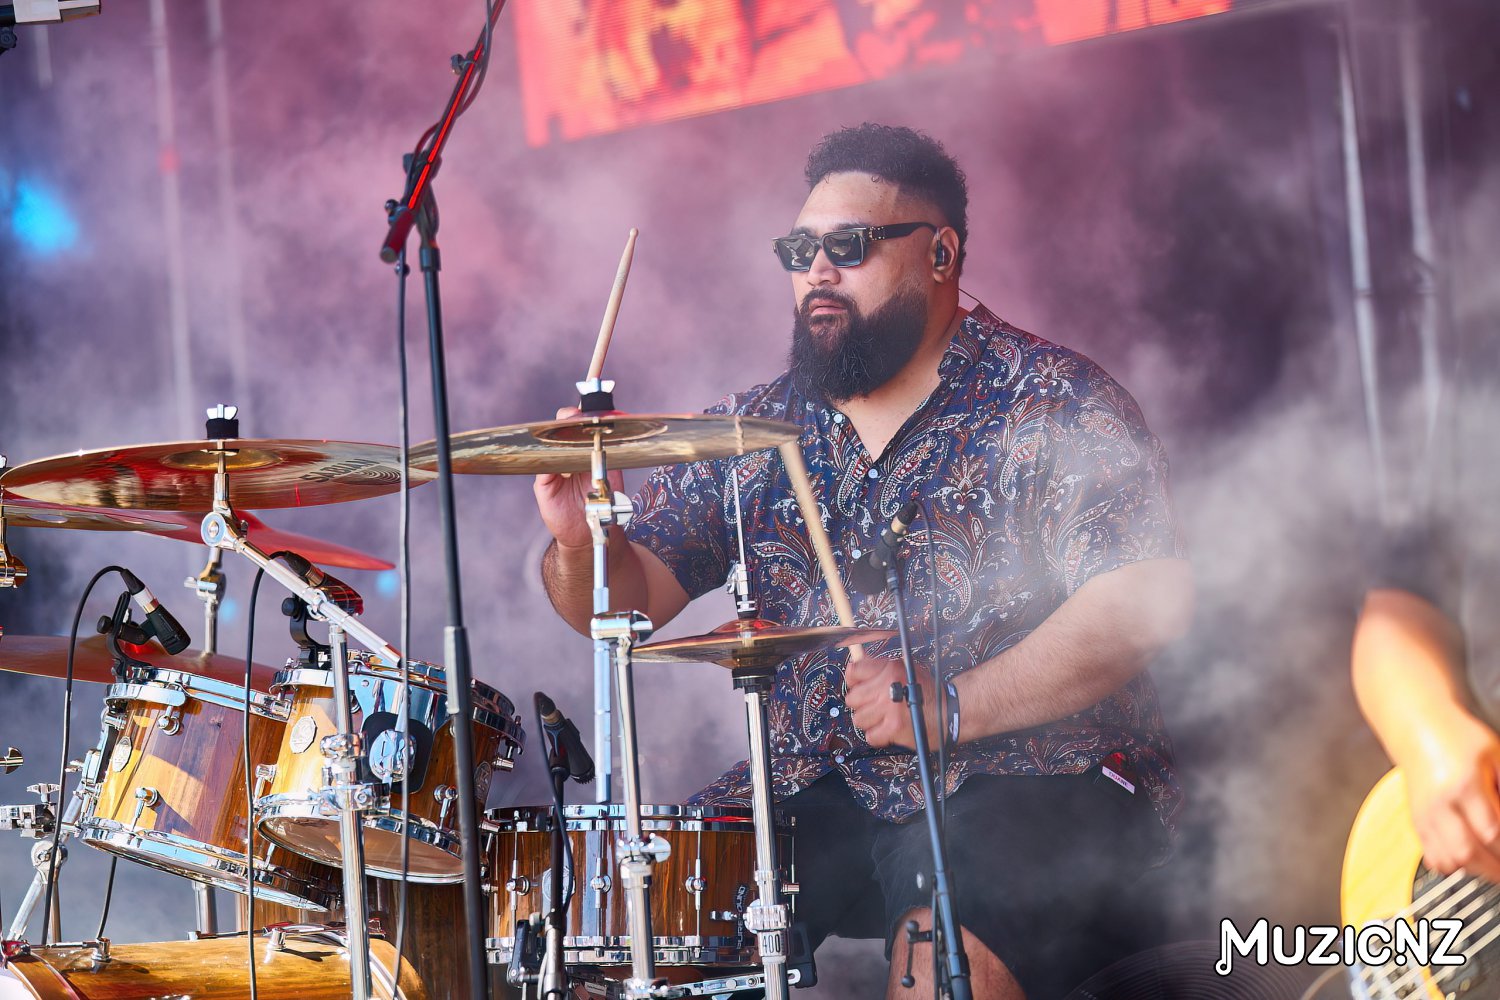
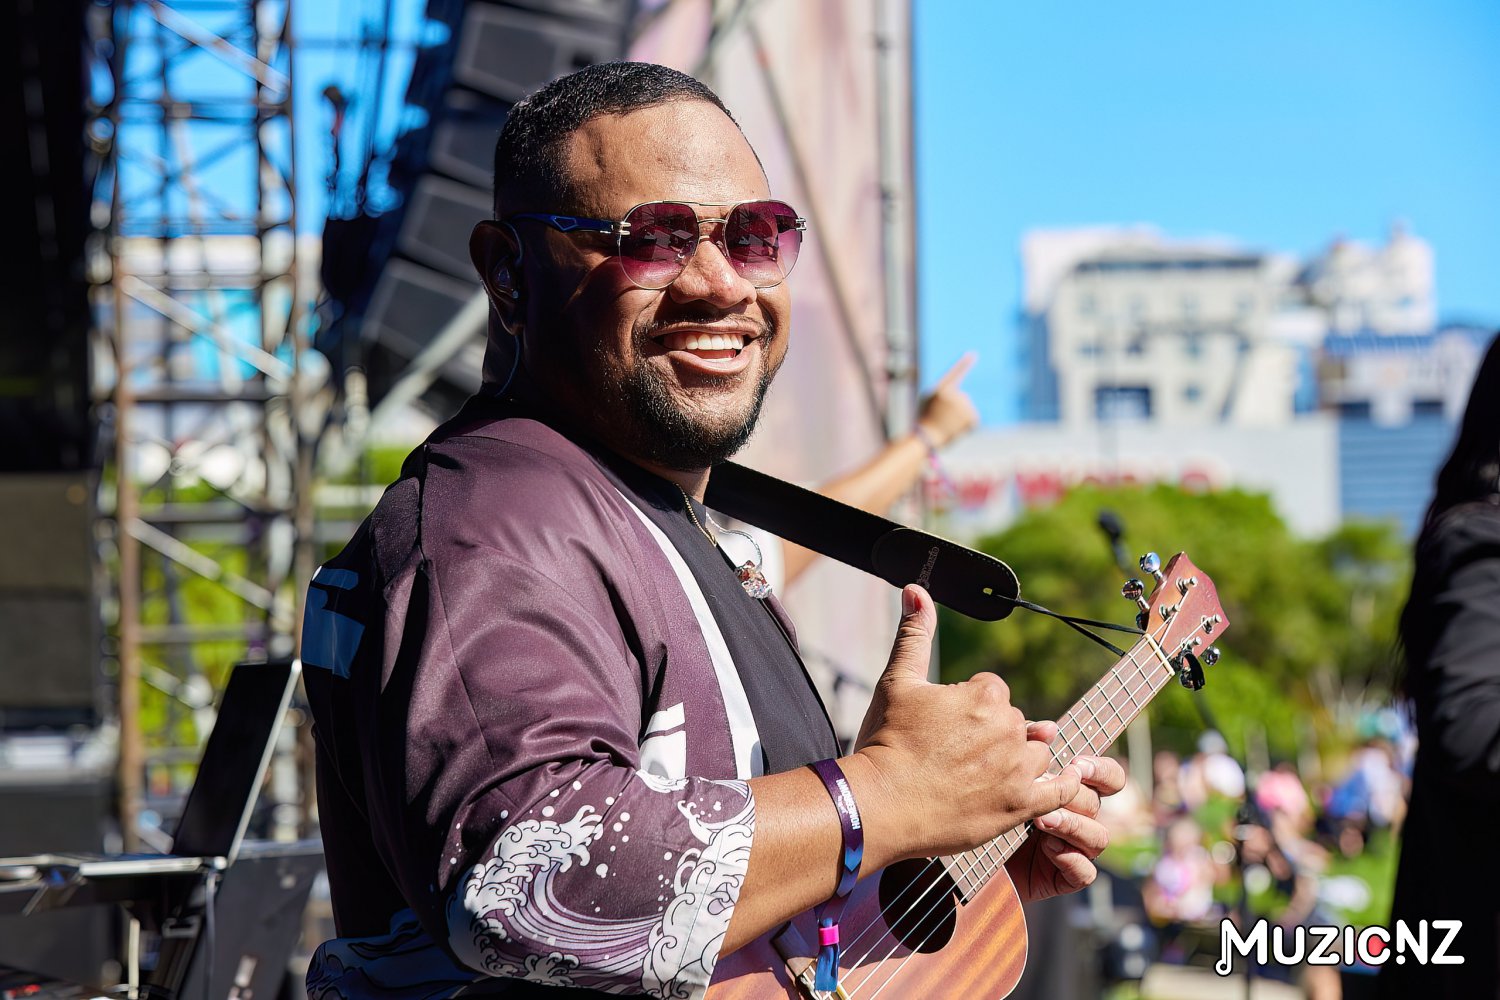
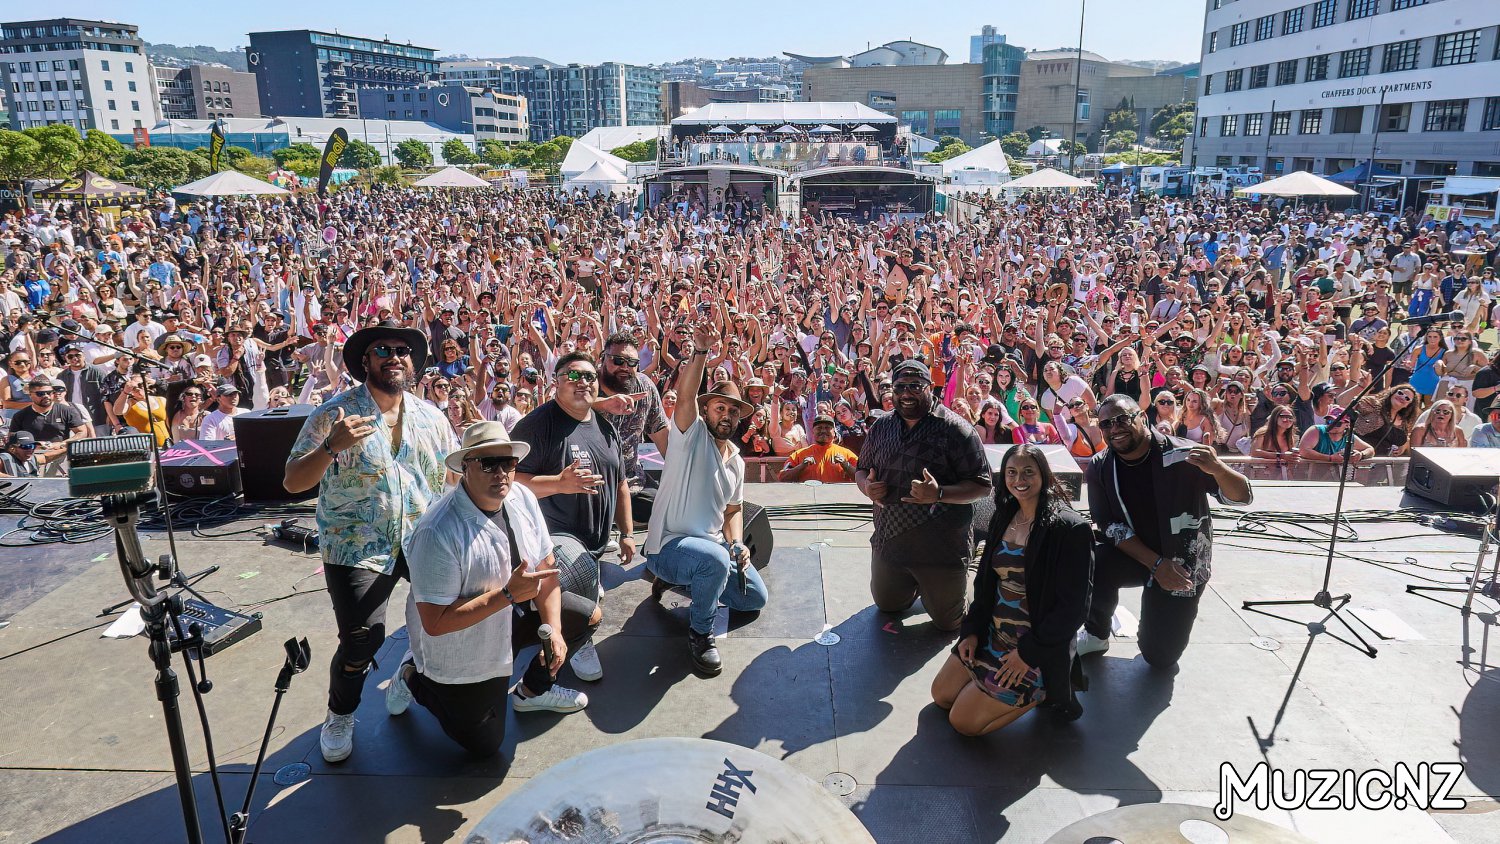
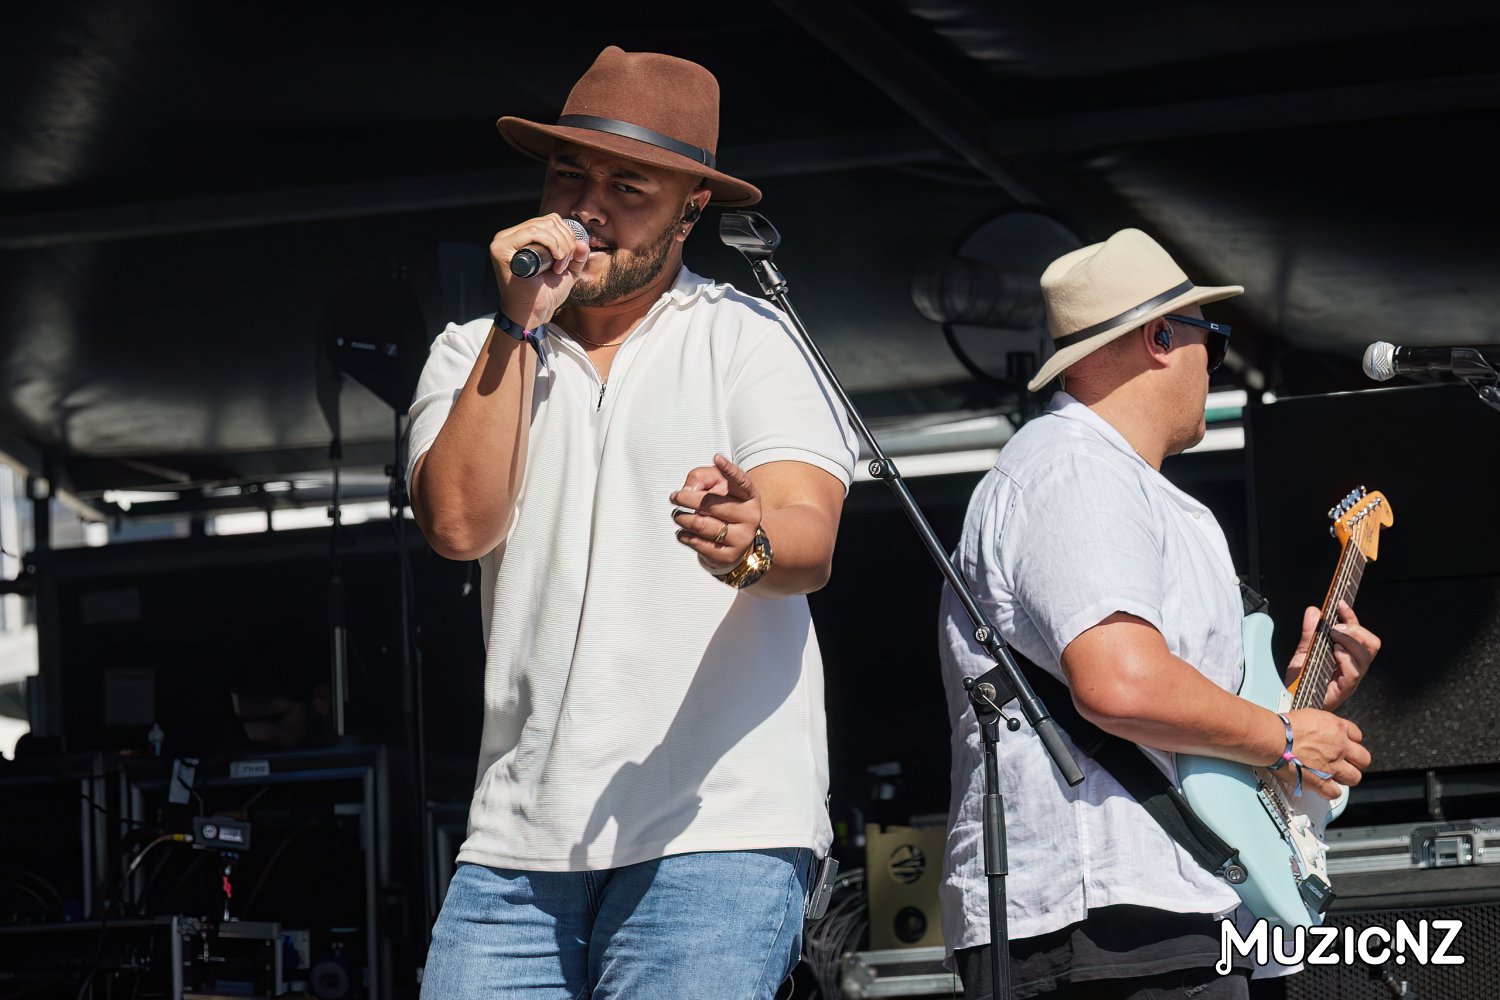
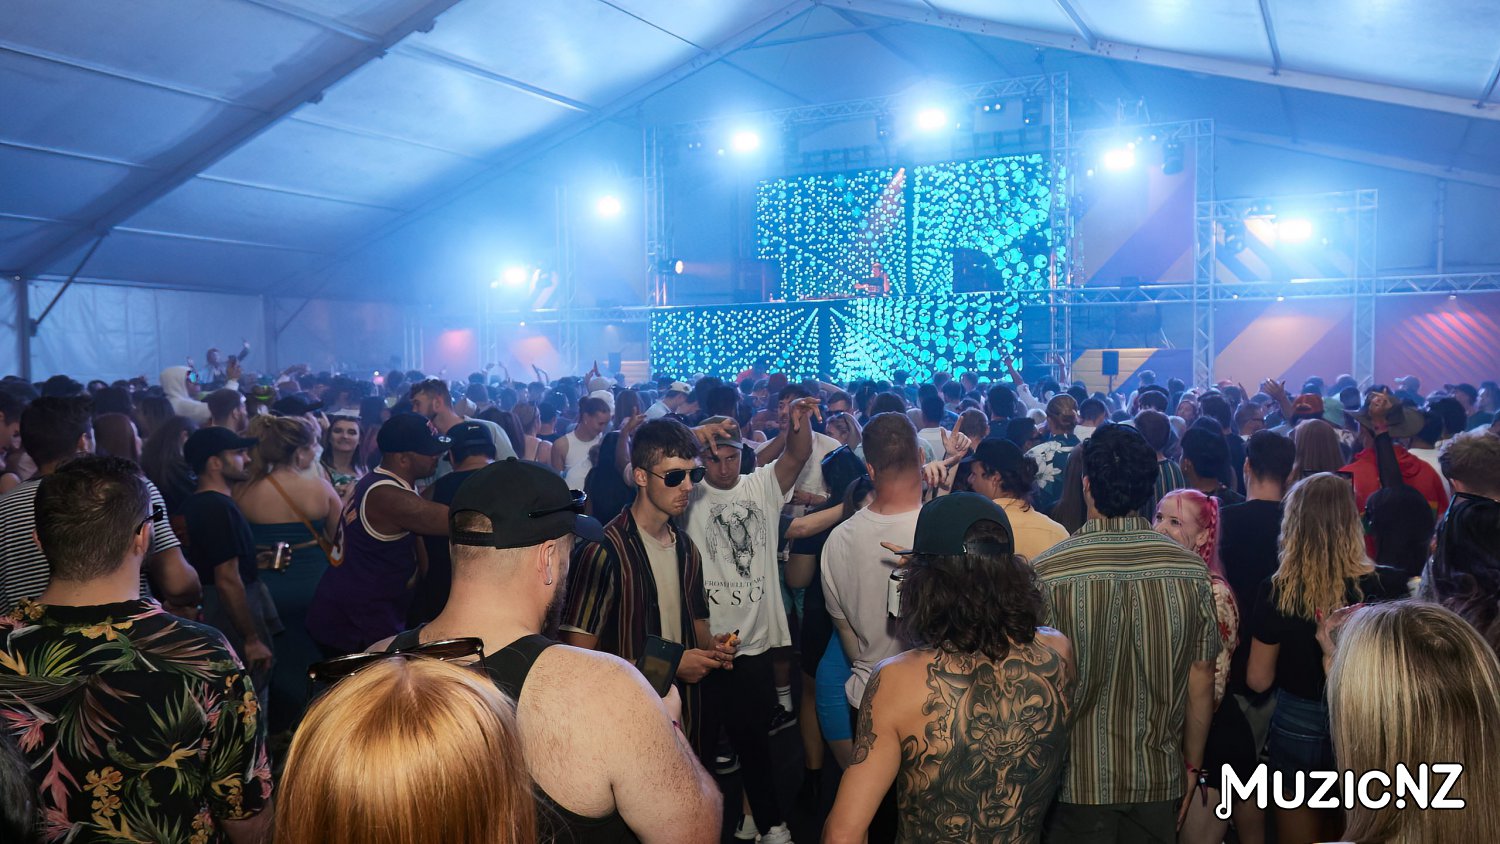
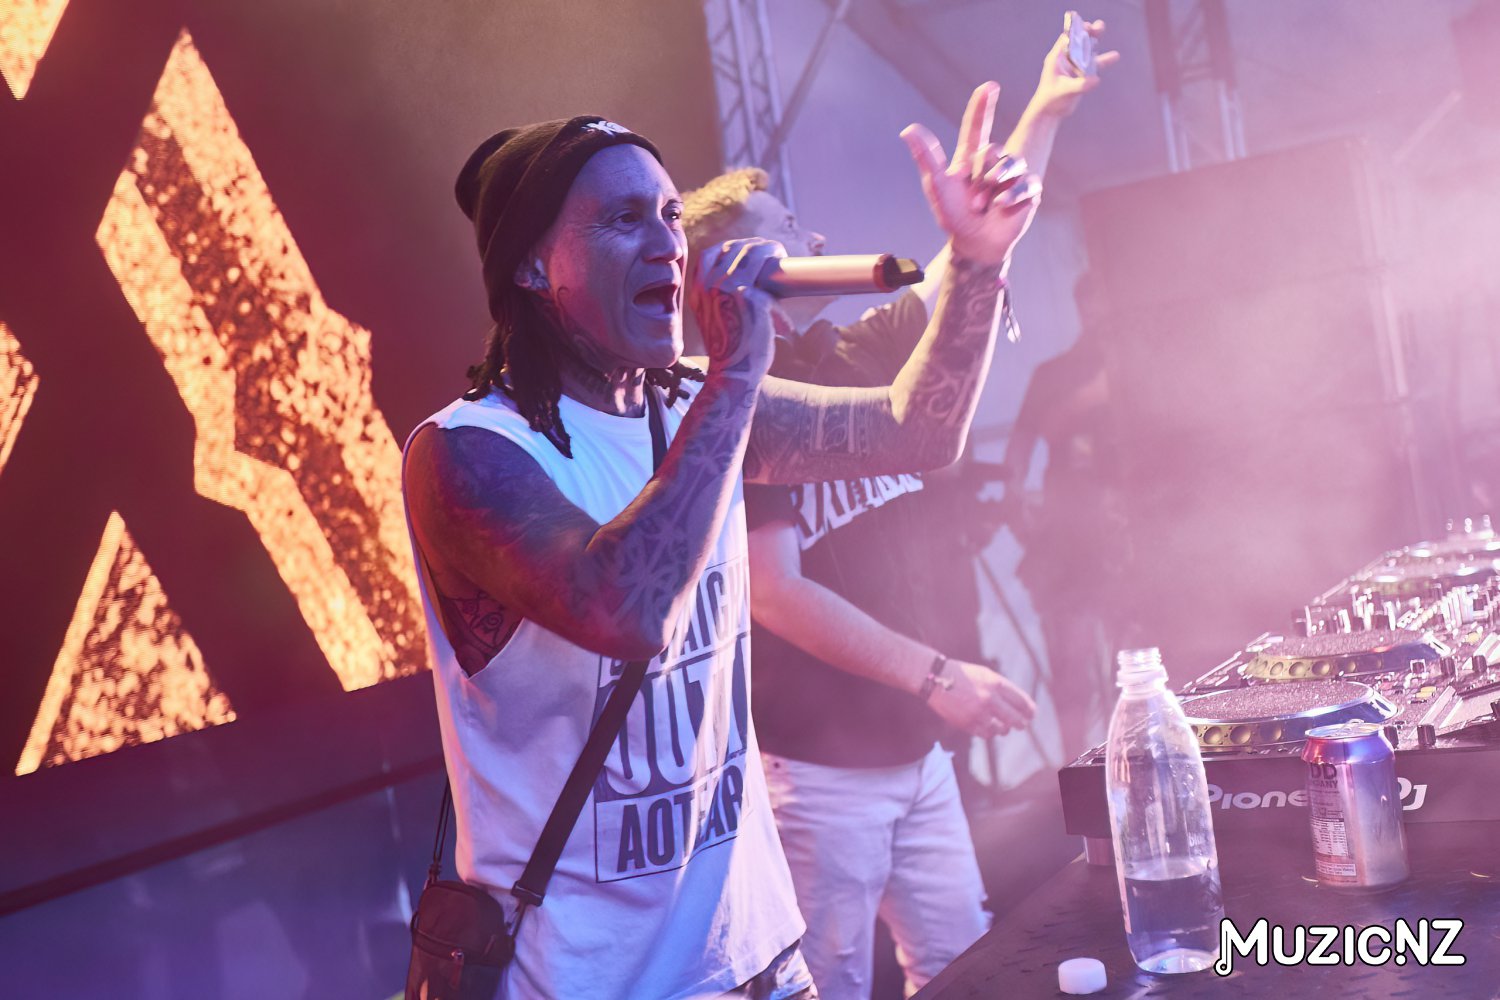
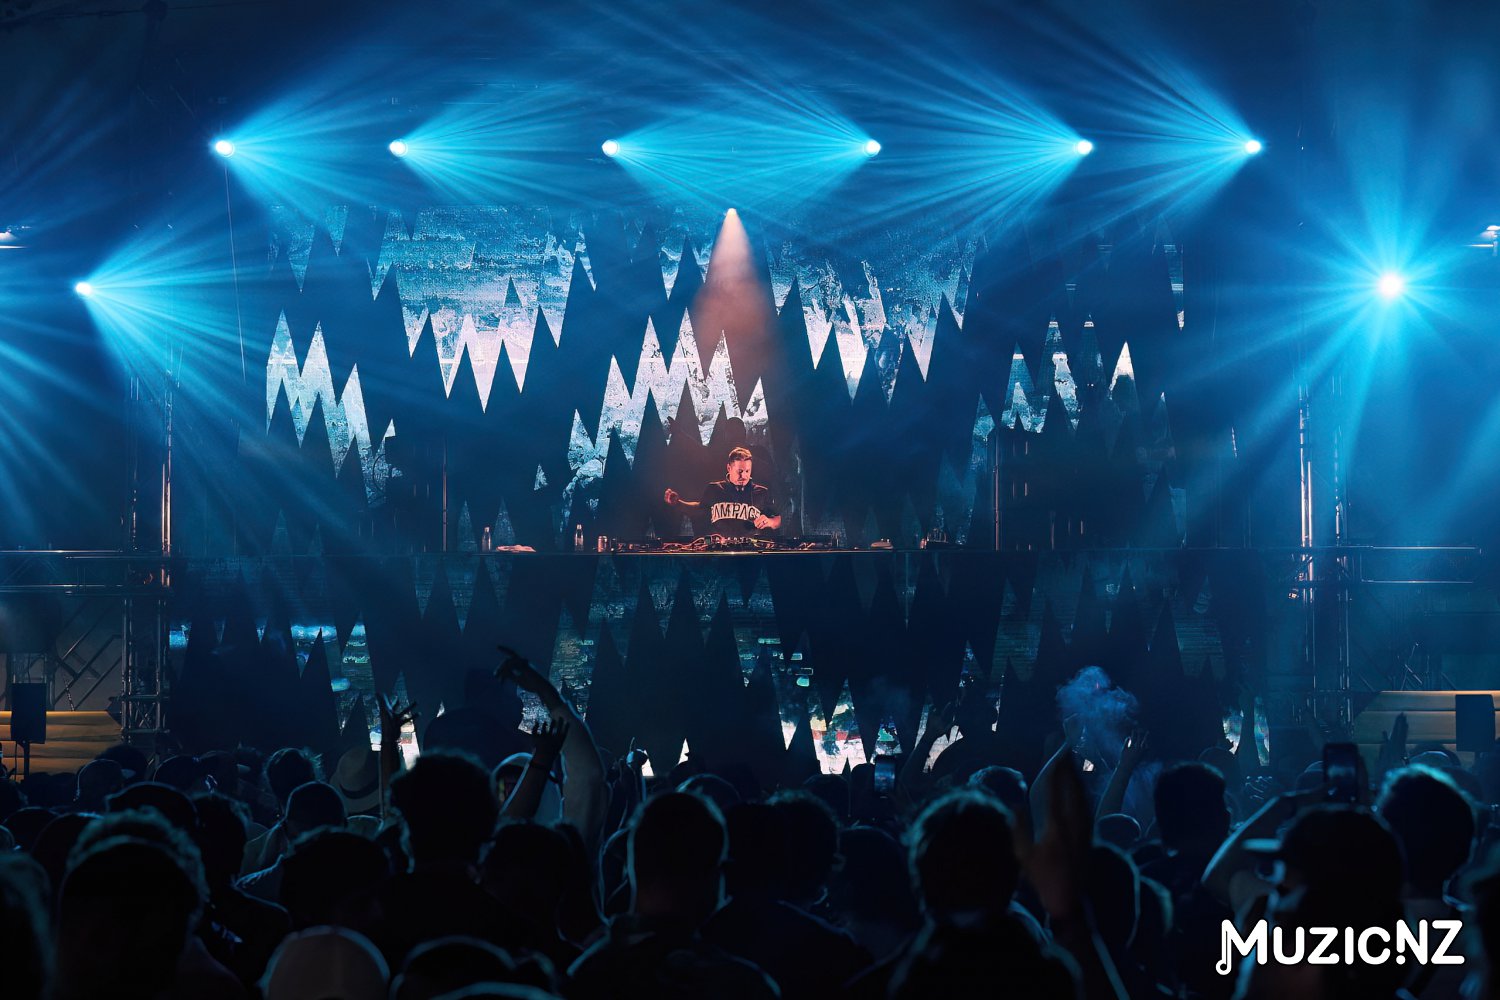
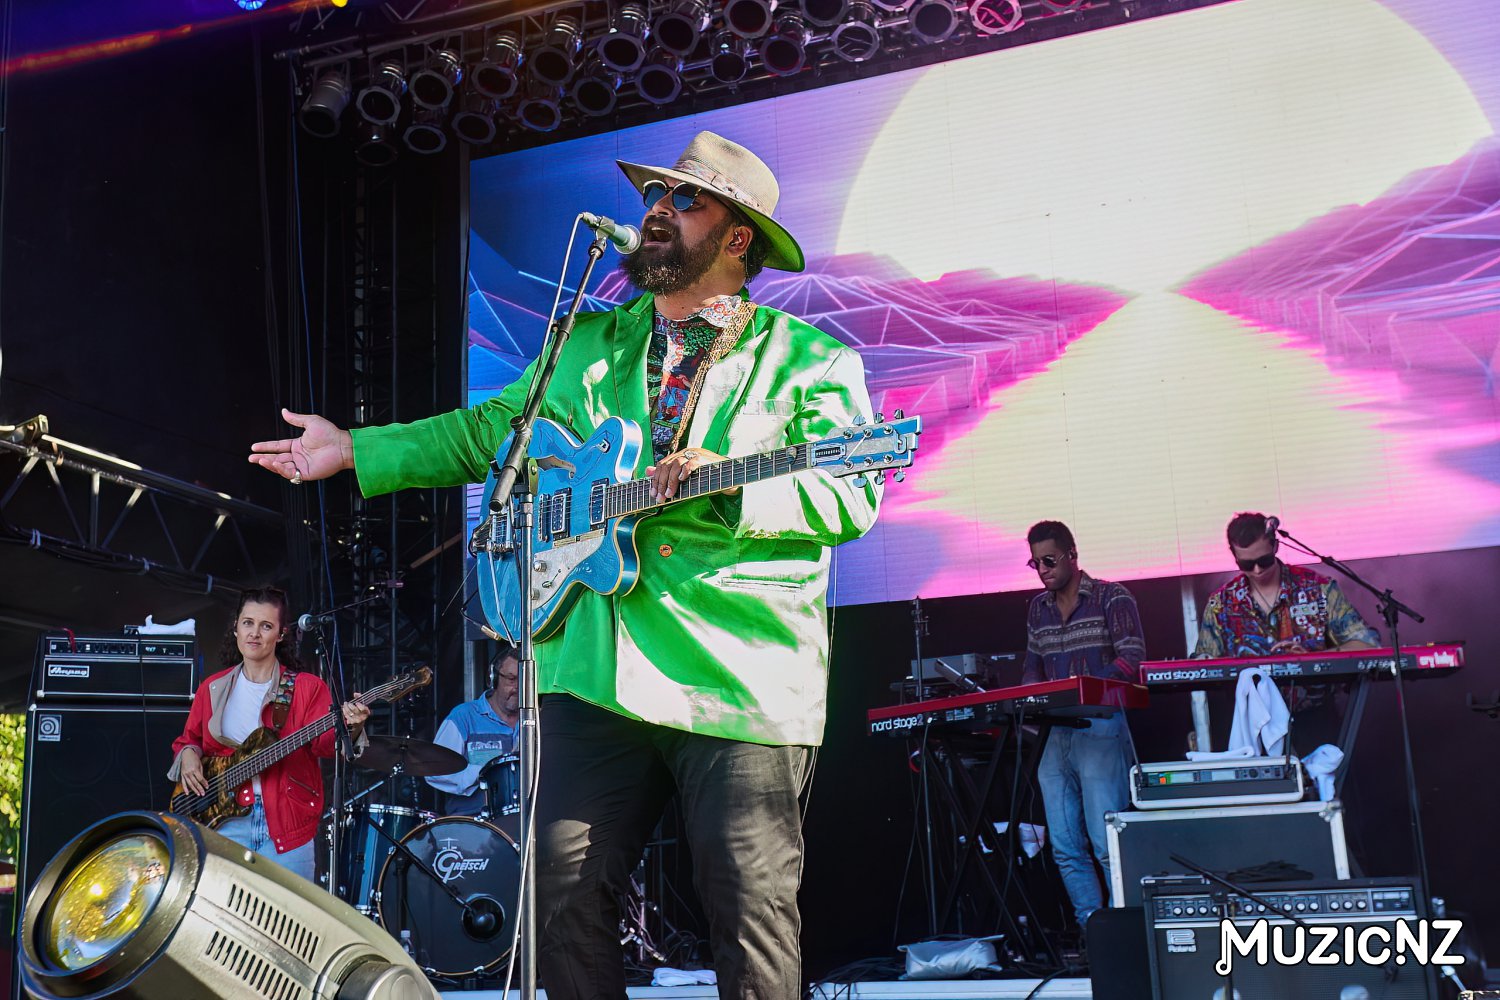
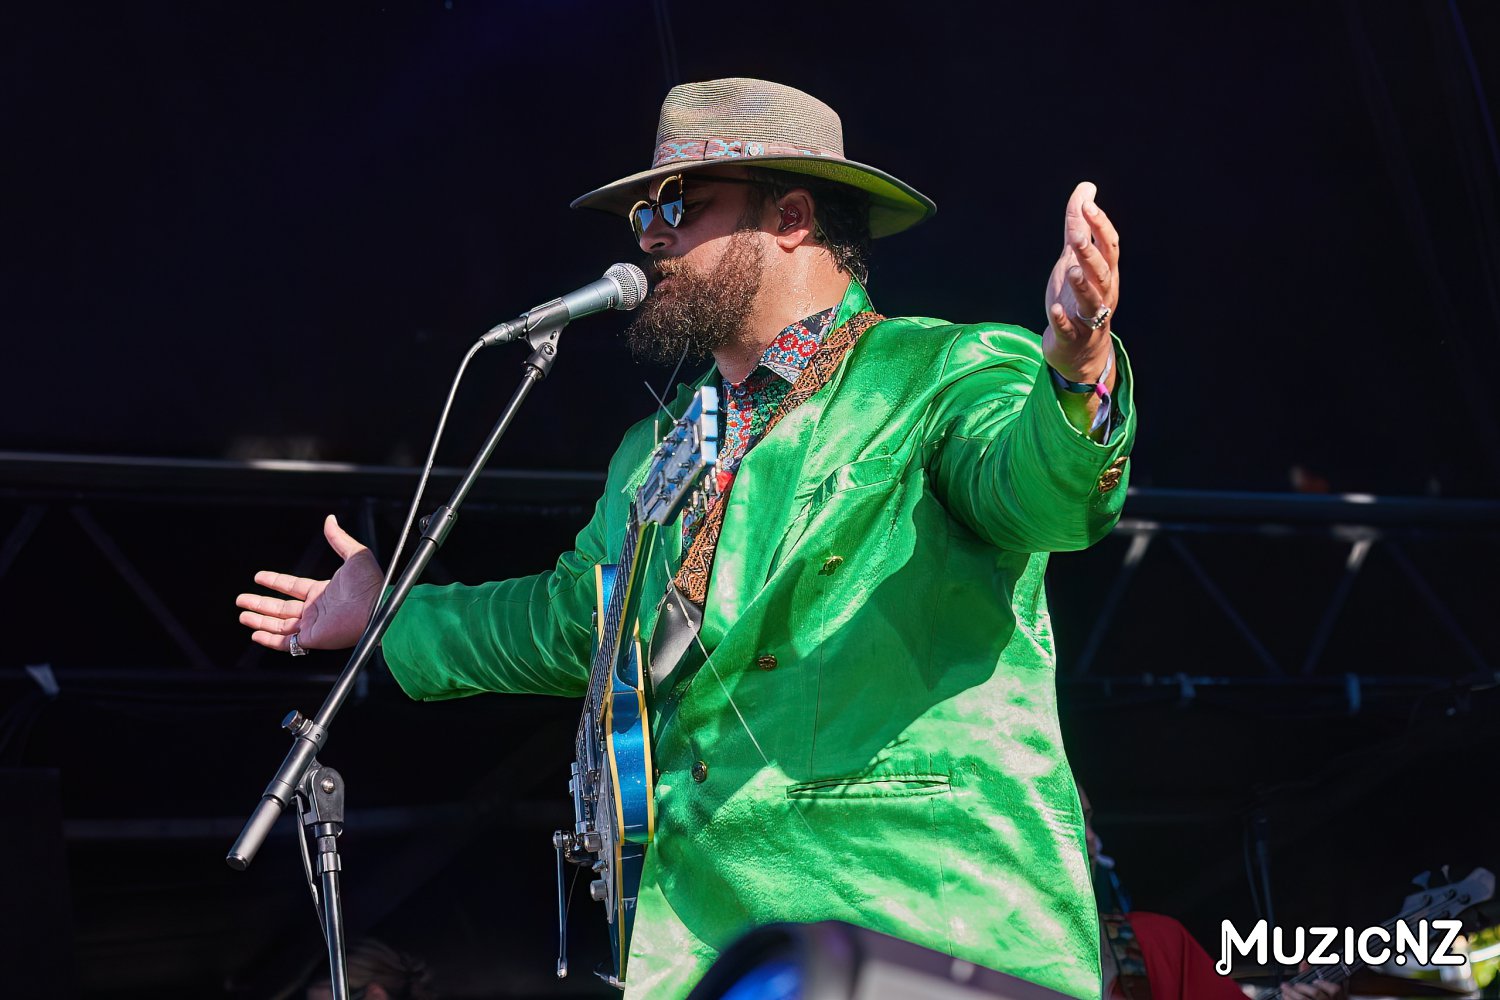
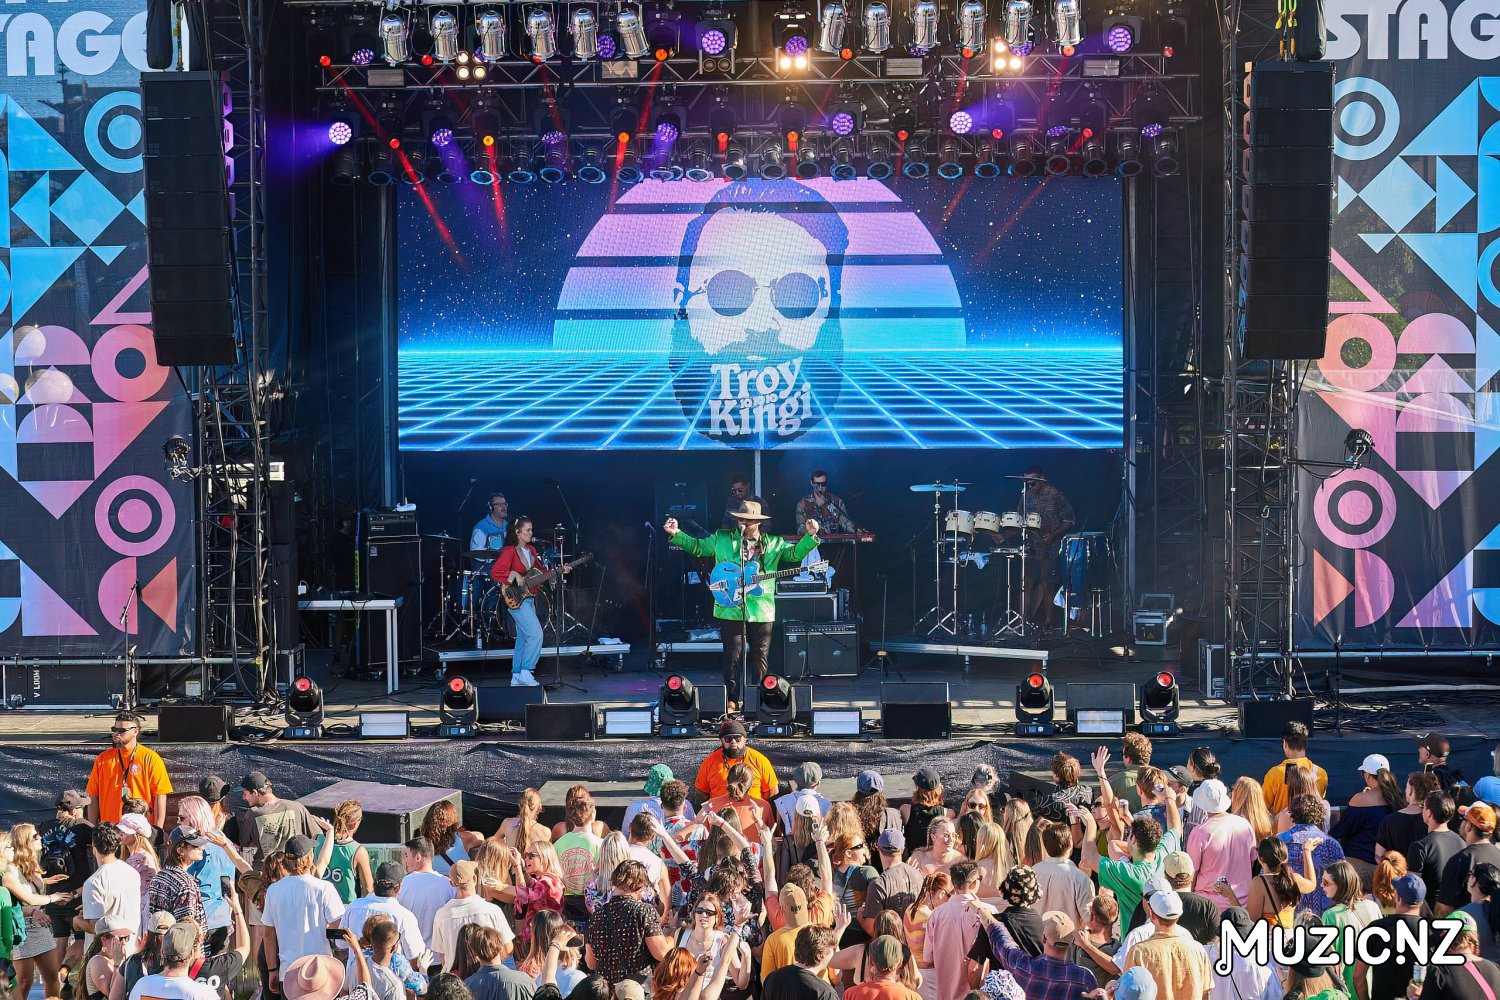
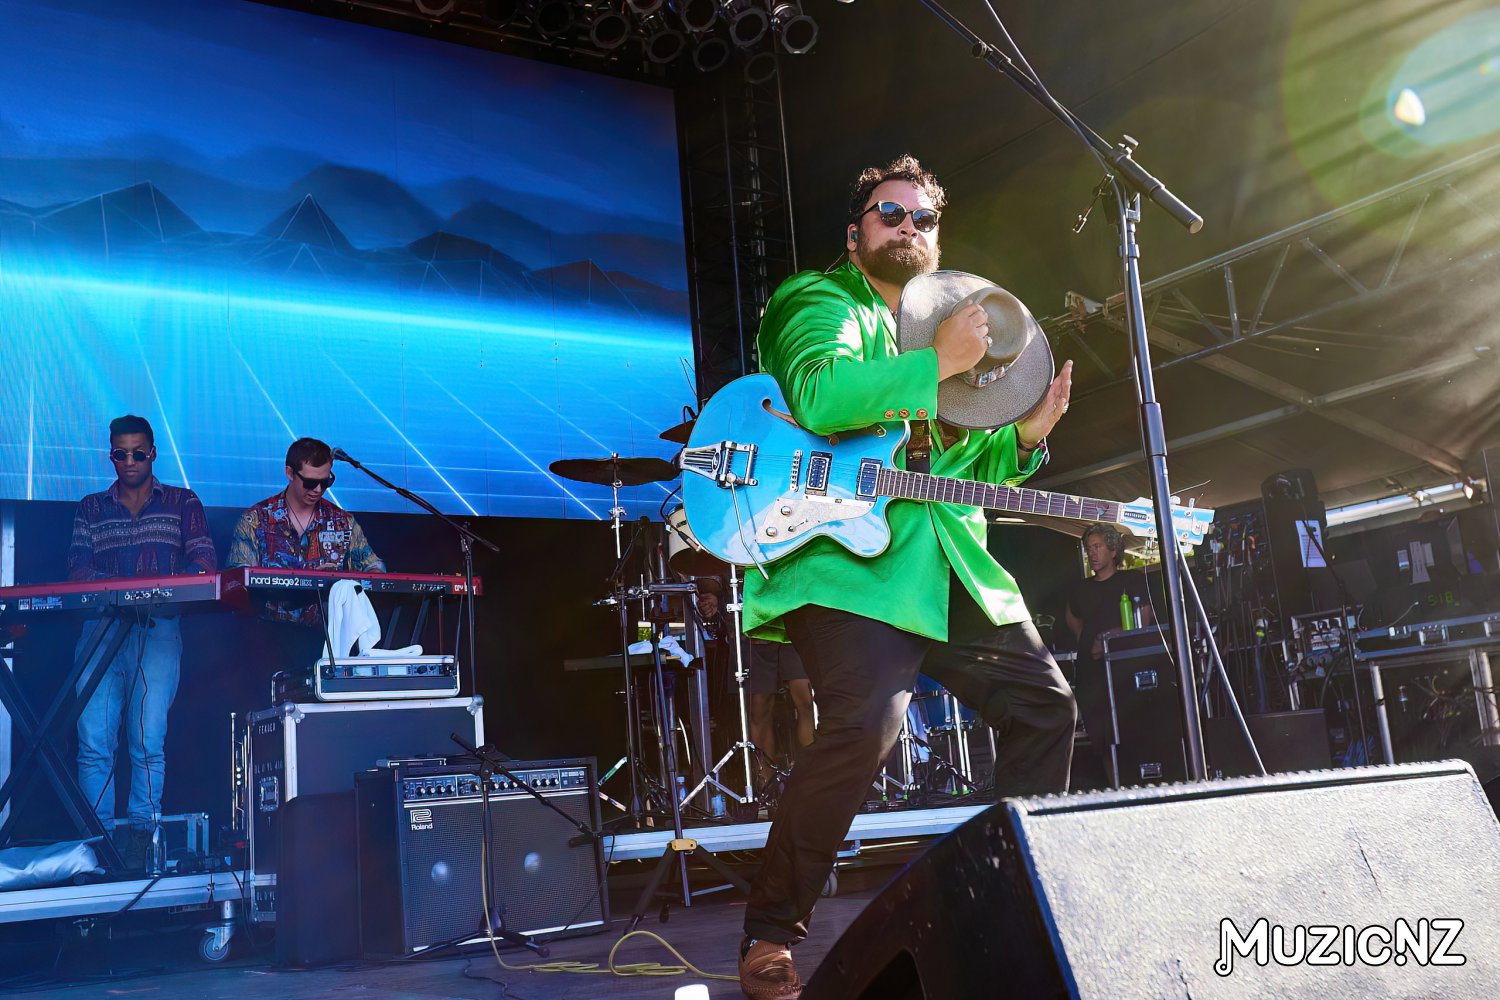
Homegrown 2023 @ Wellington Waterfront - 18/03/2023 - Gallery 2
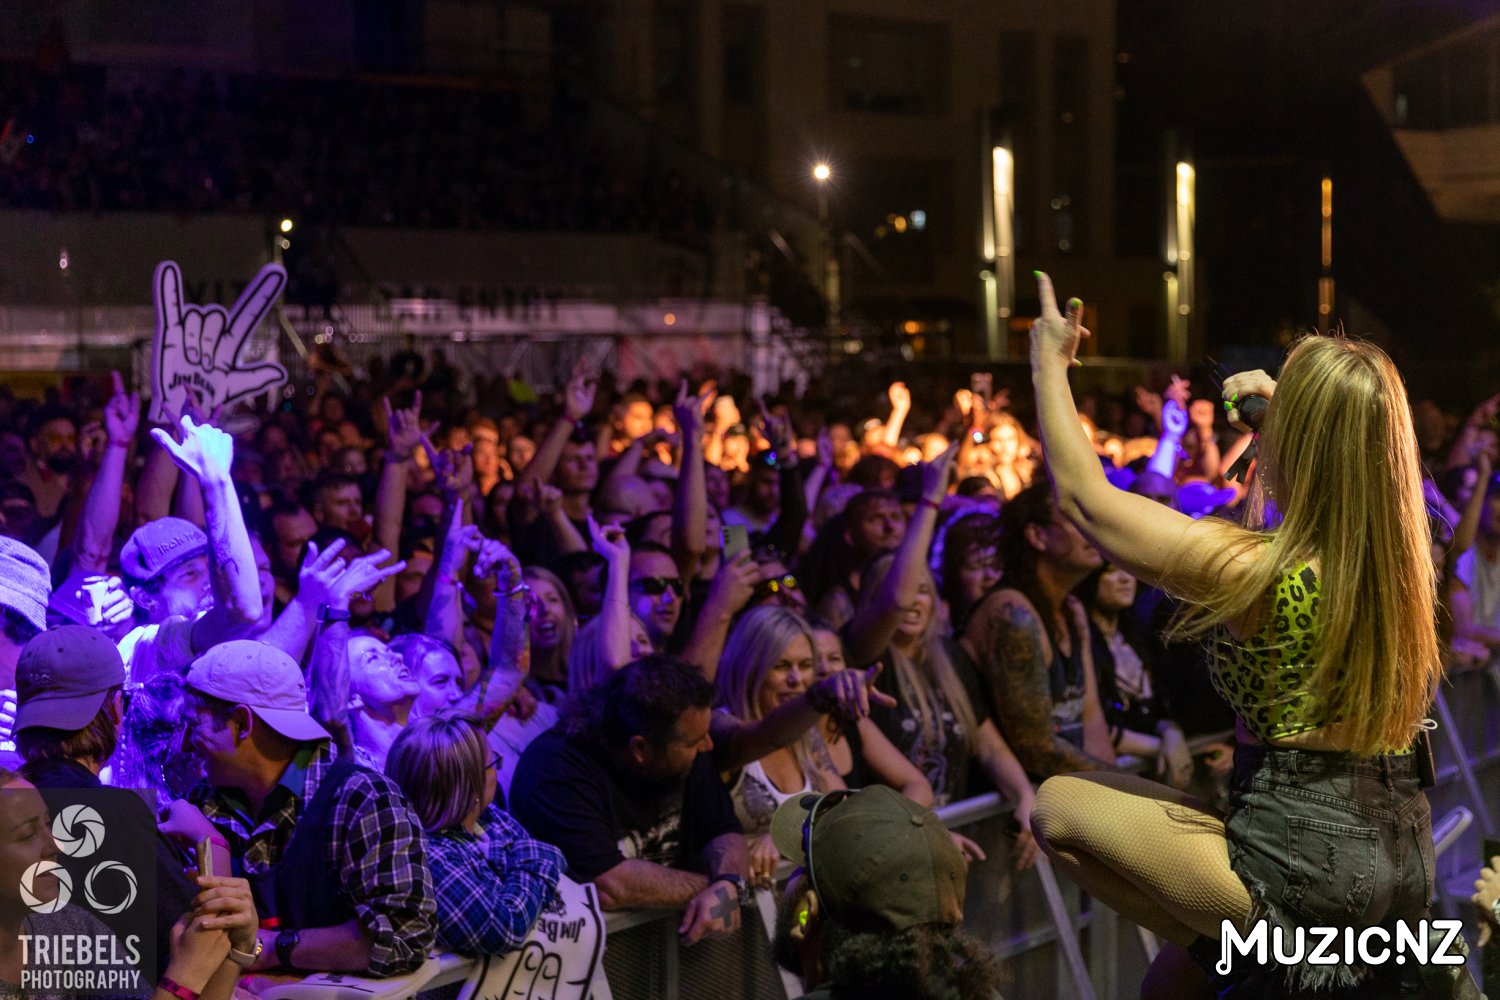
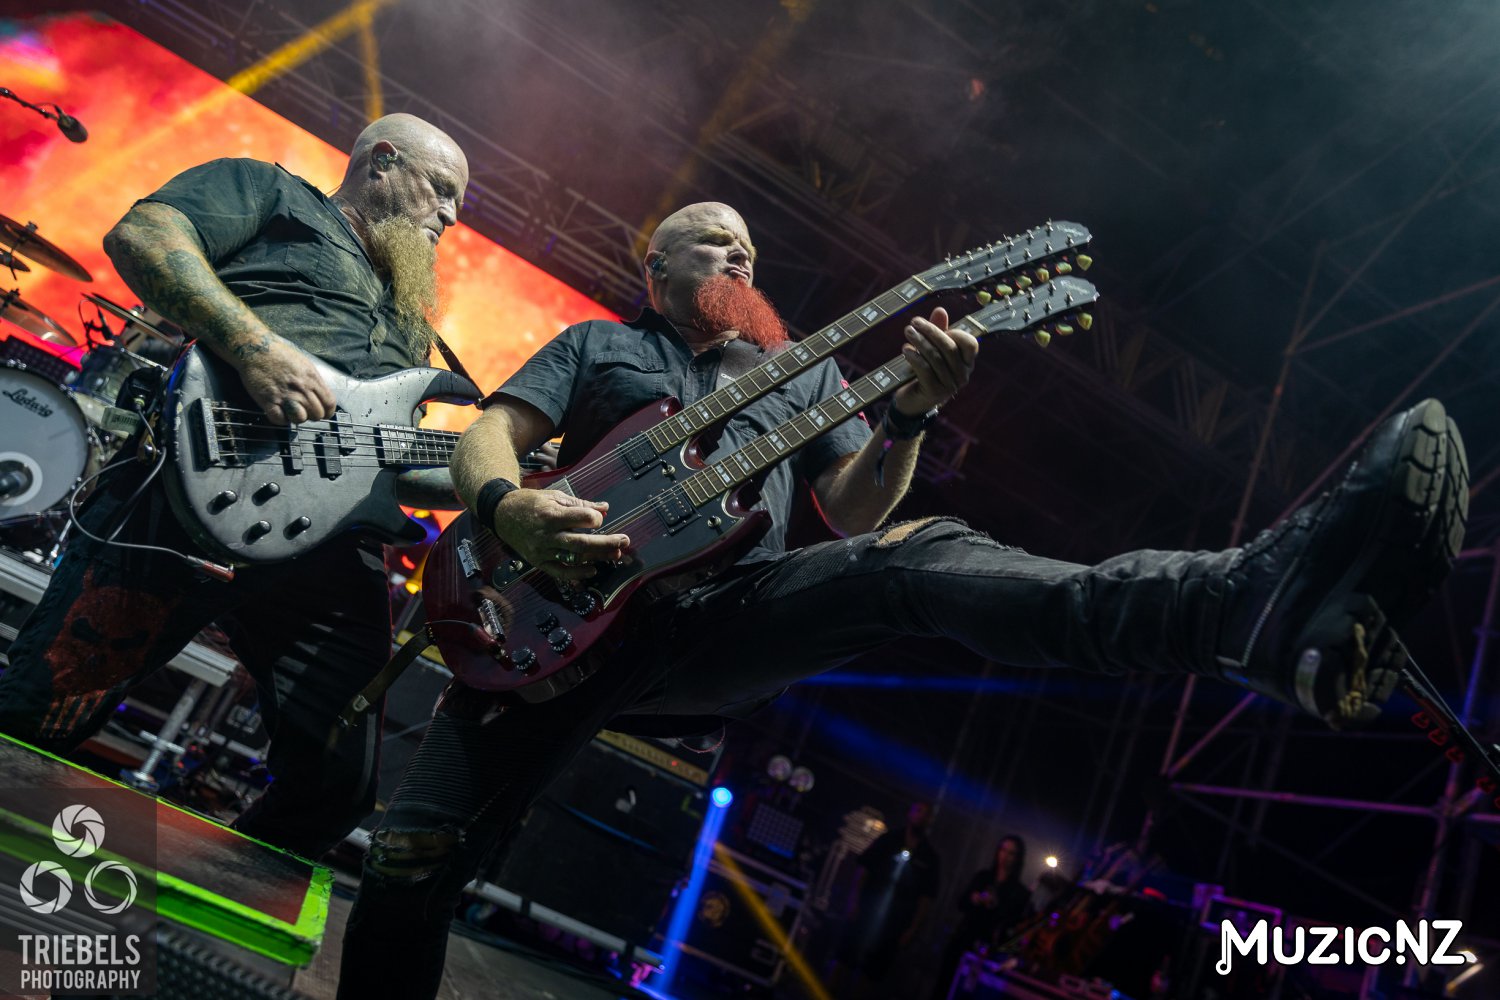
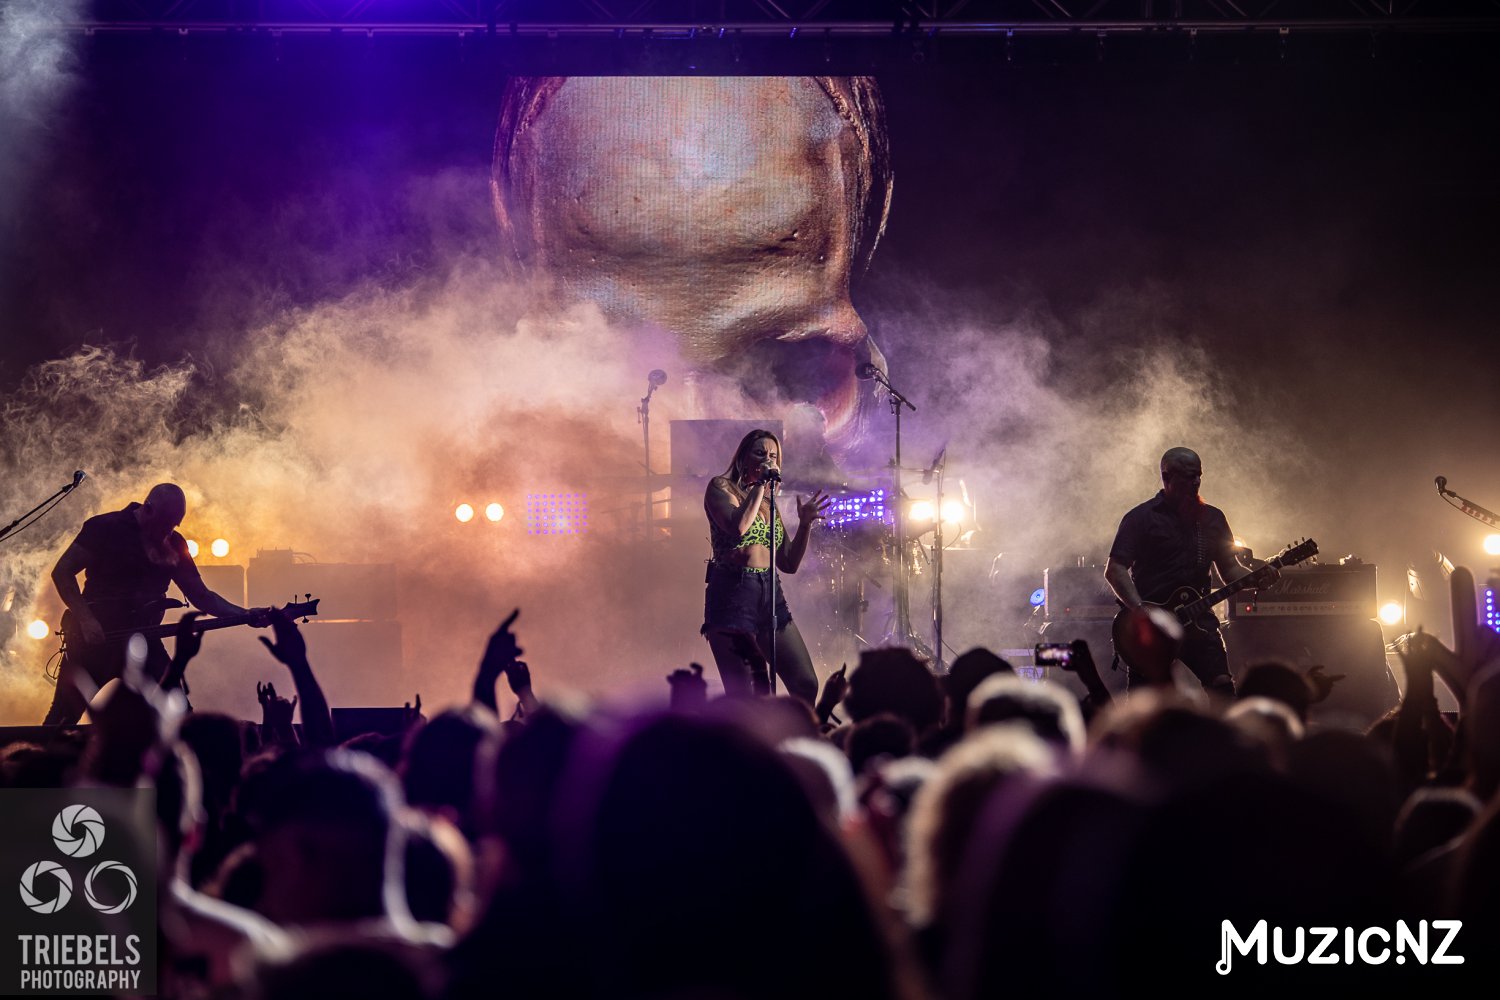
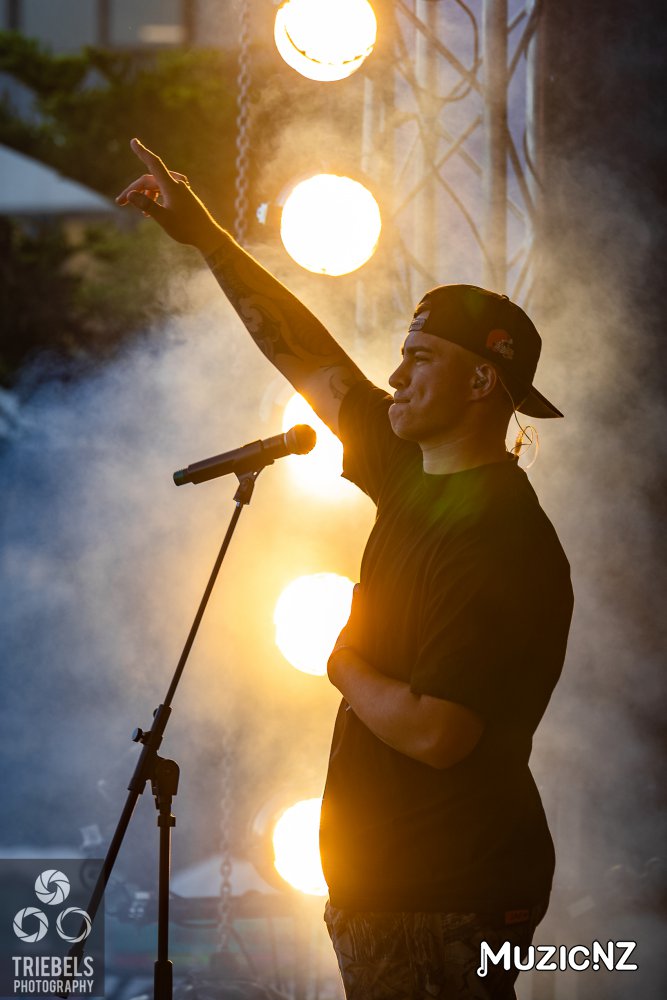
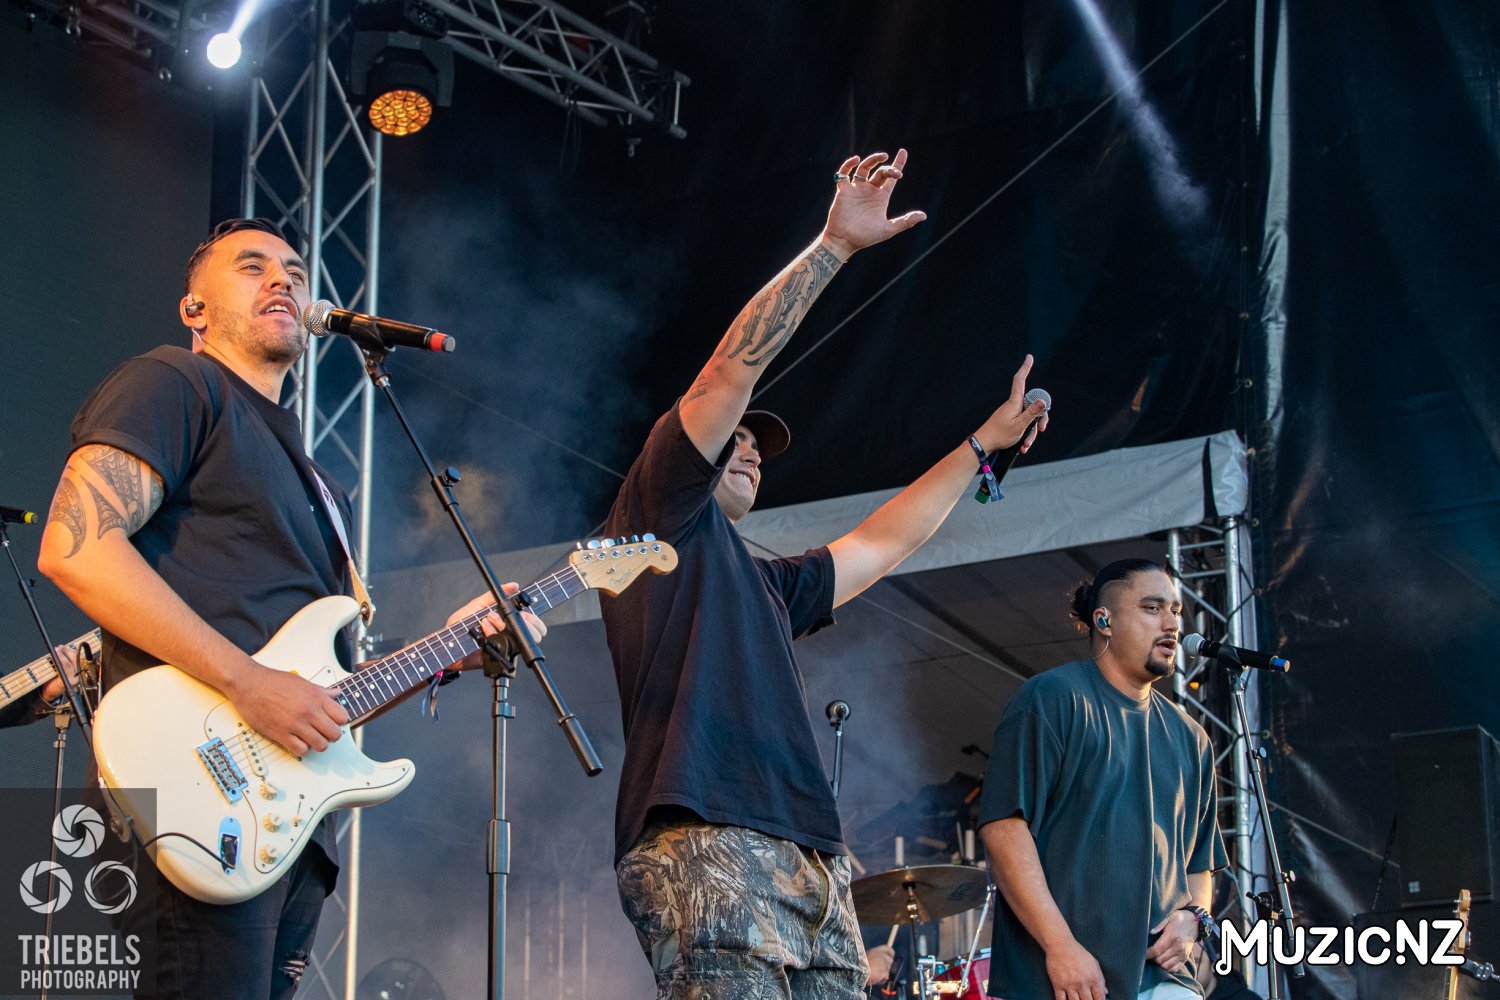
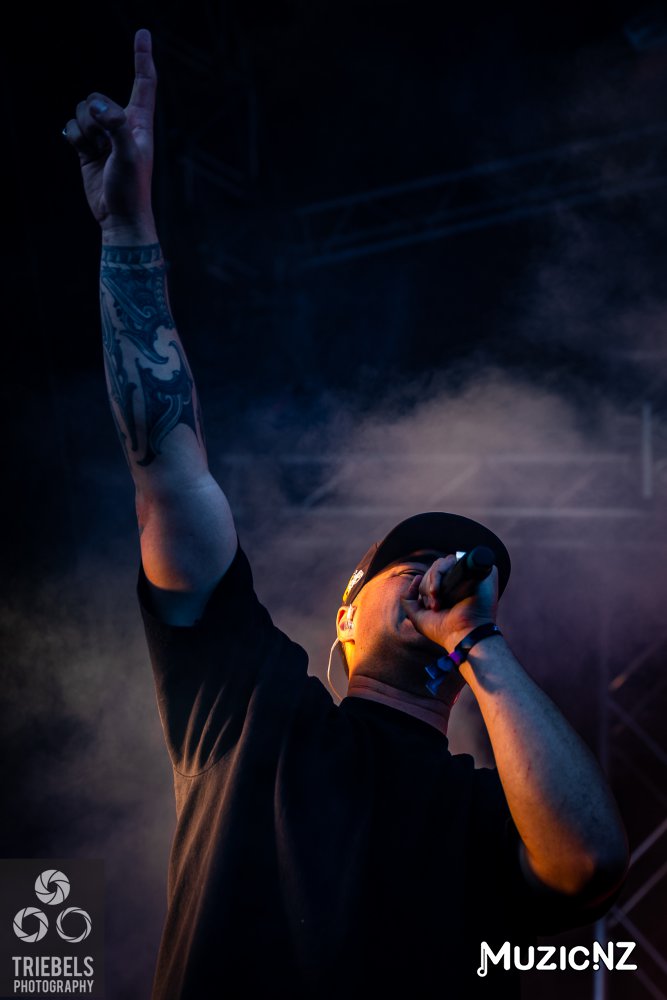
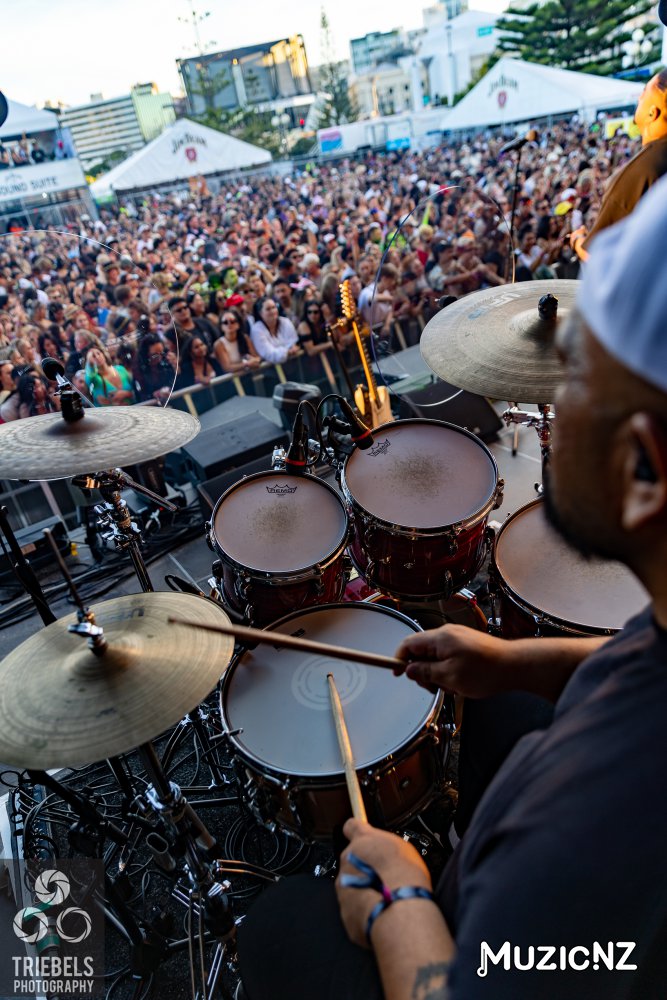
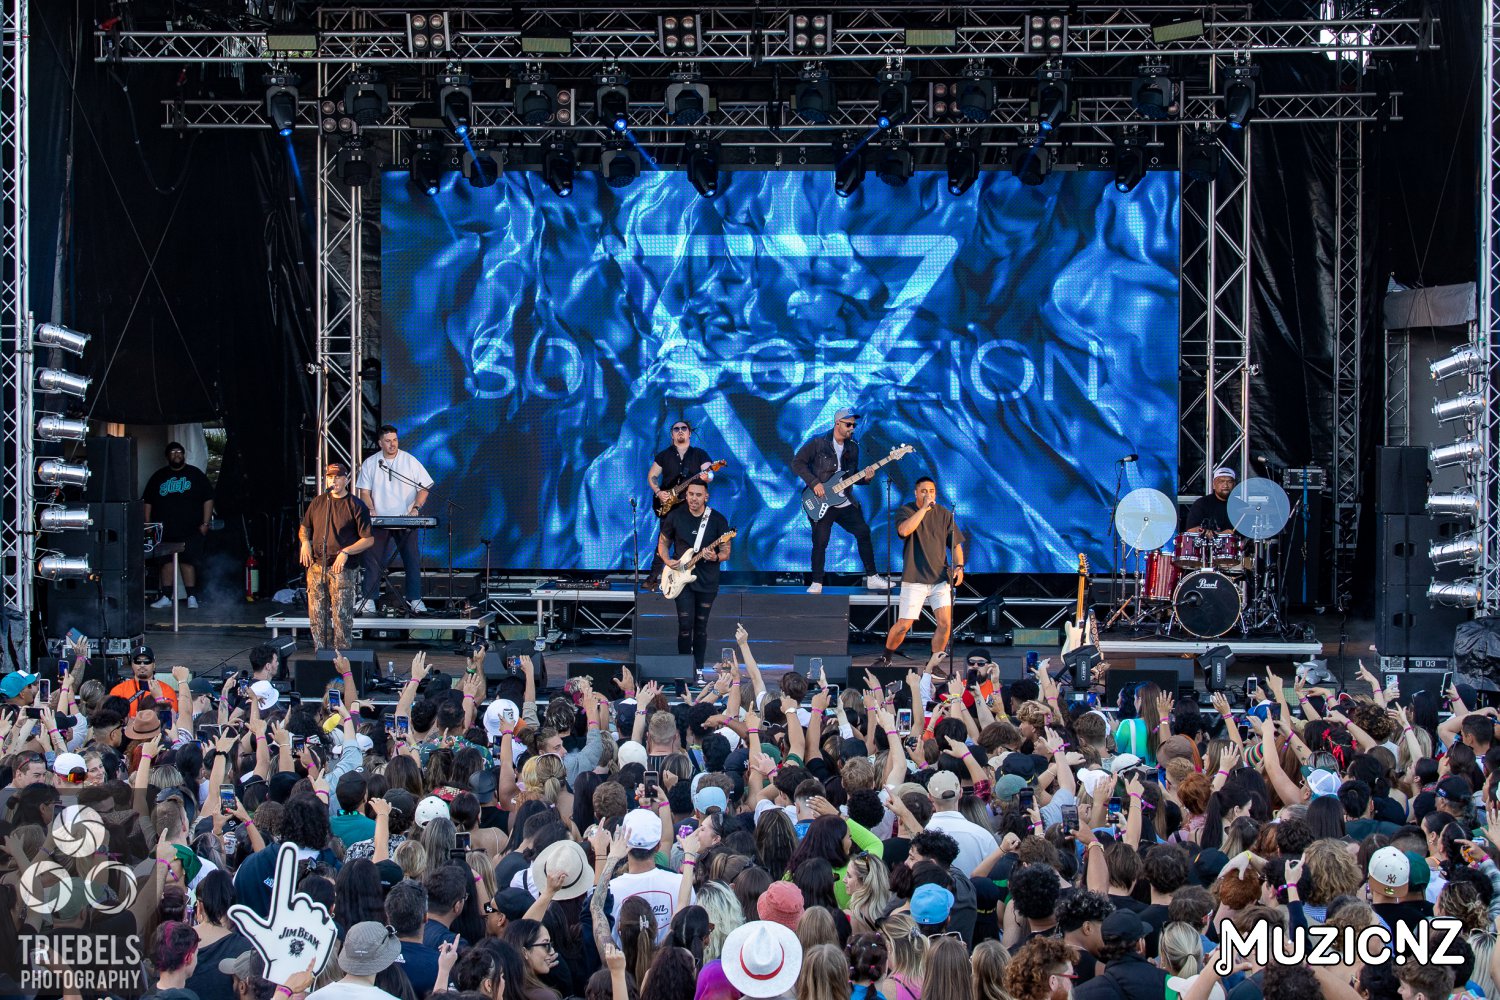
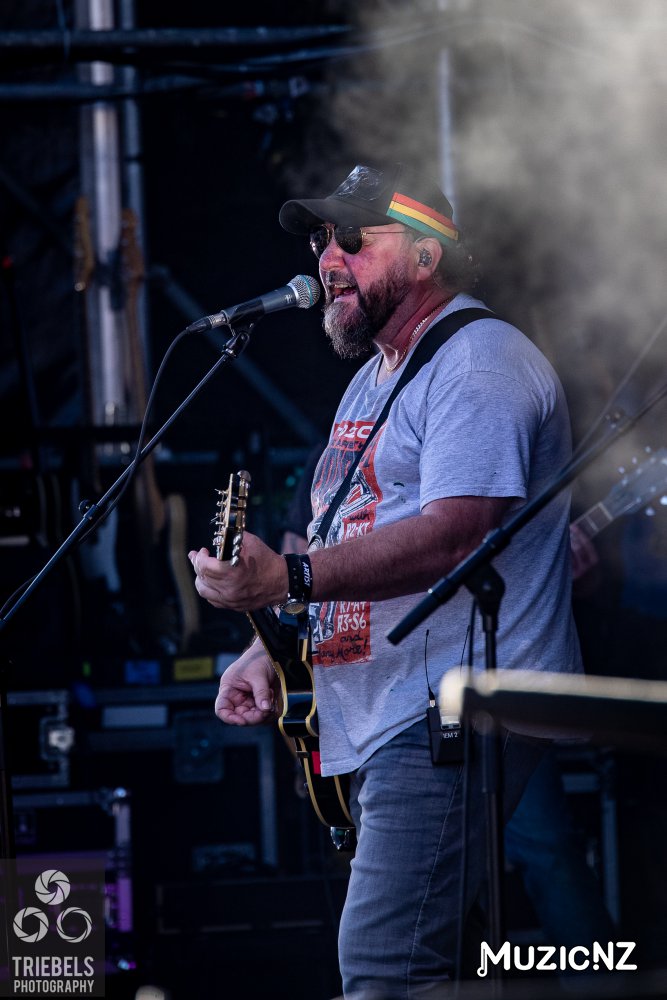
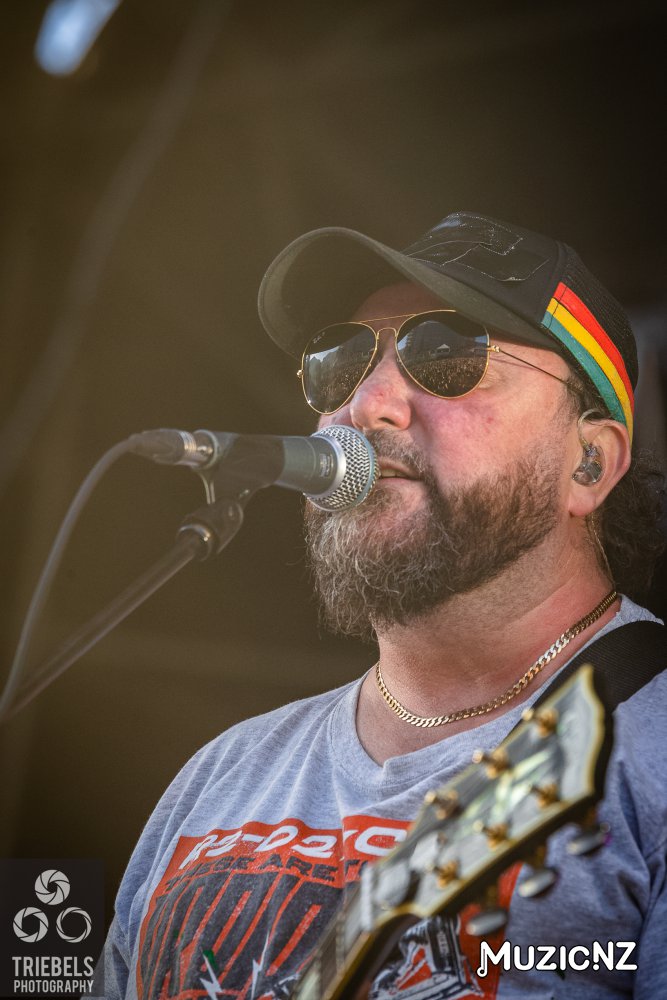
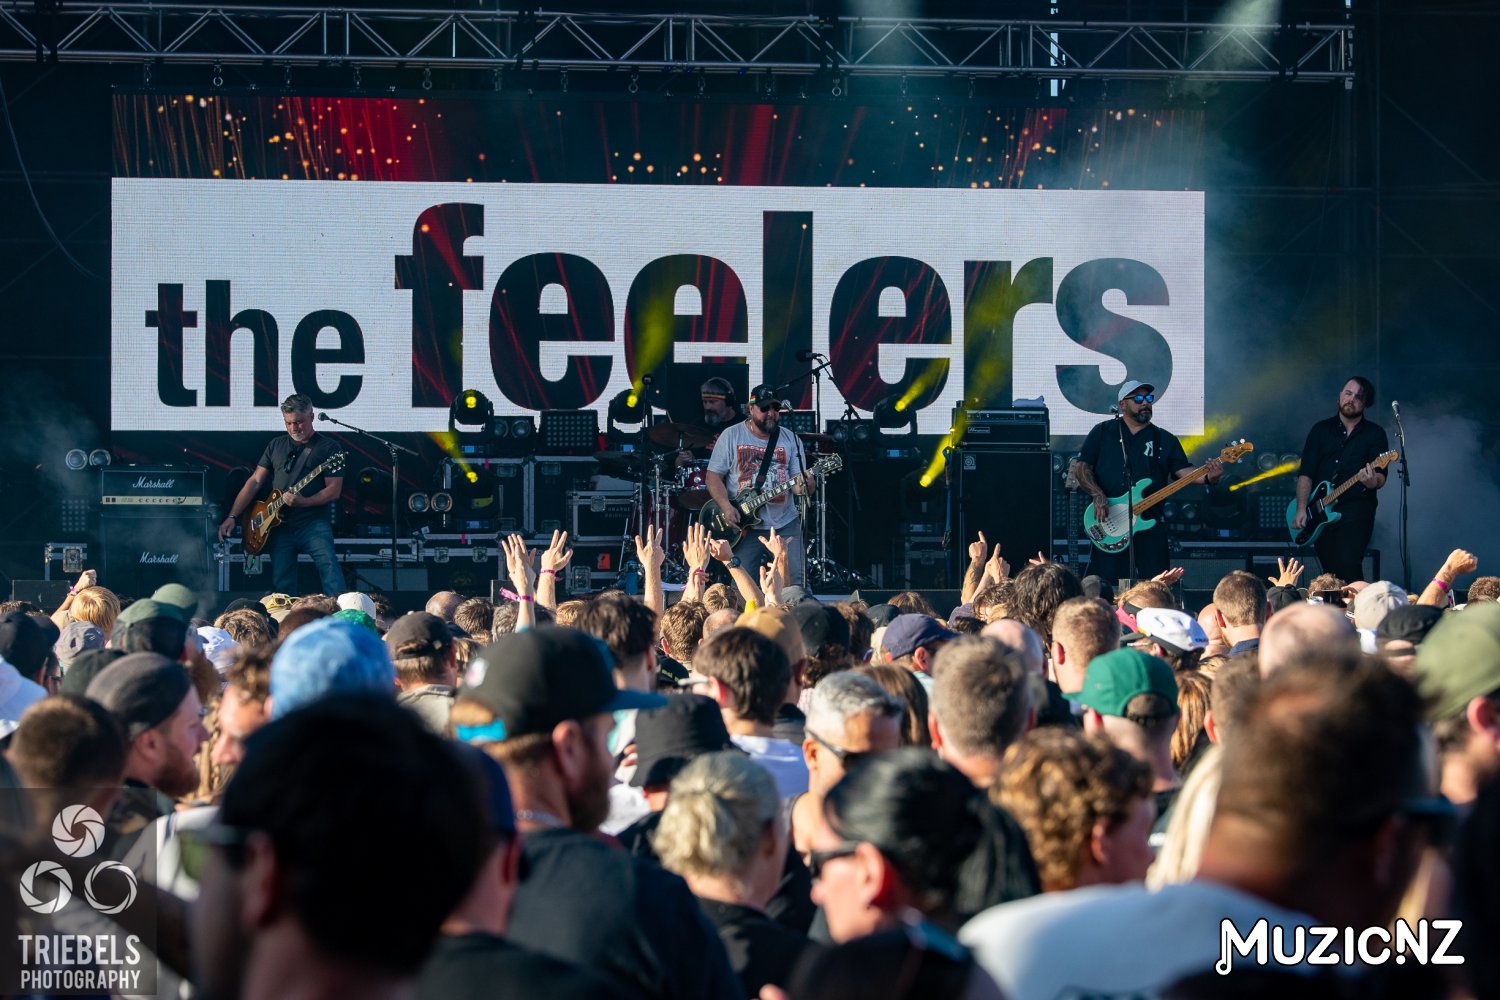
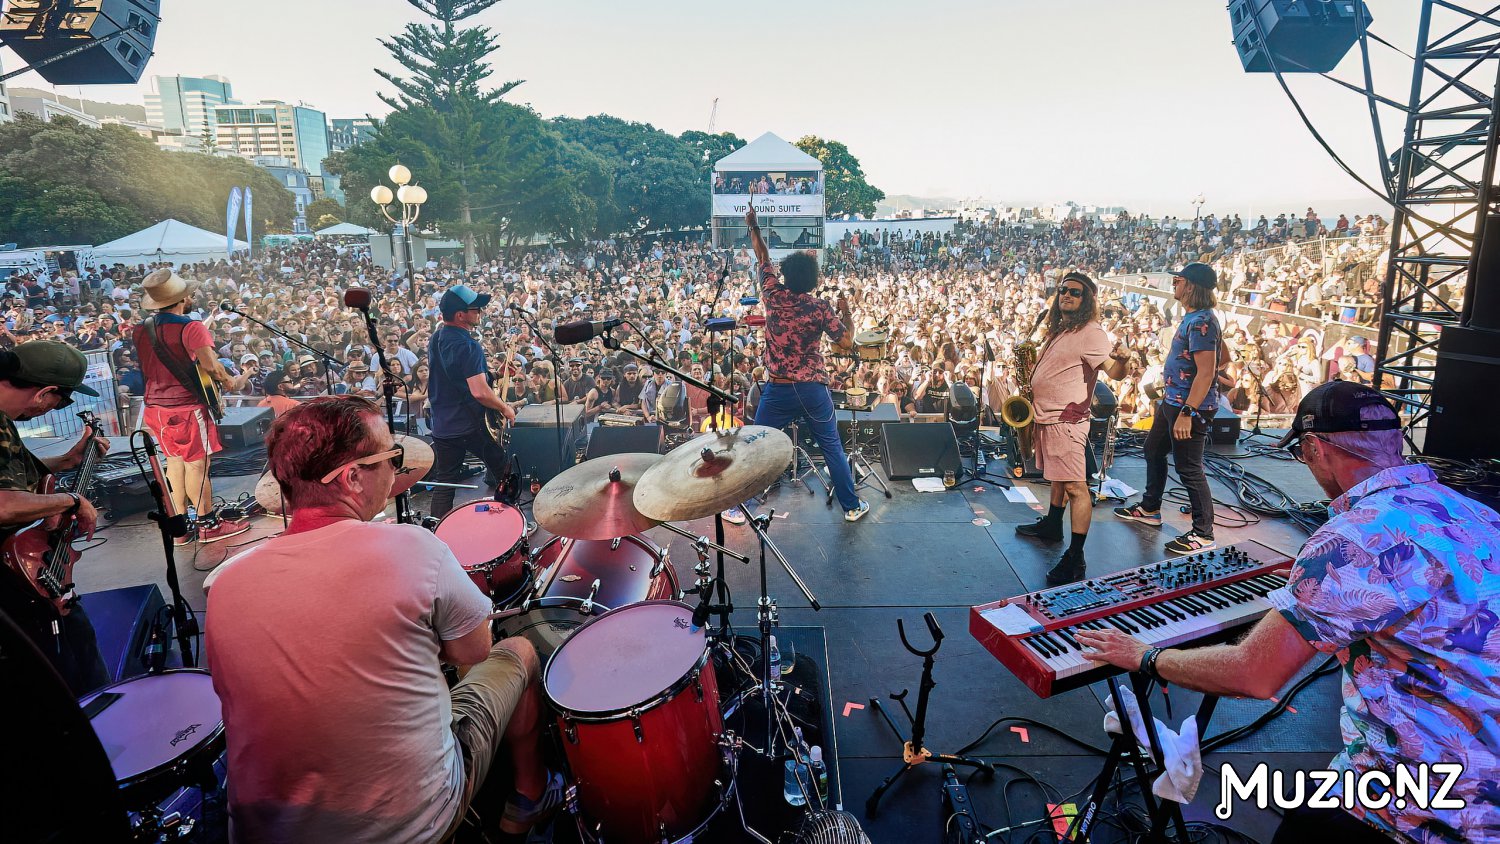
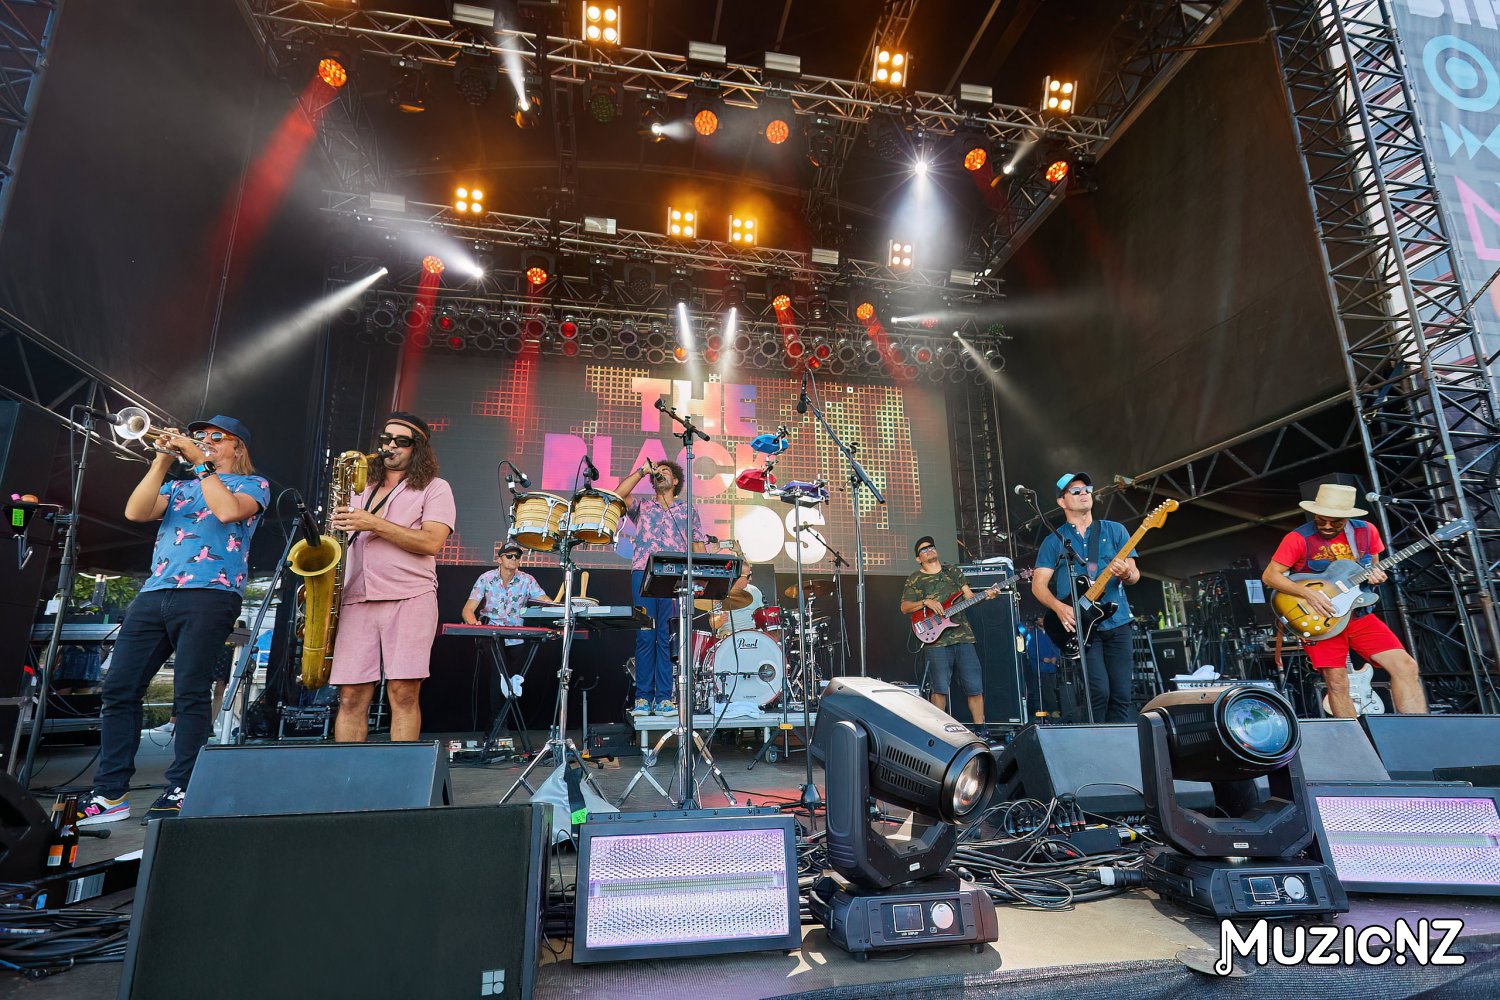
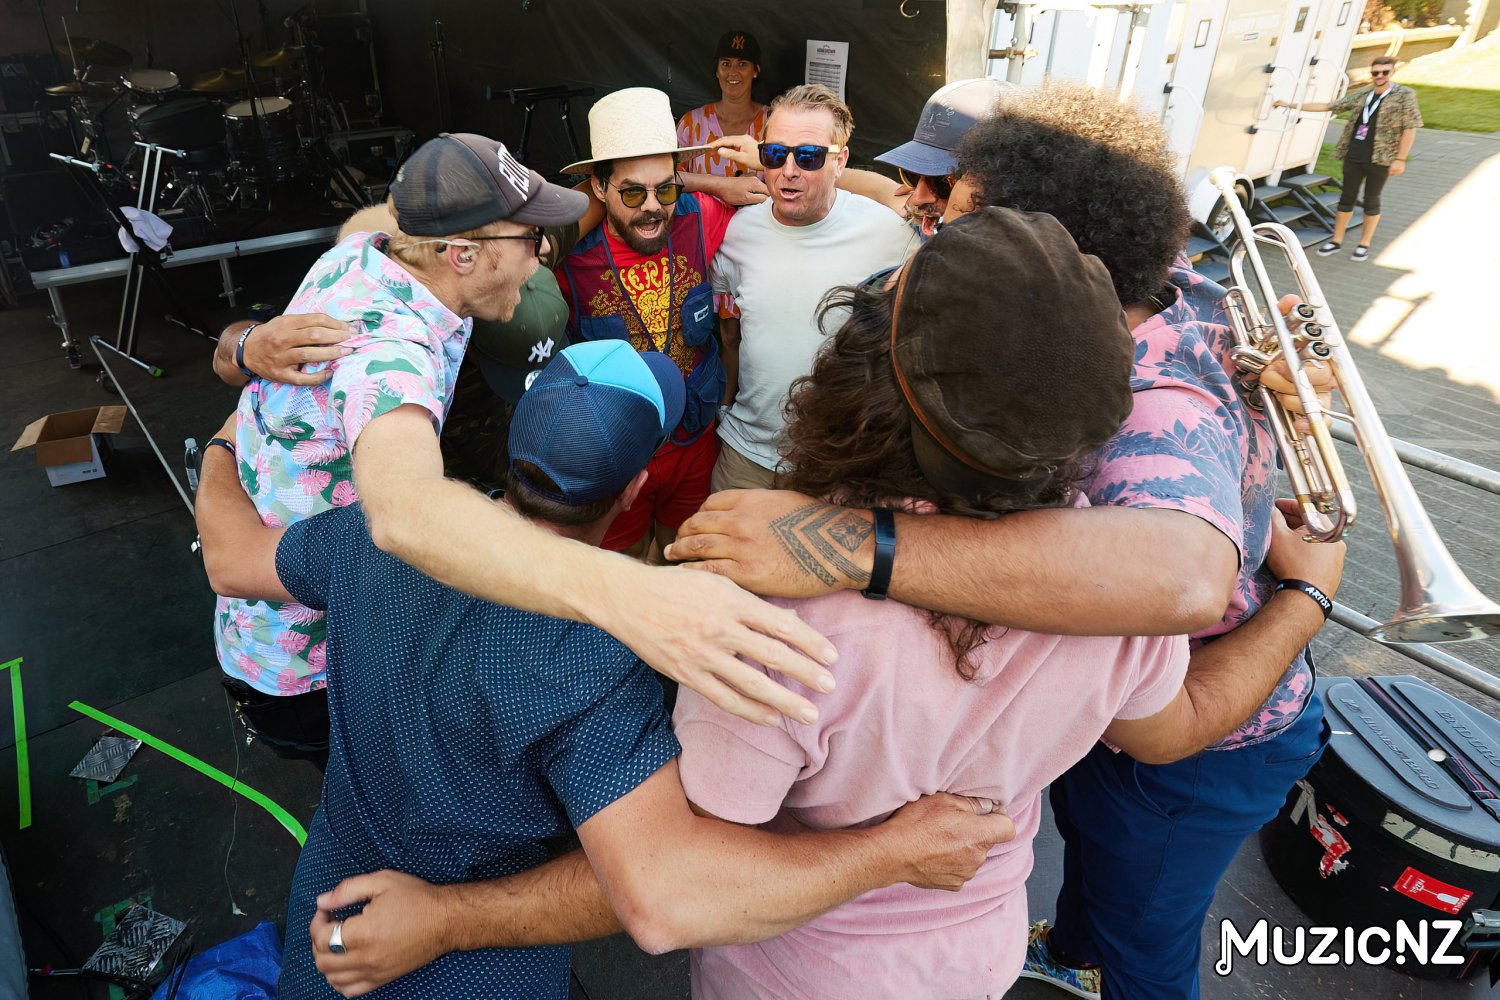
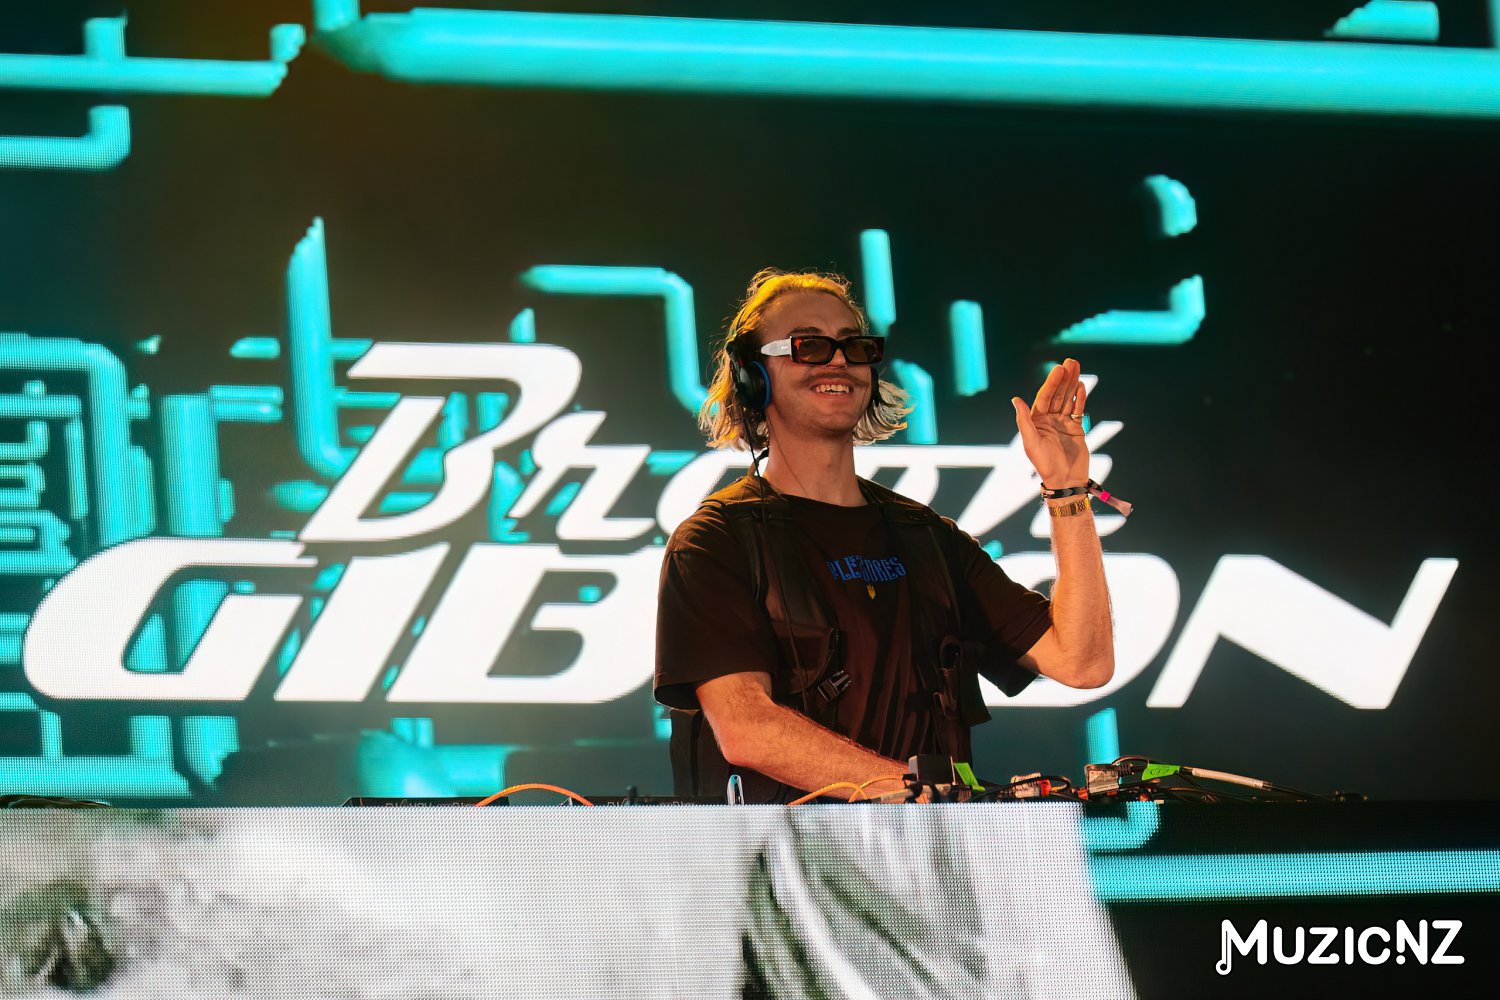
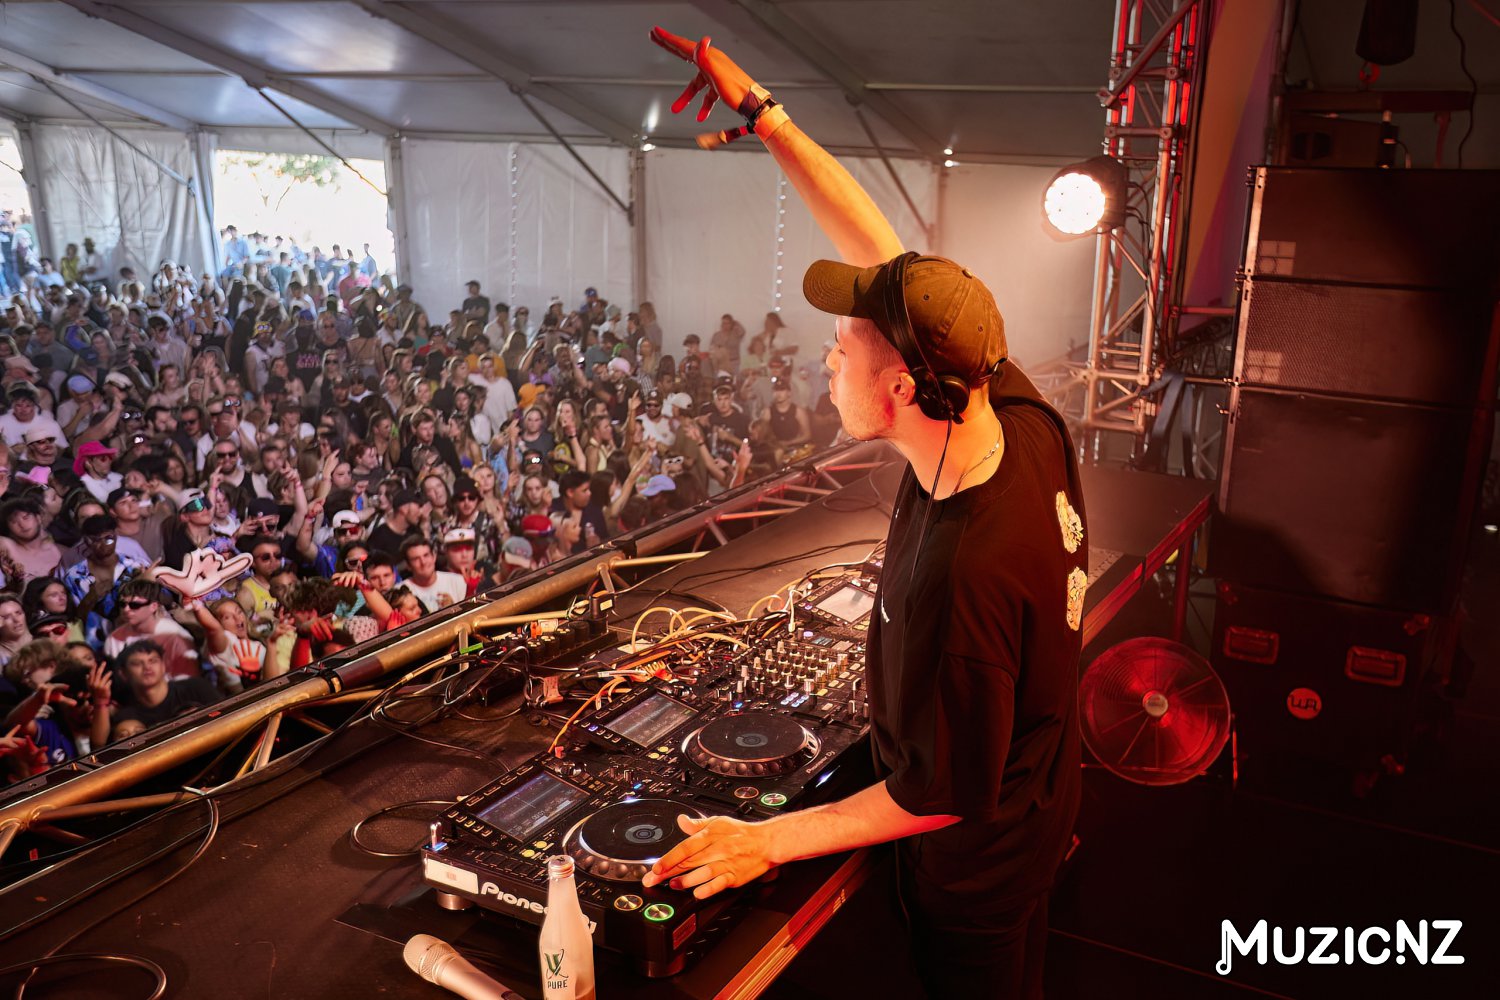
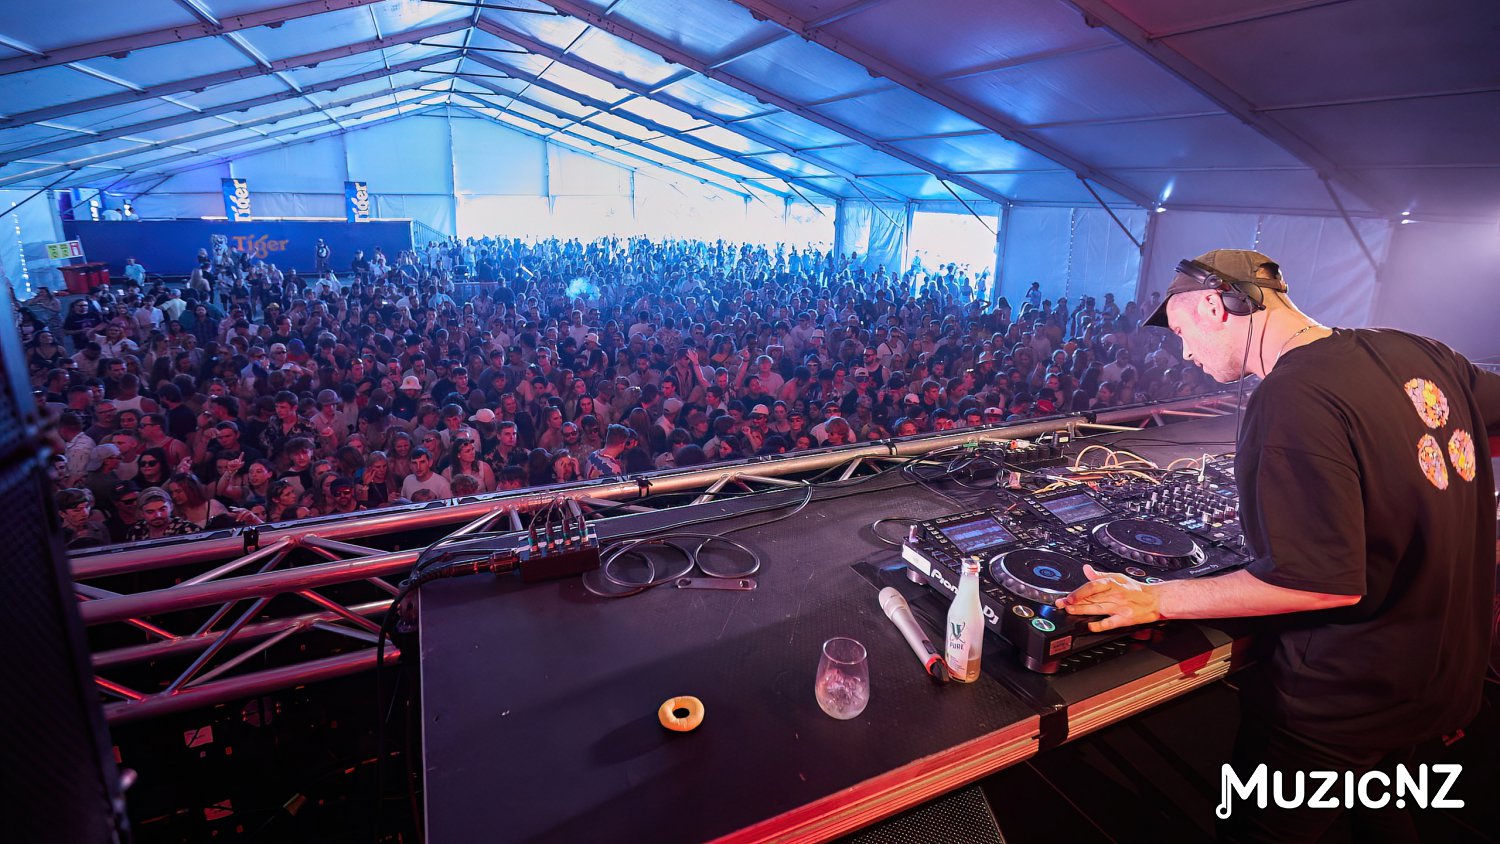
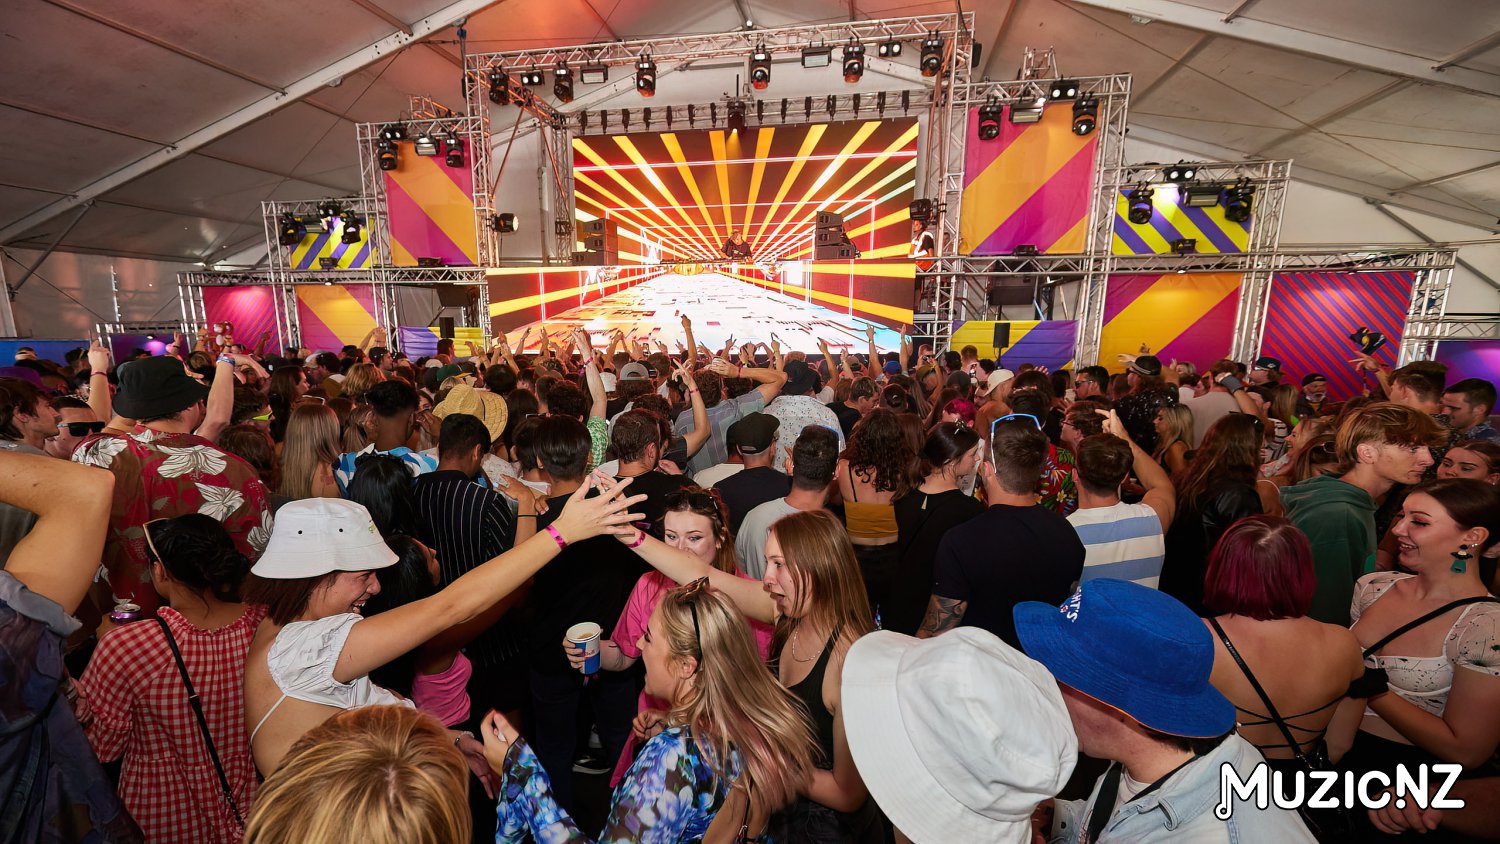
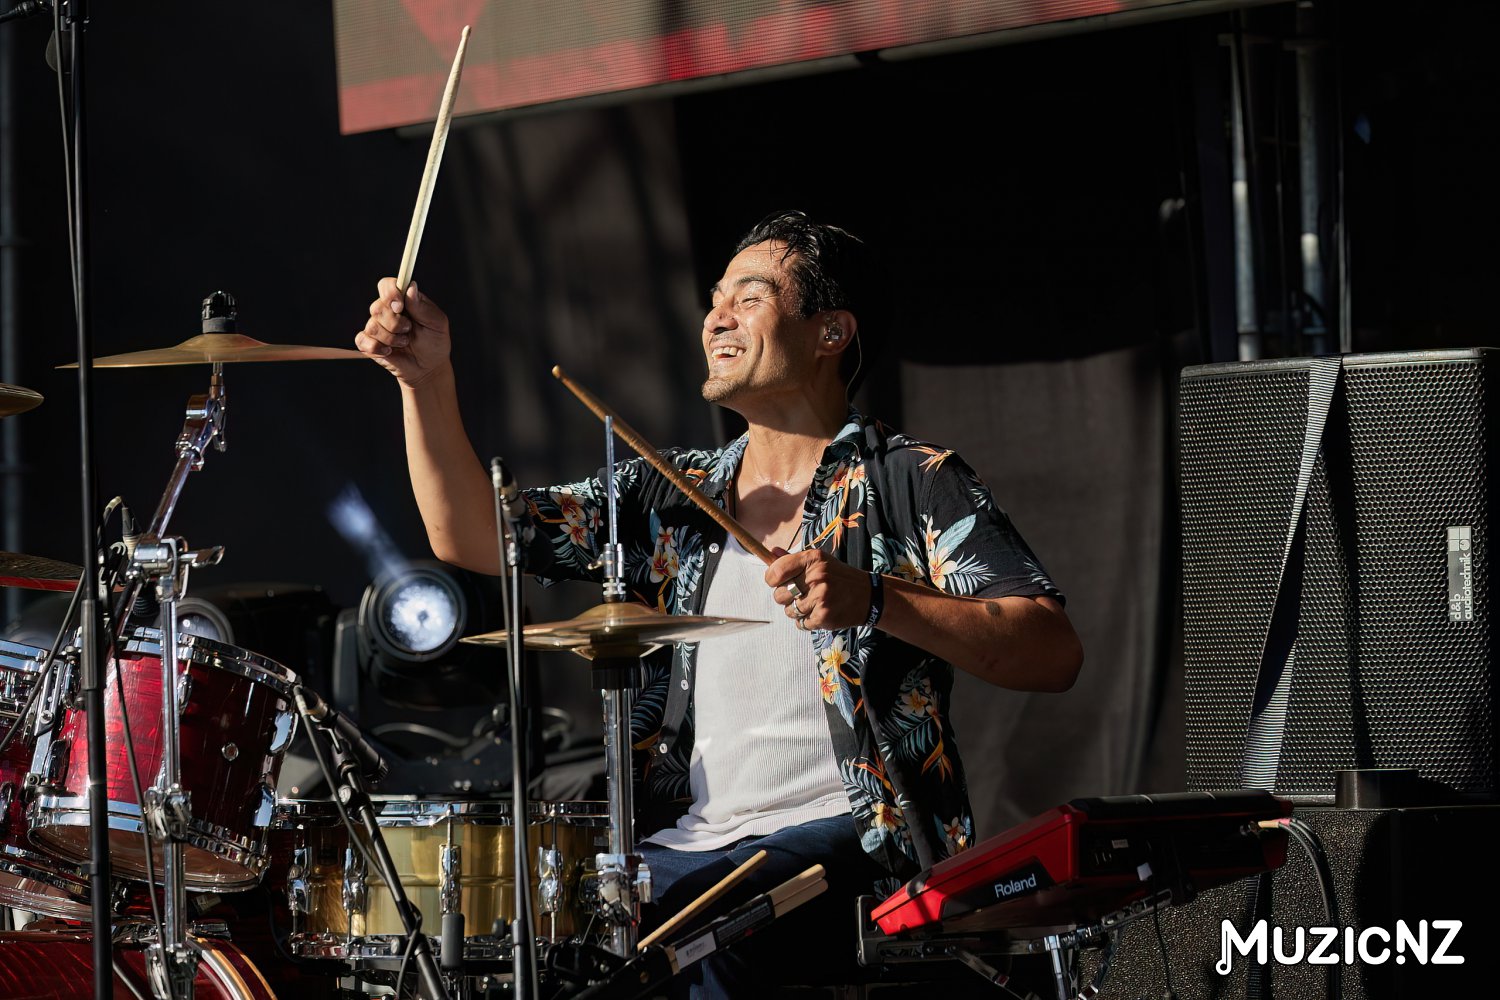
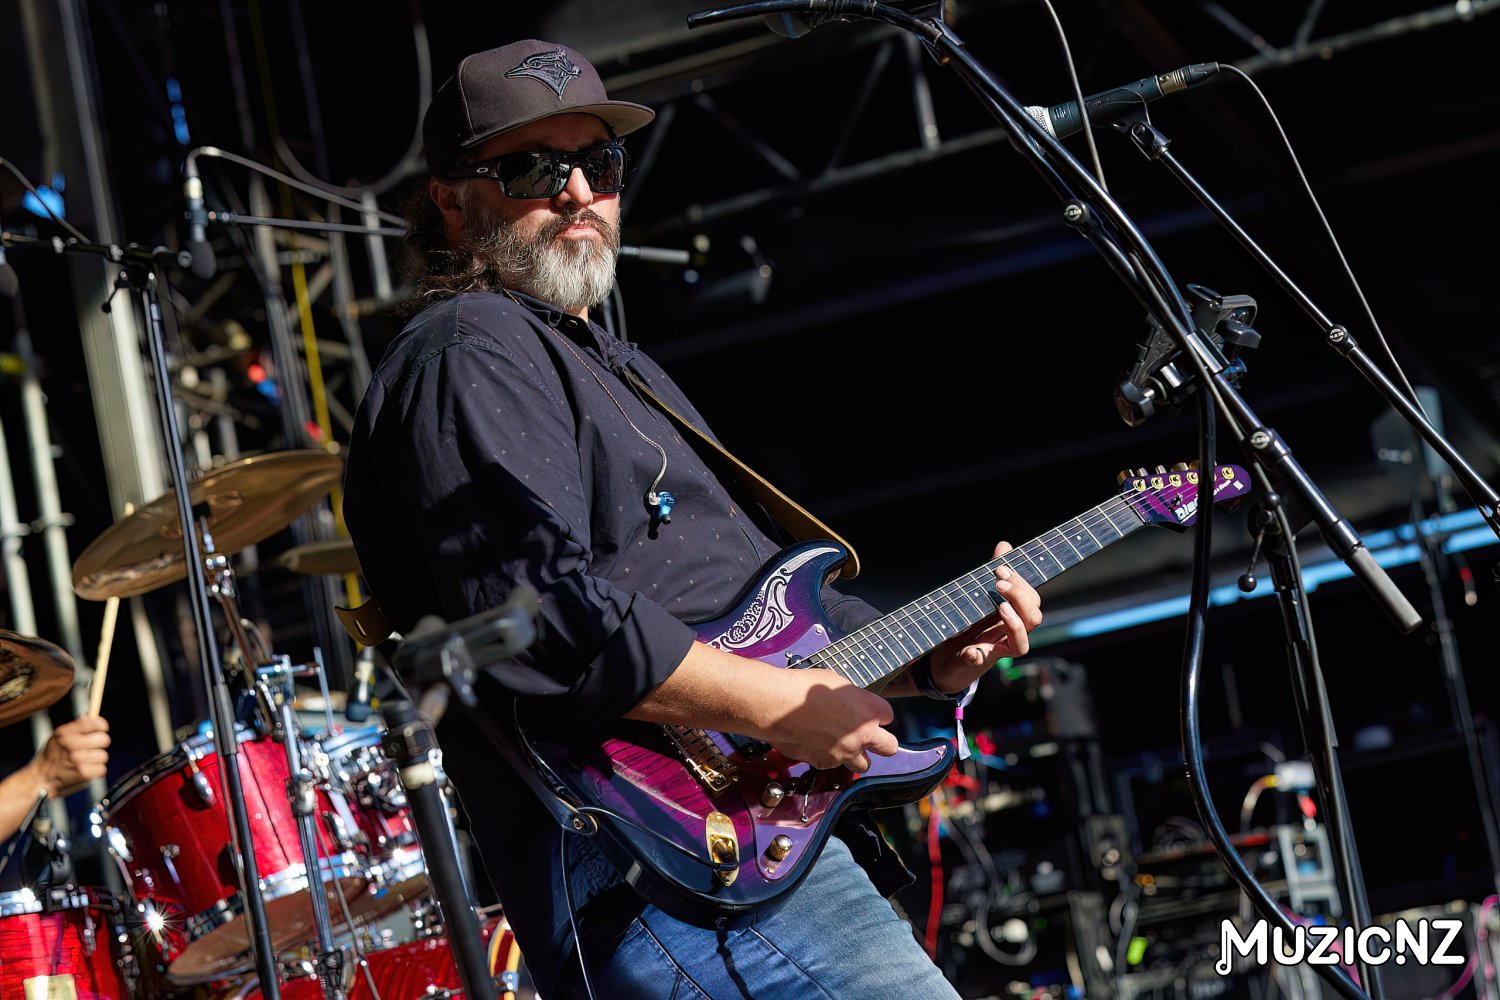
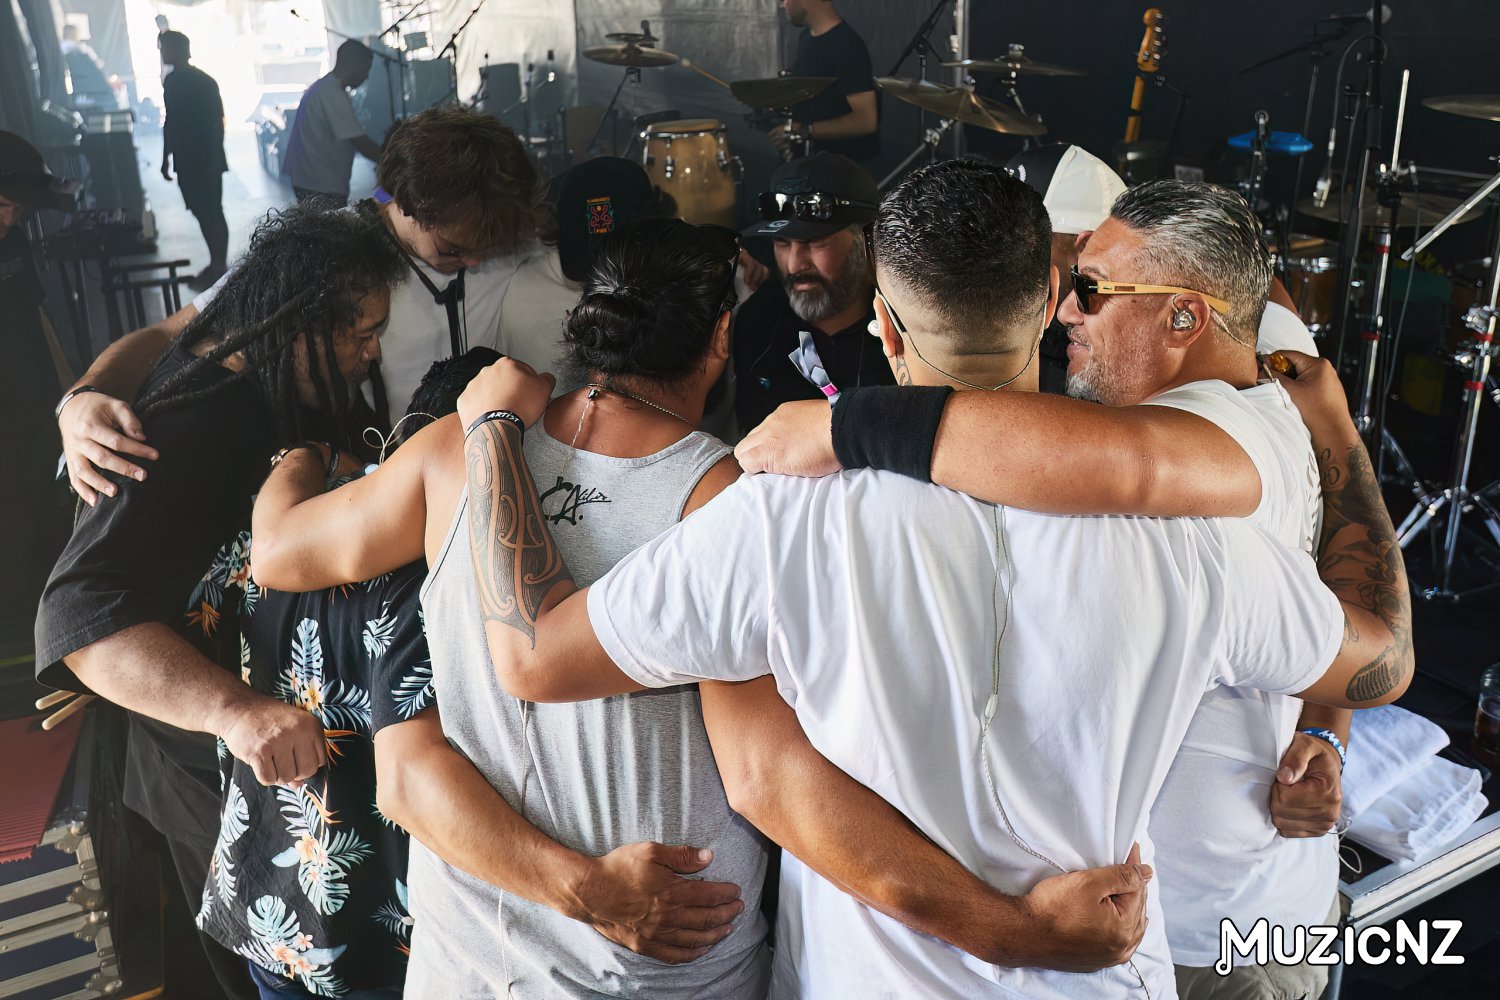
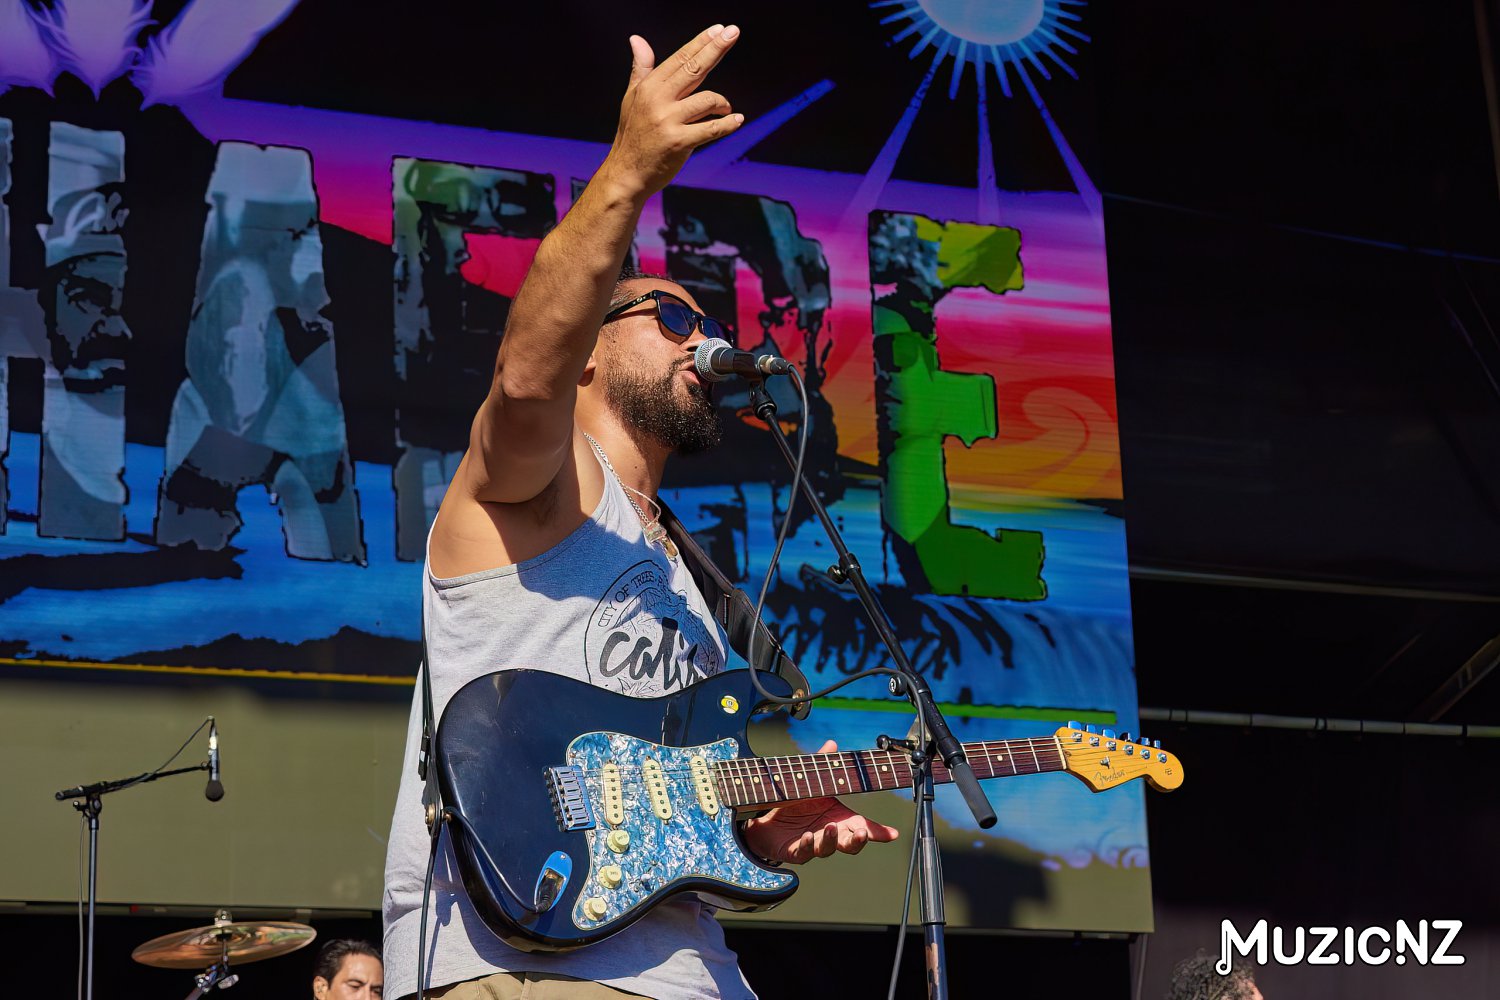
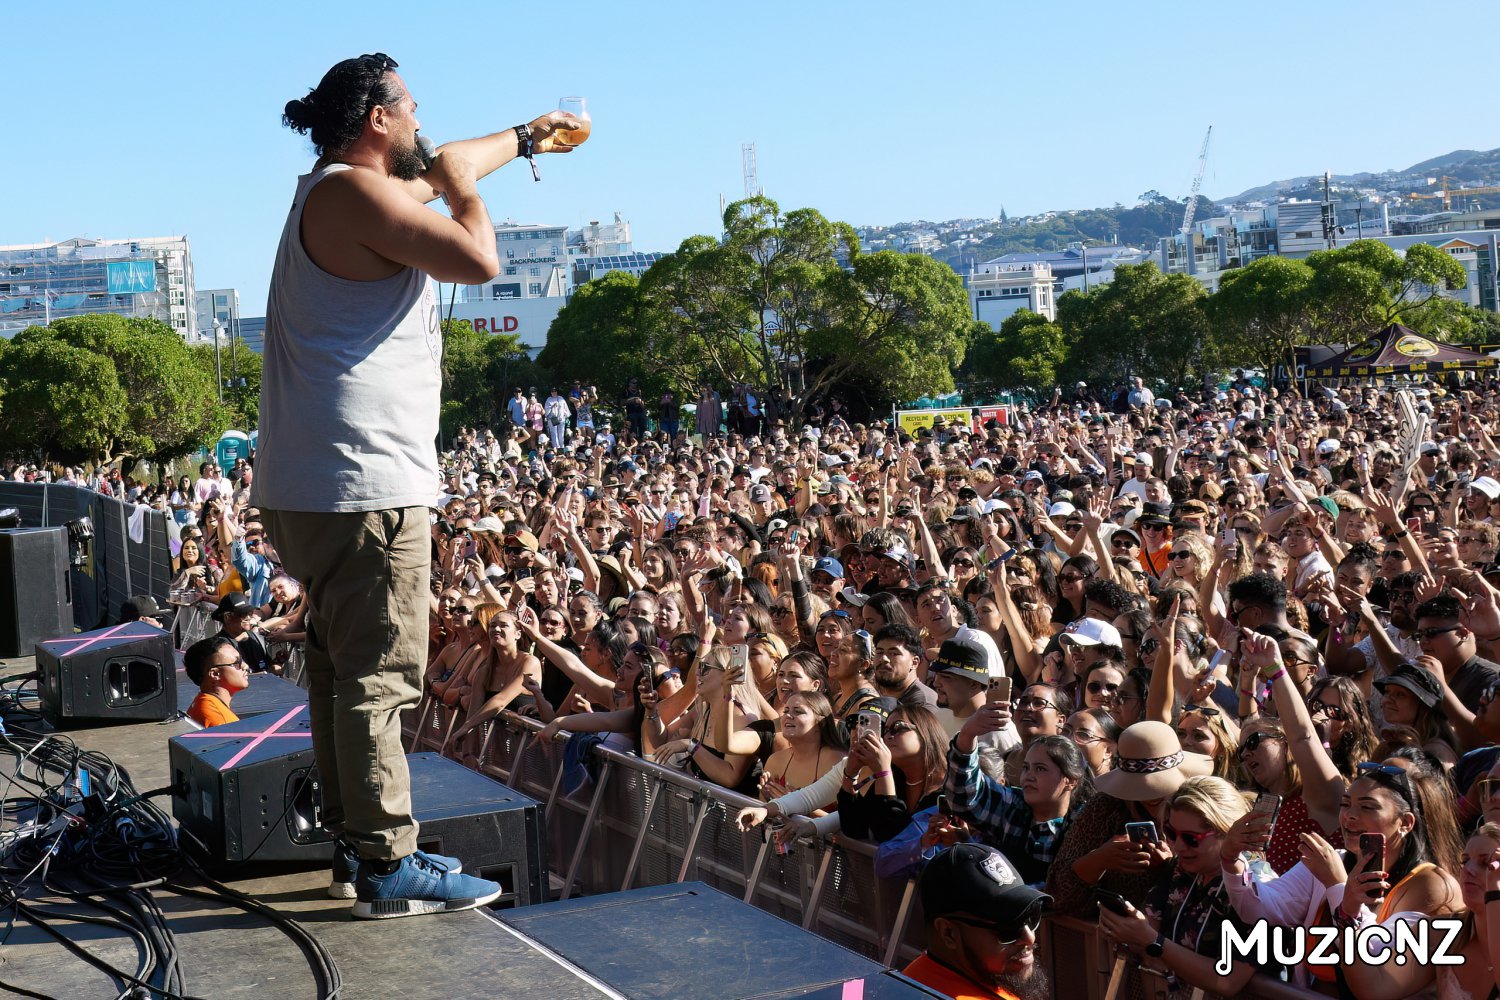
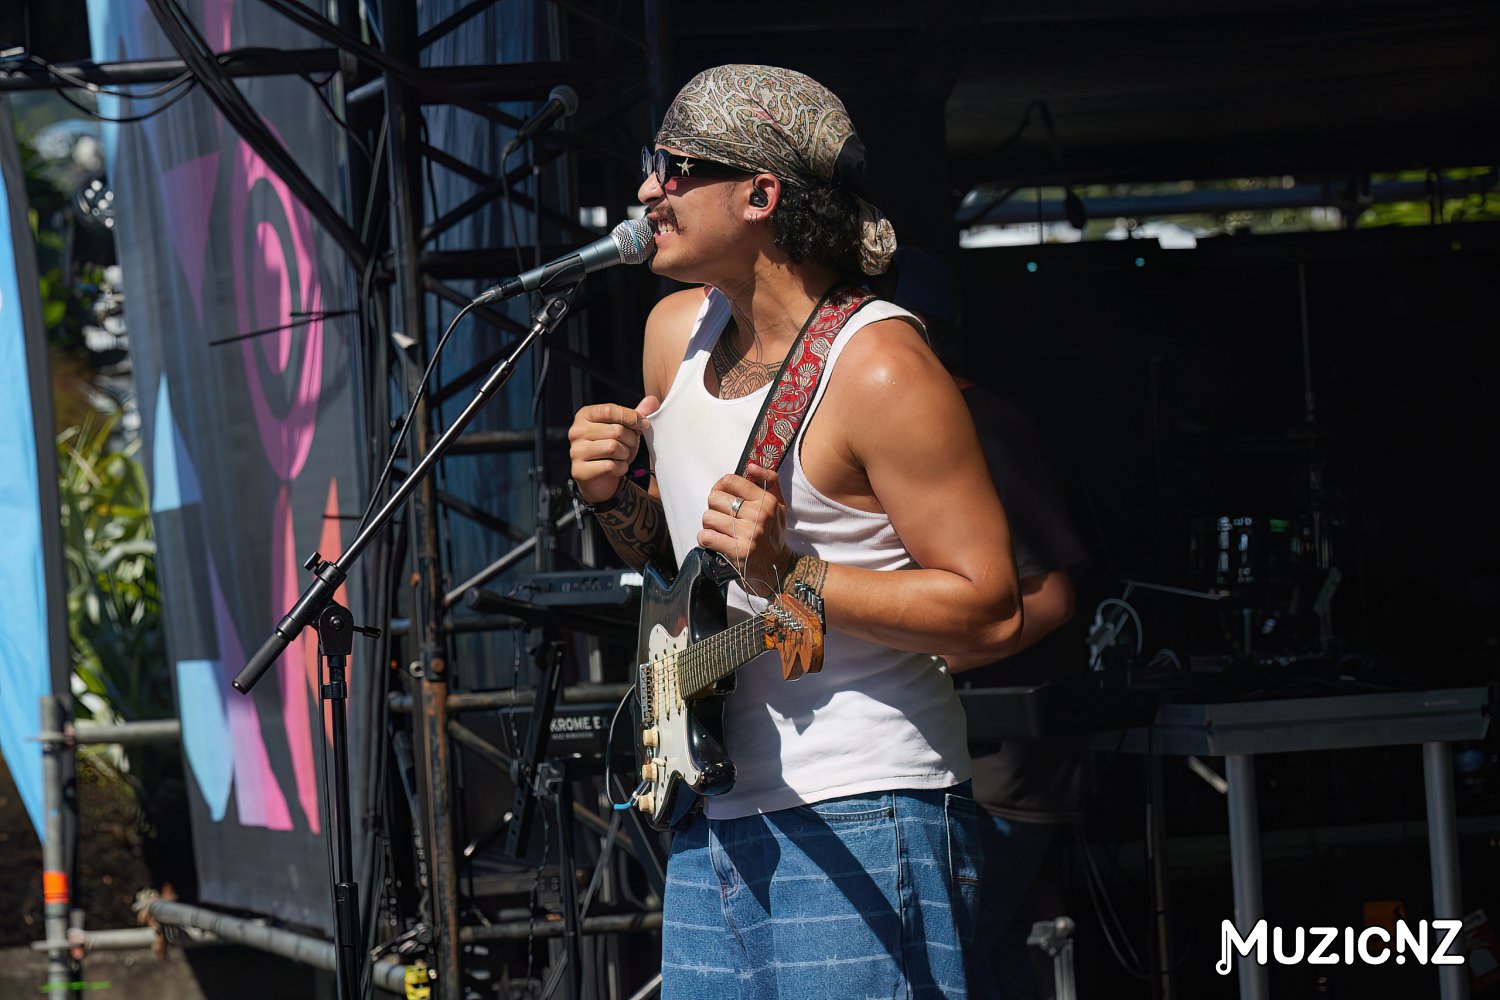
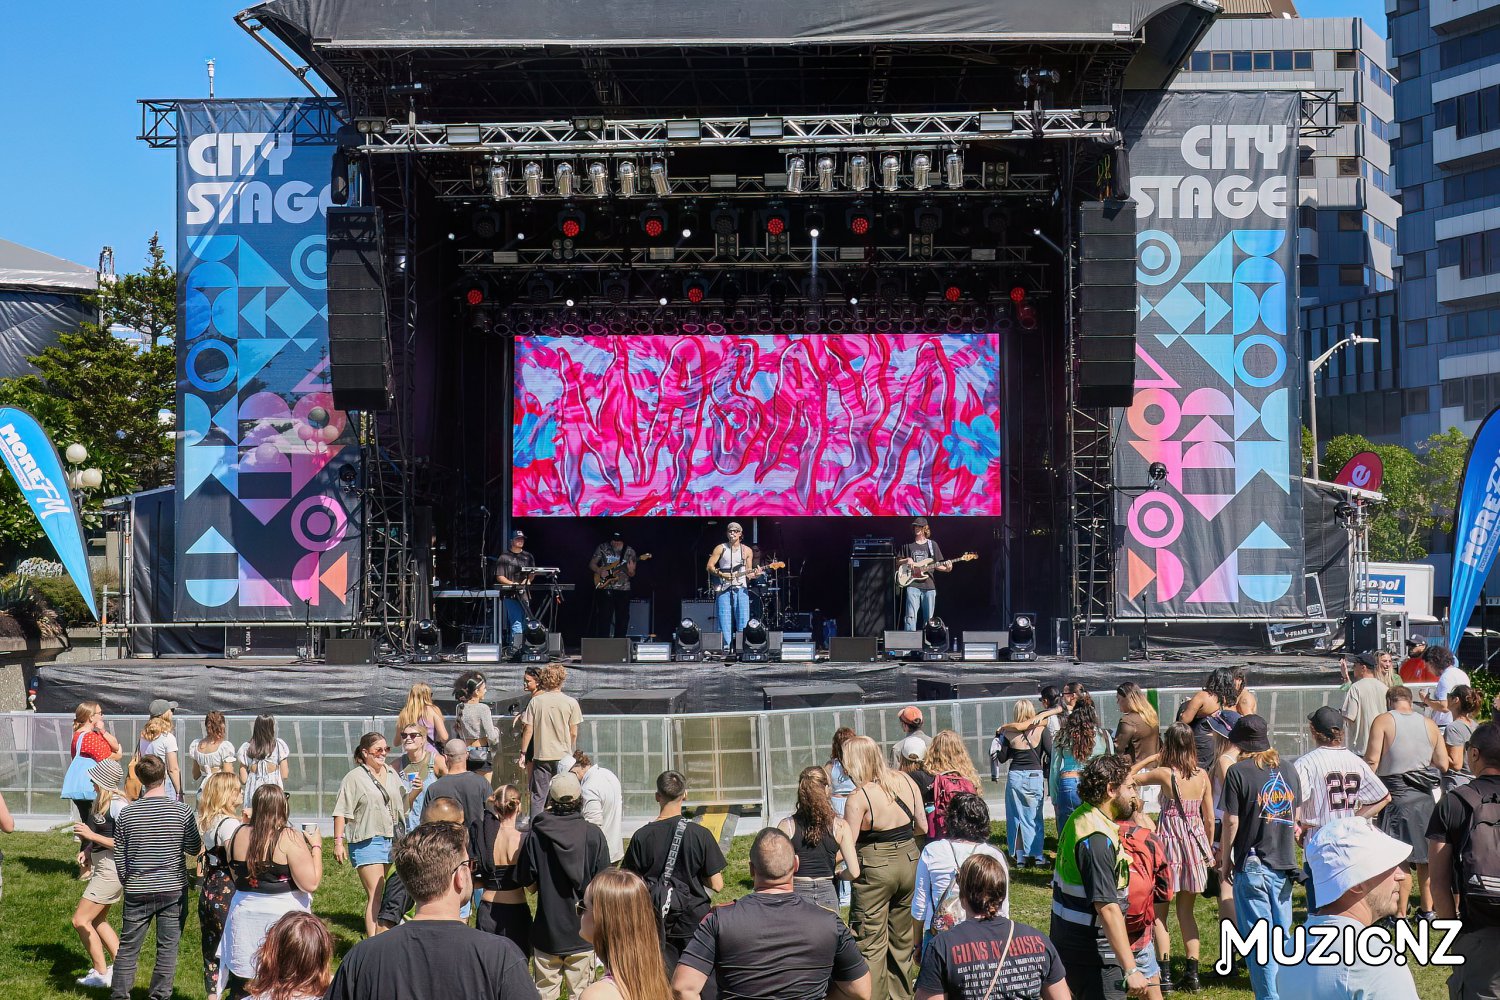
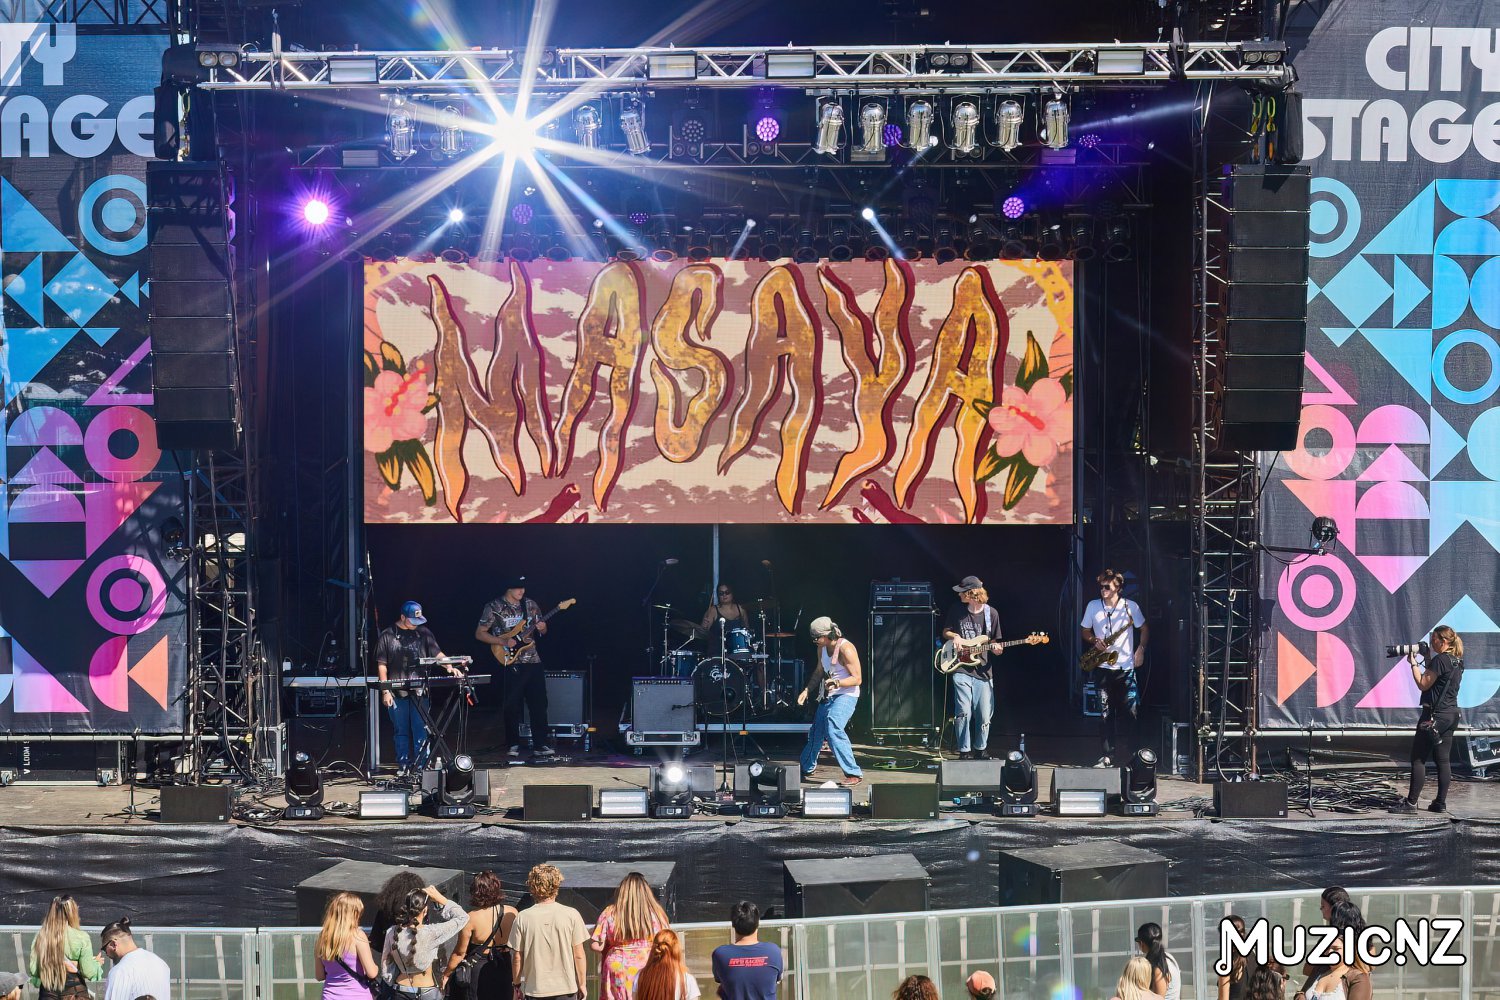
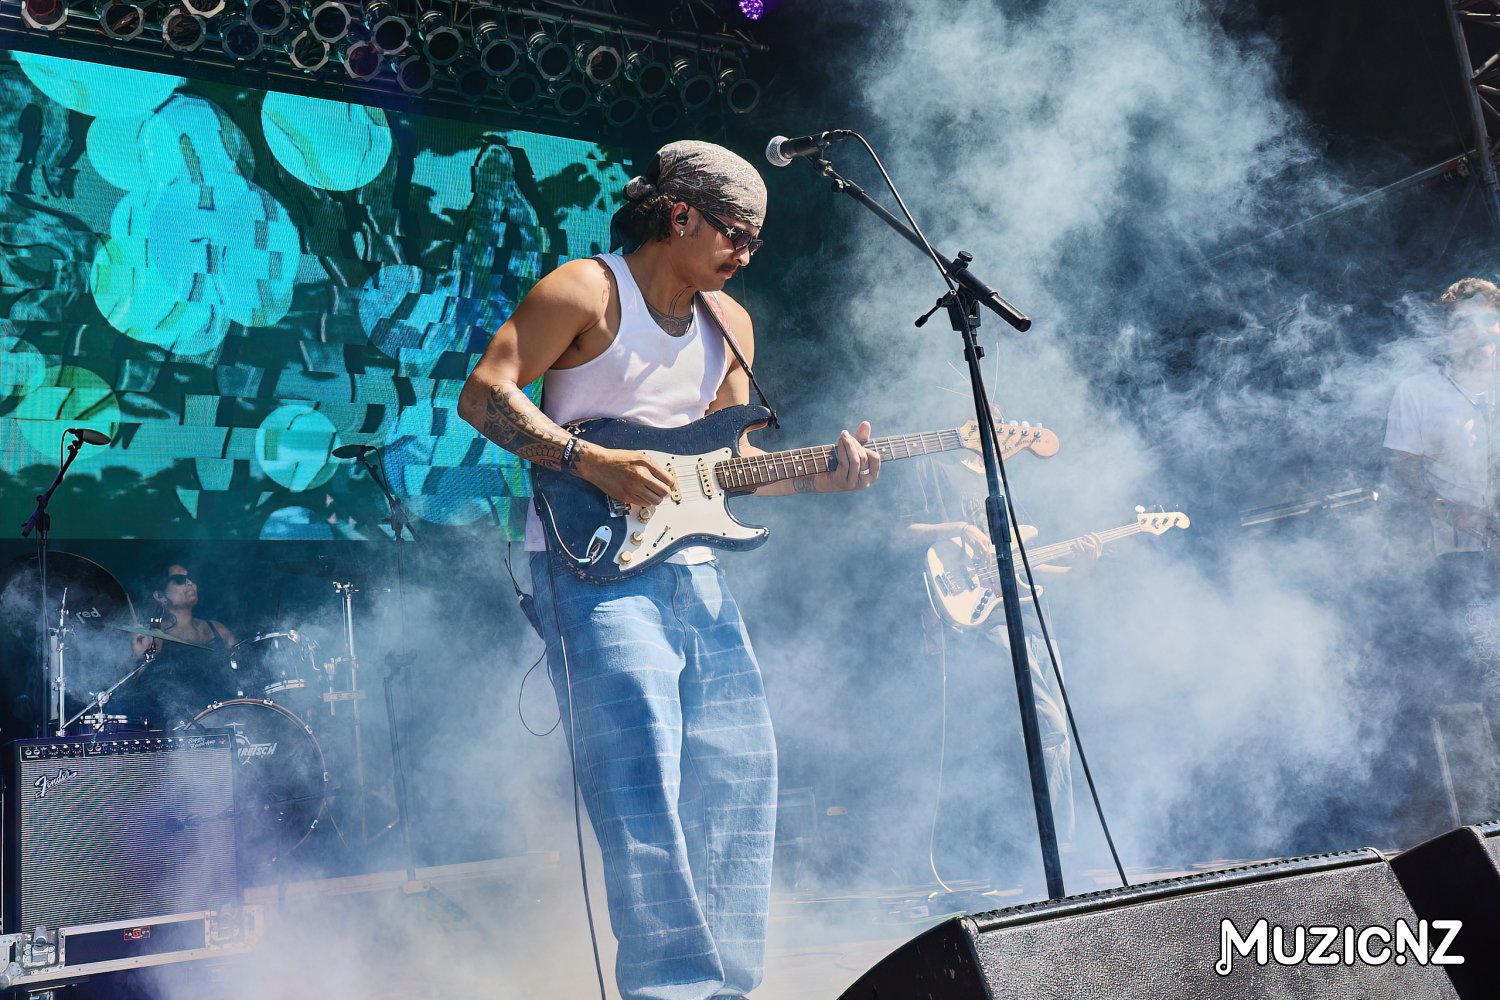
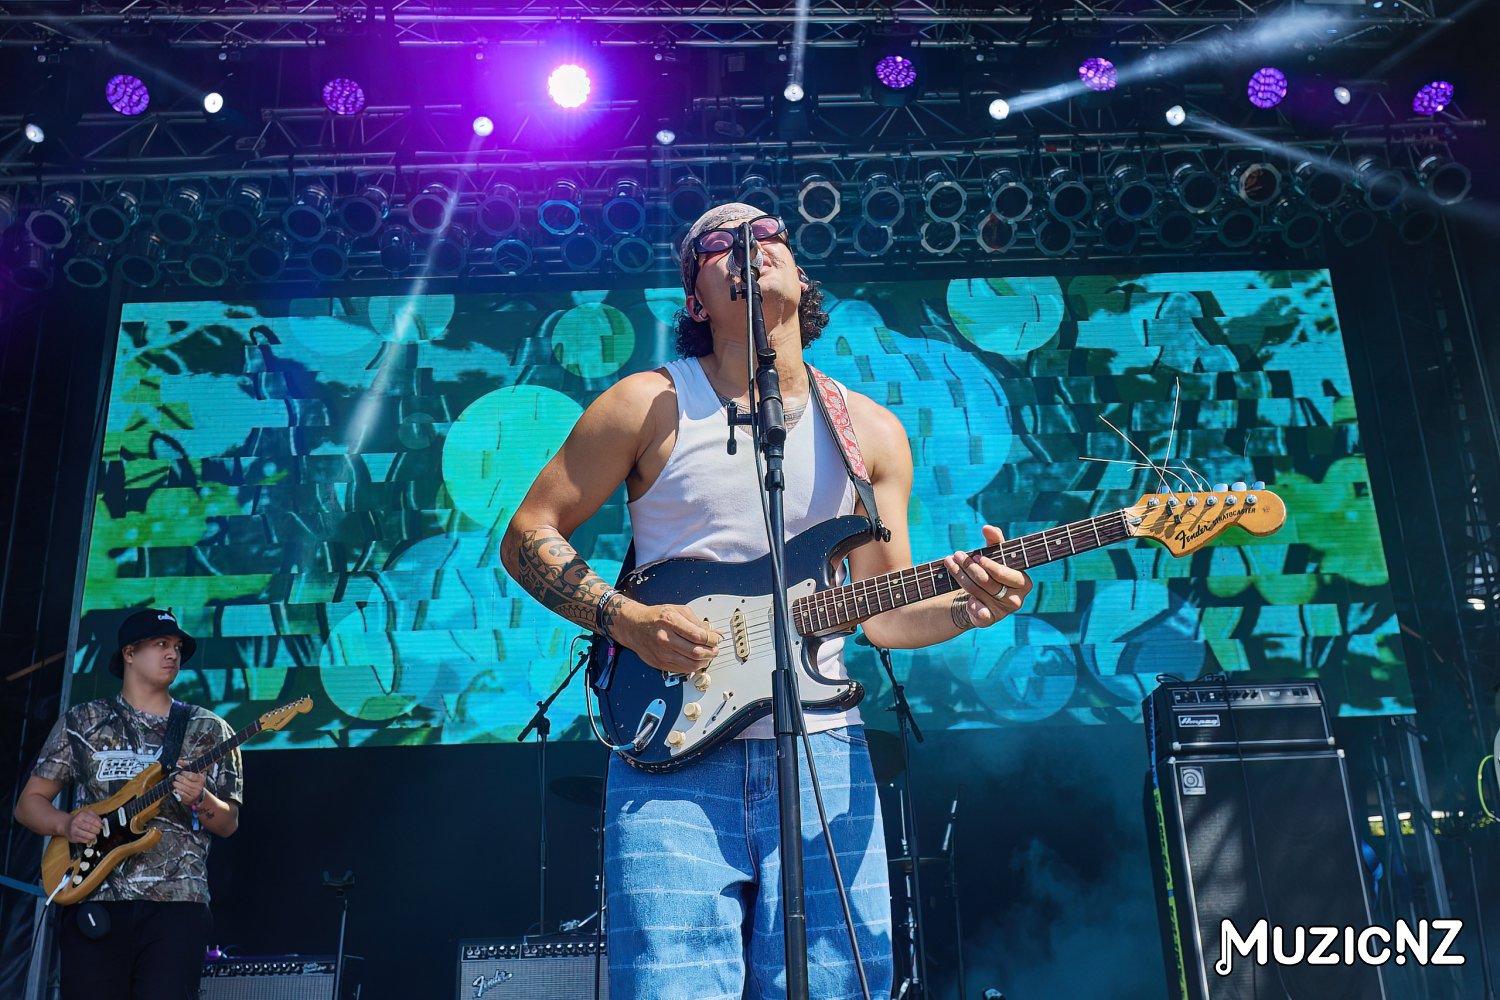
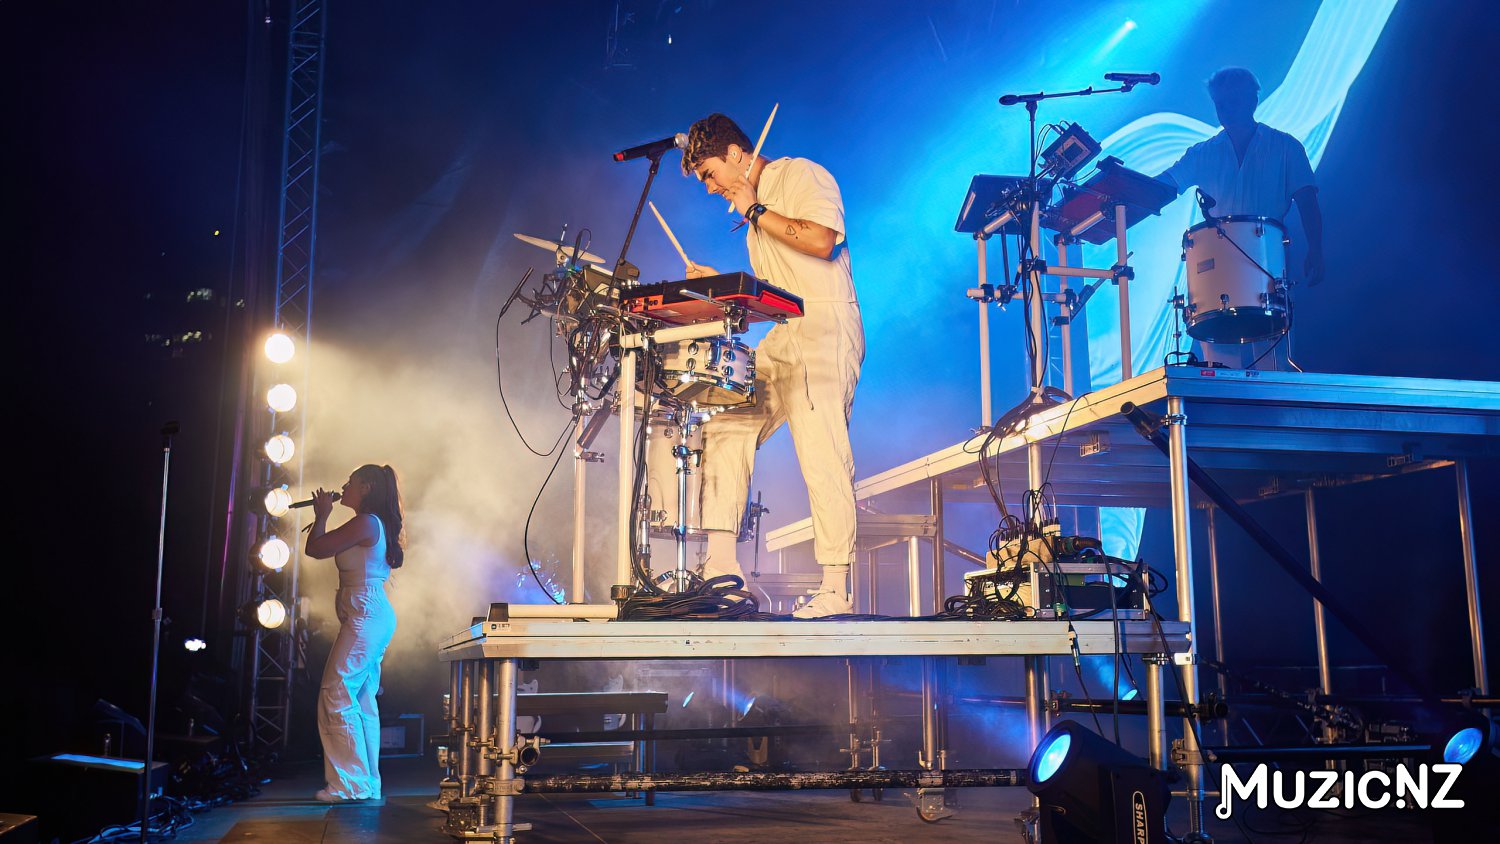
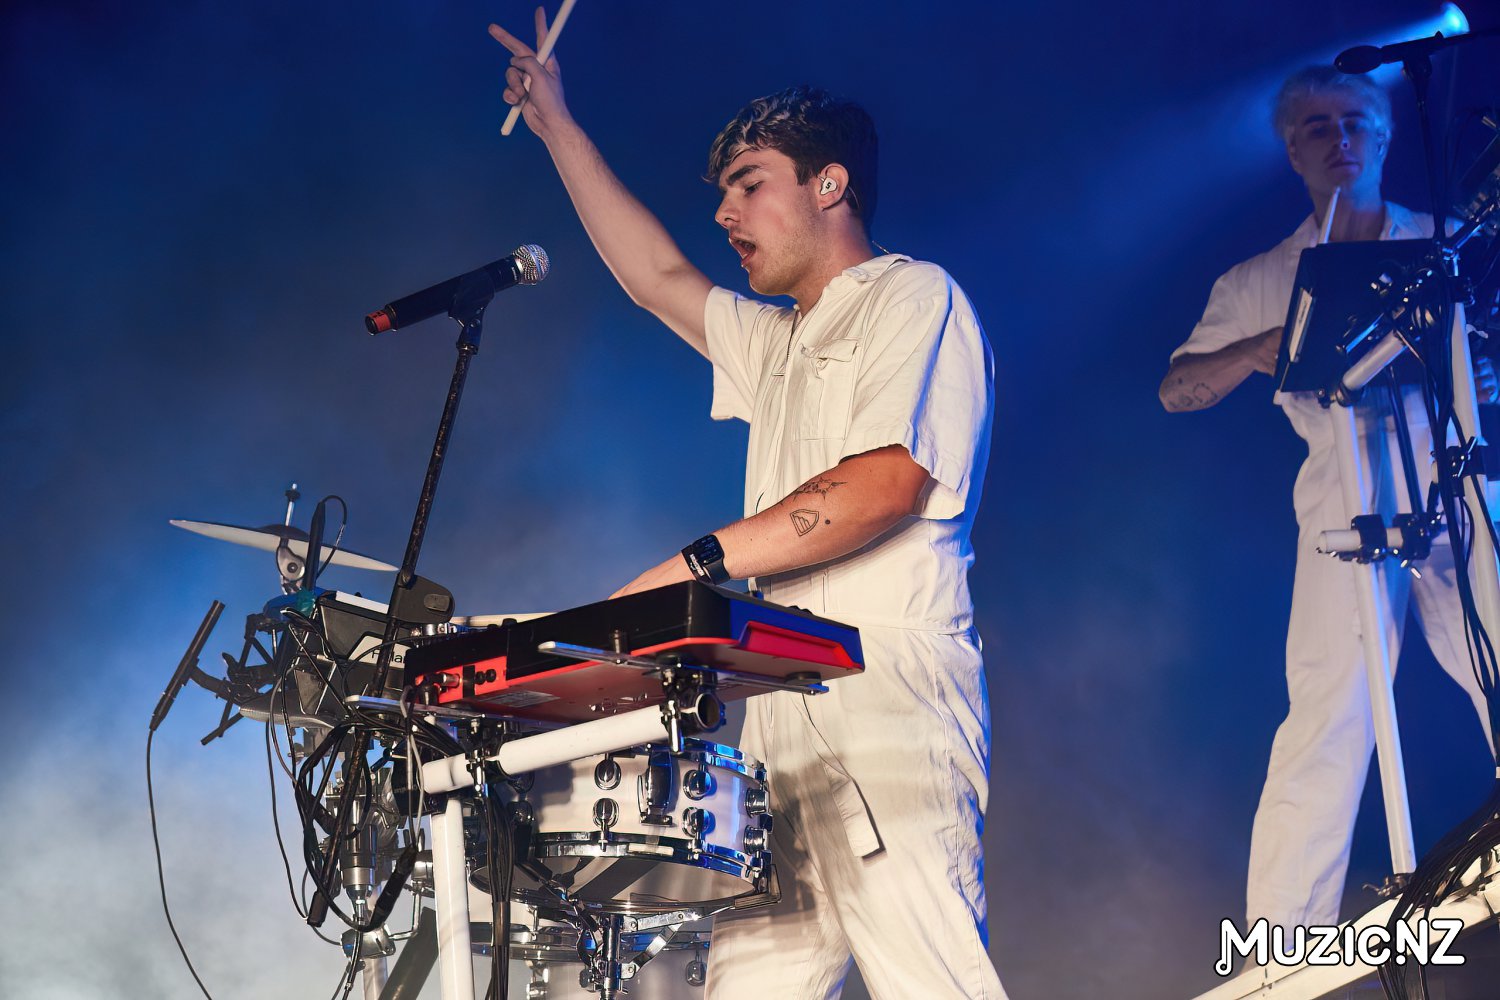
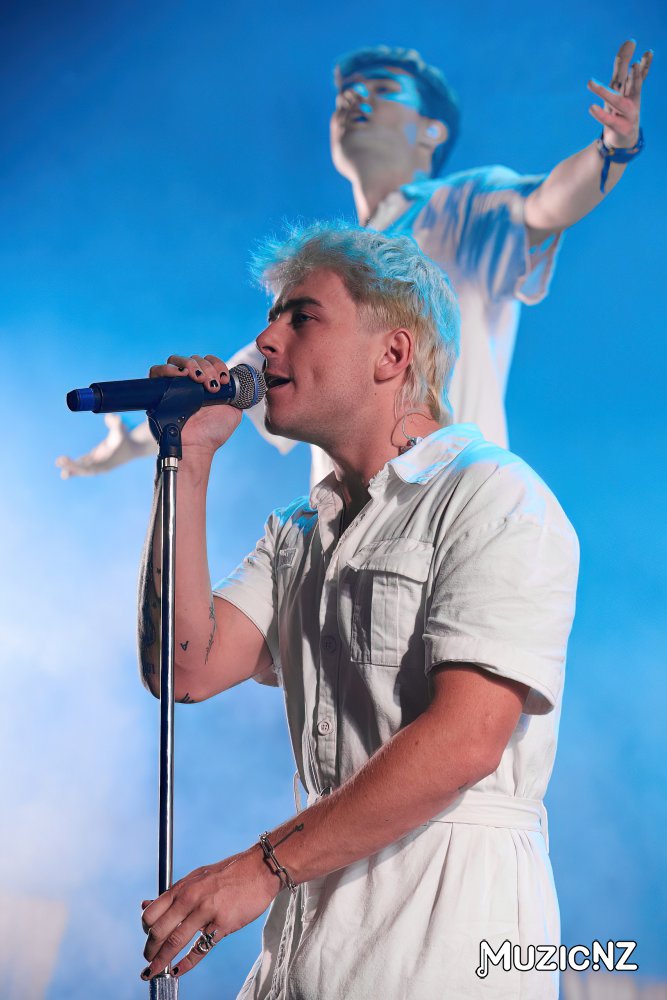
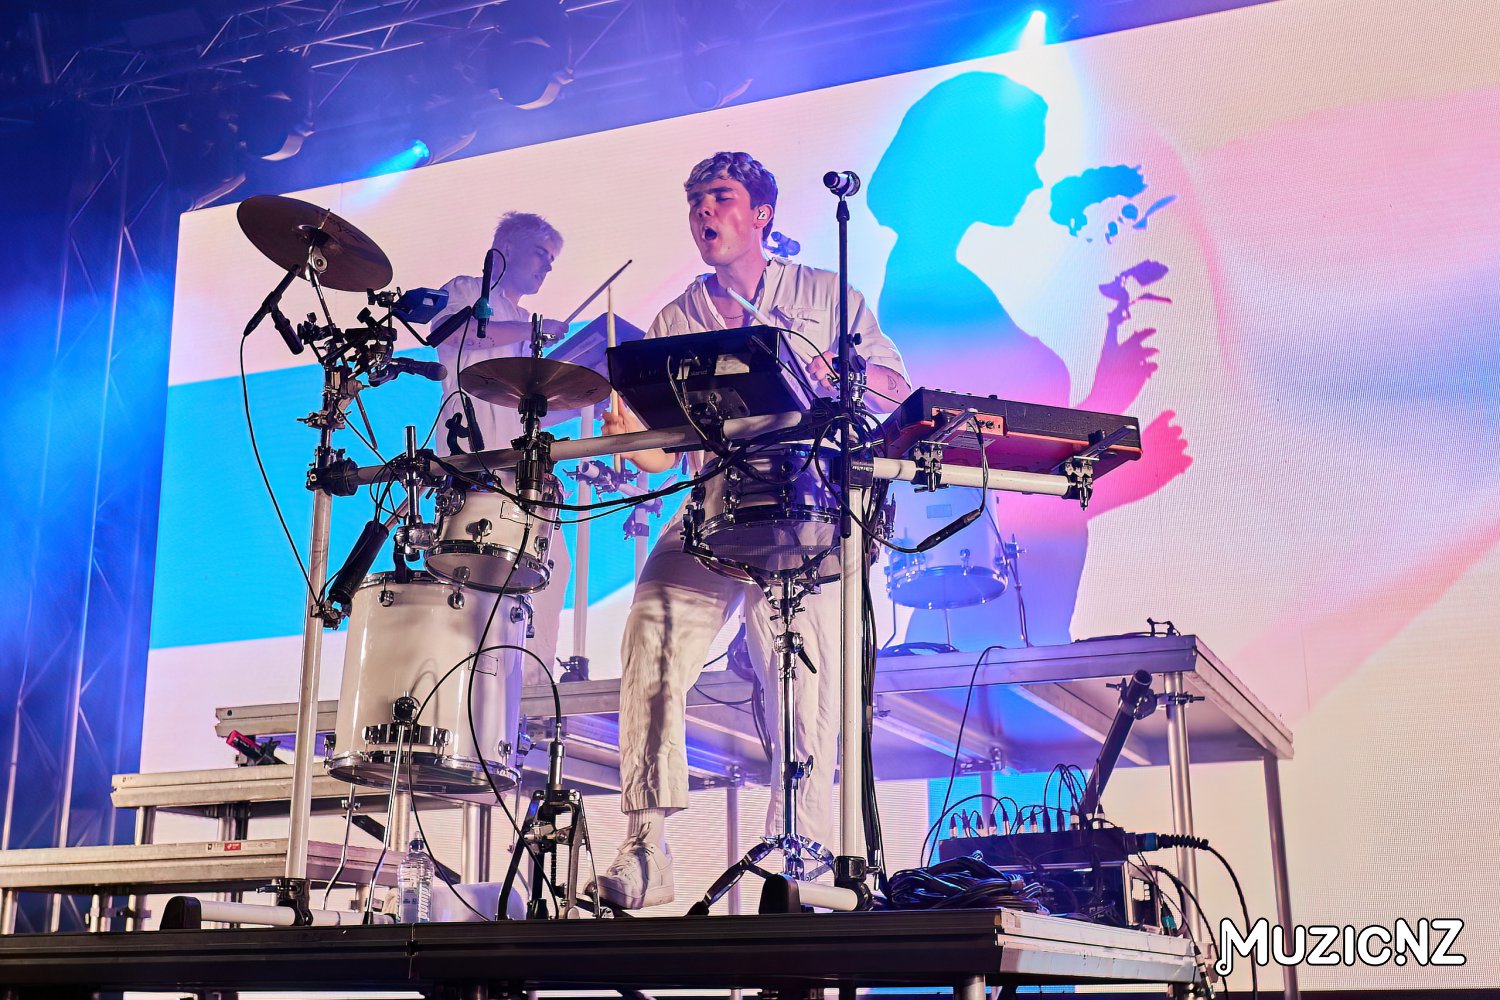
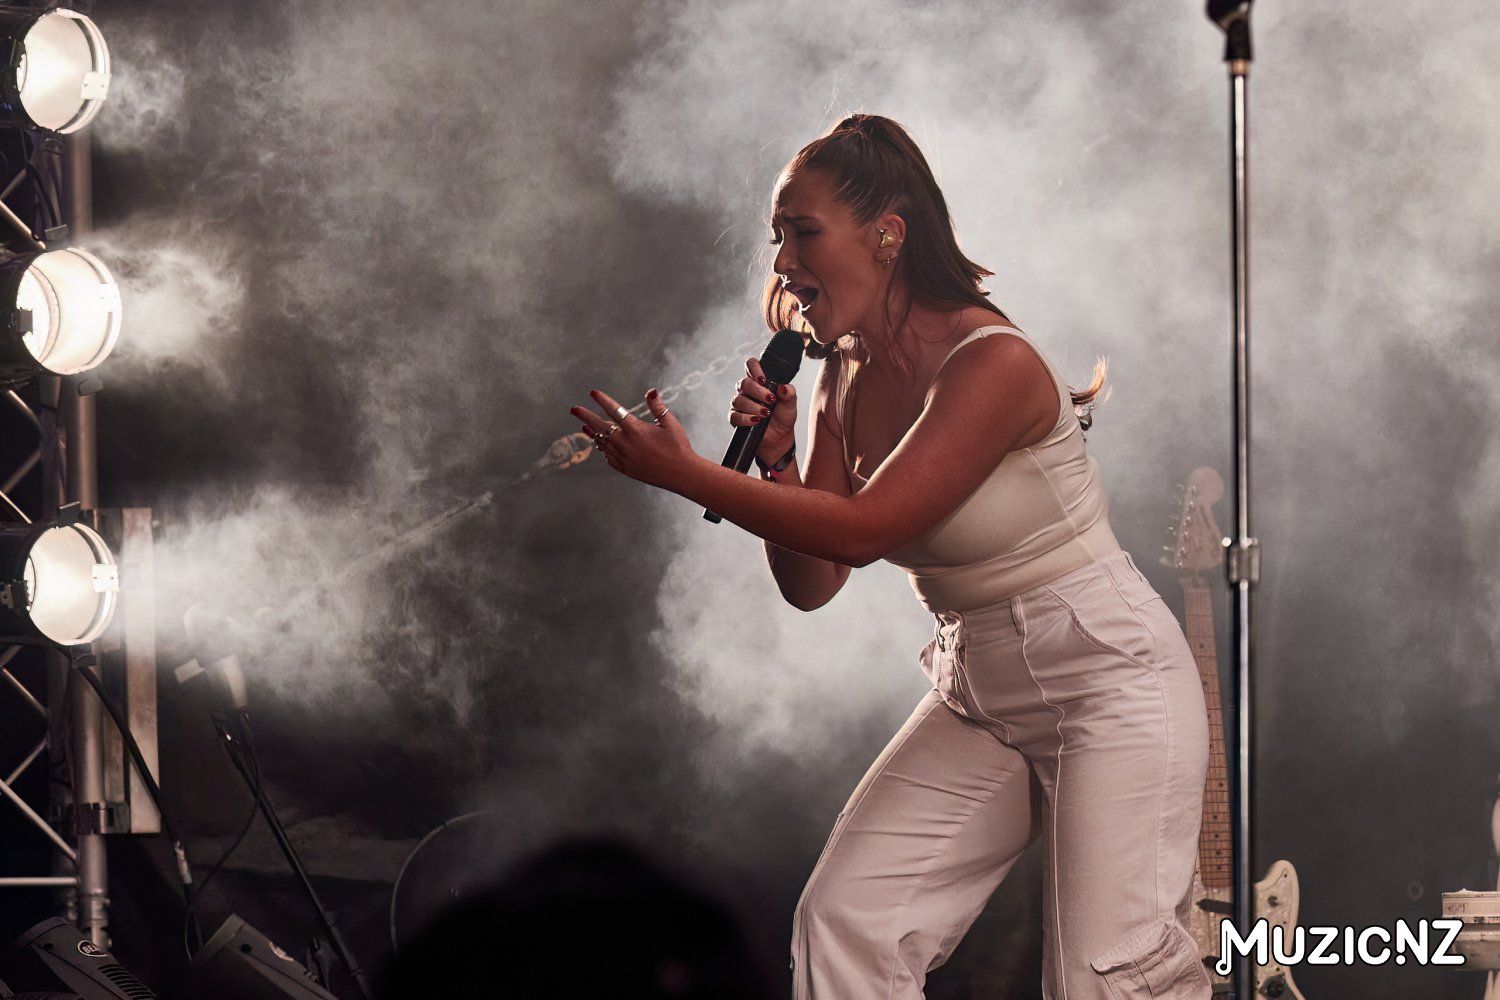
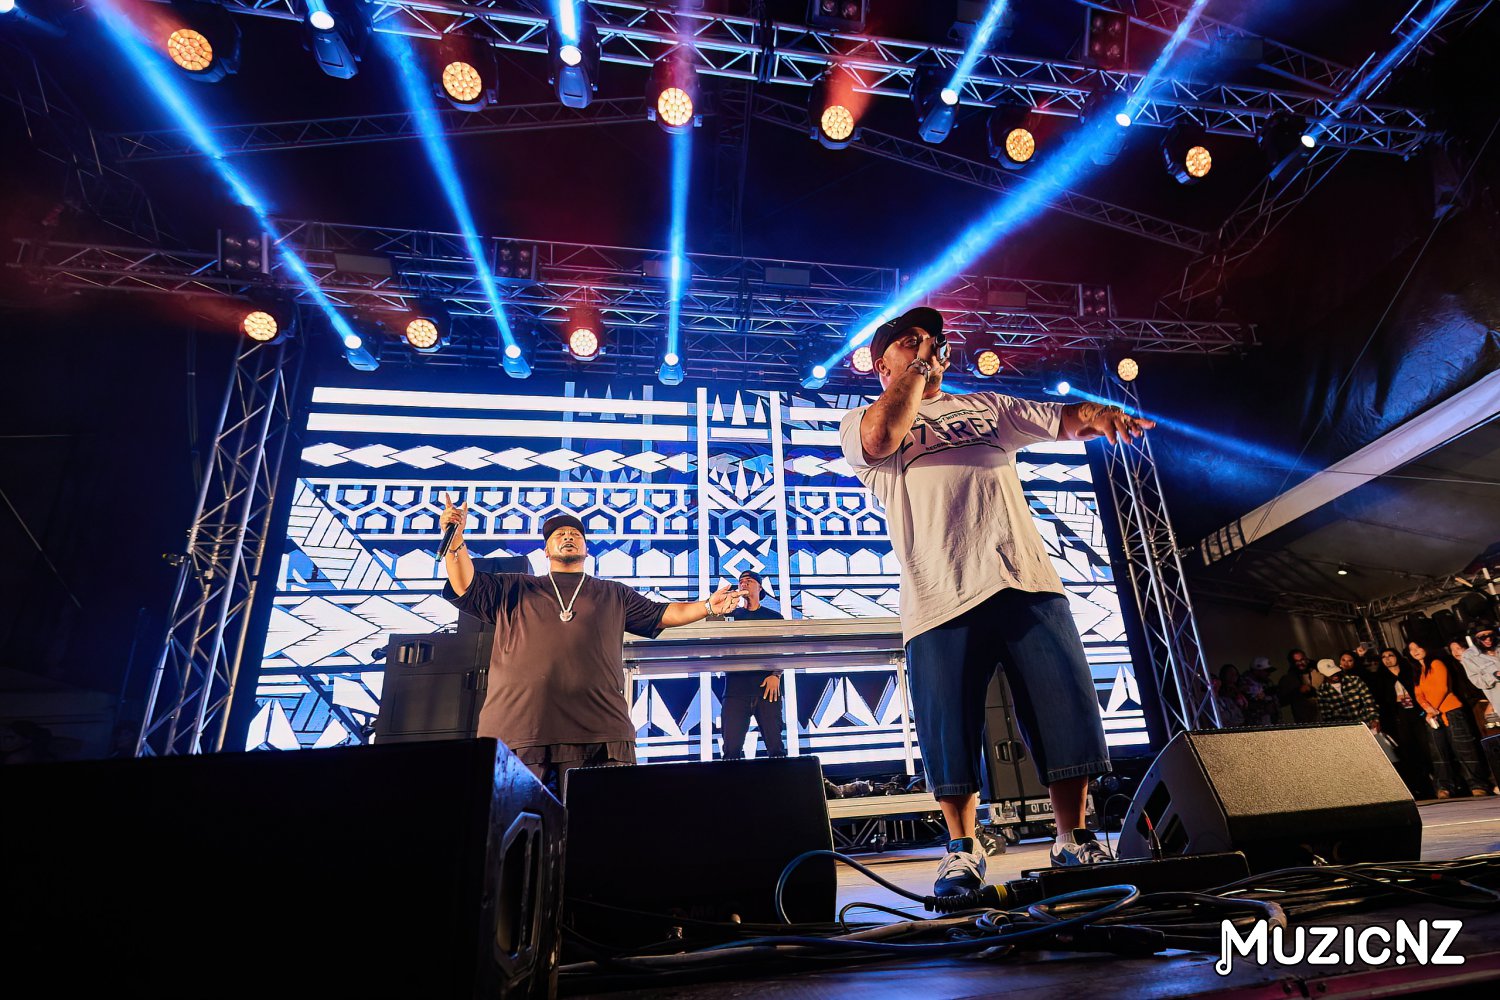
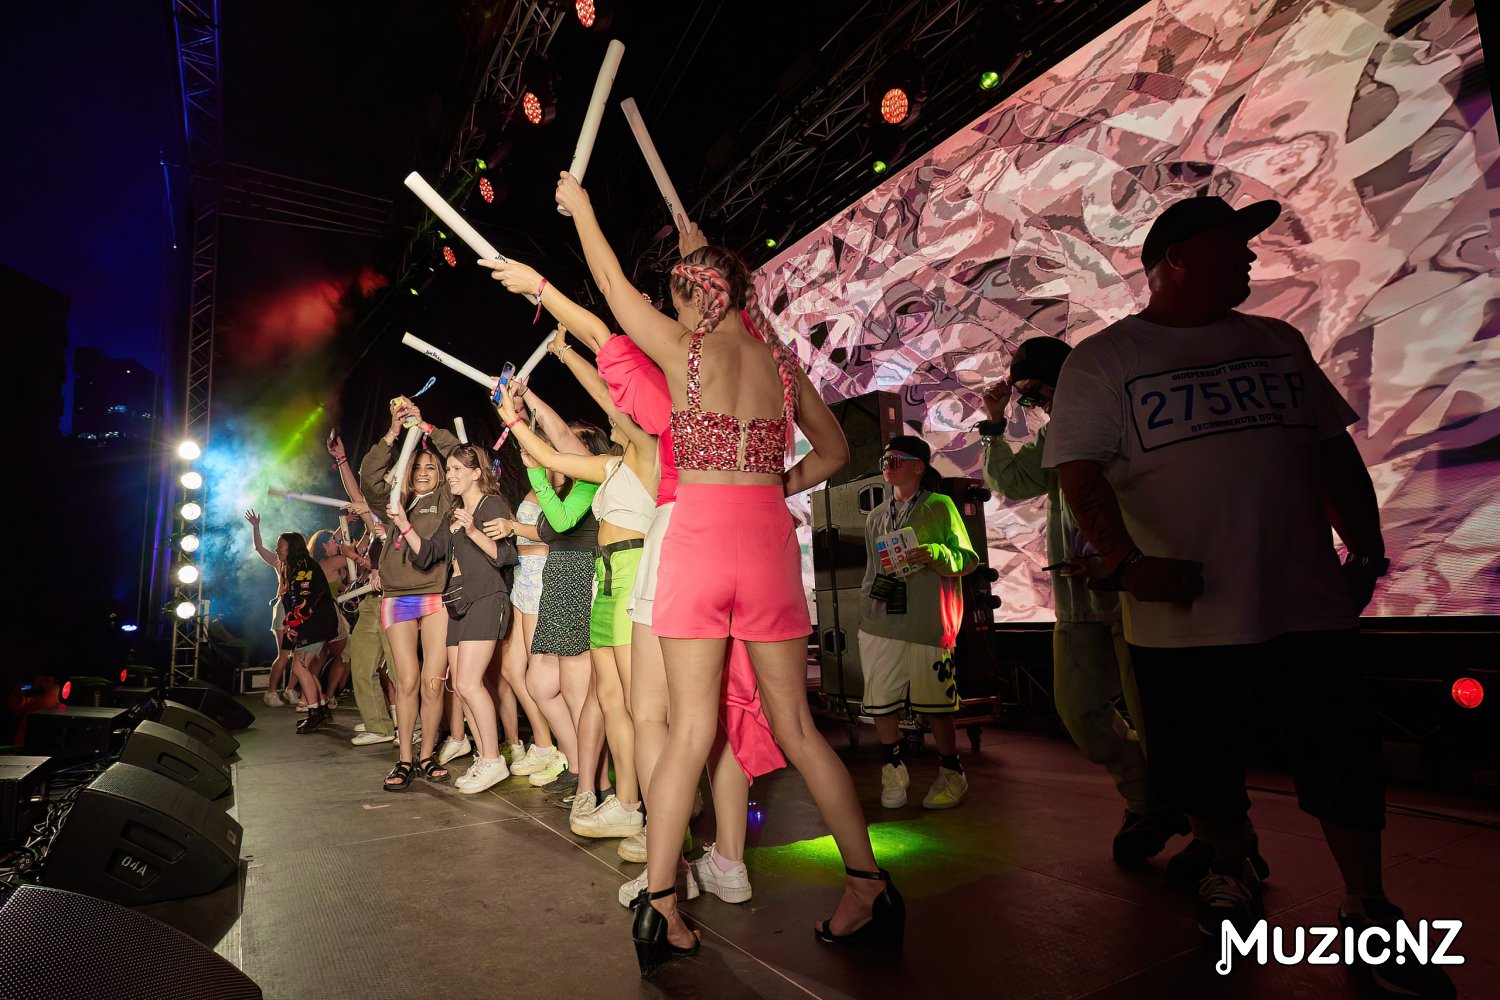
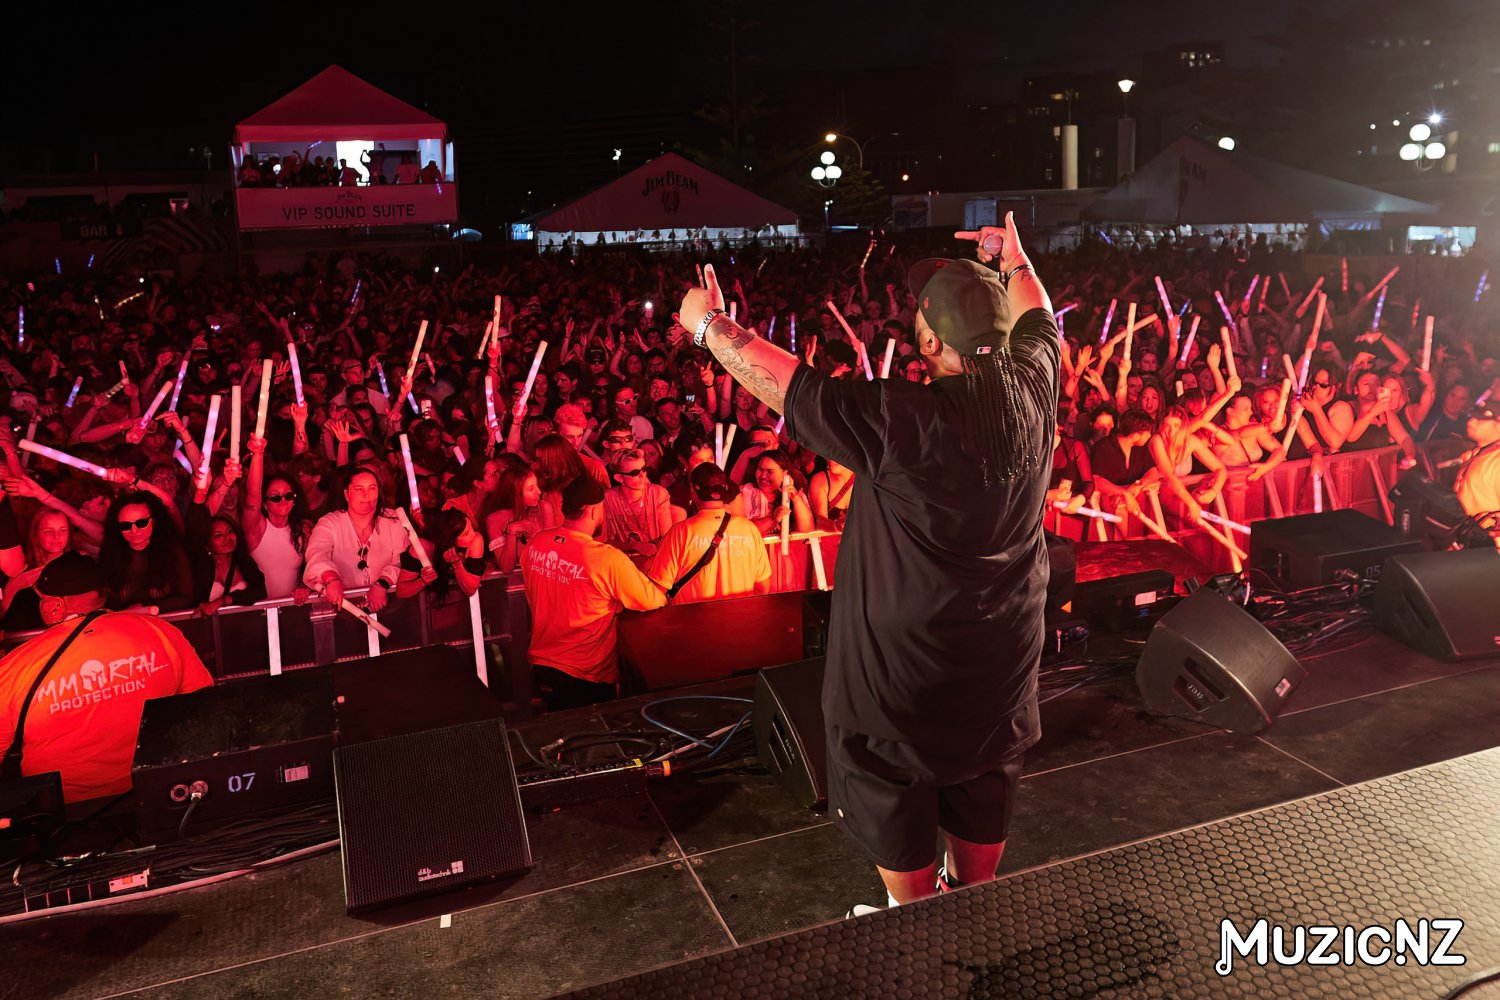
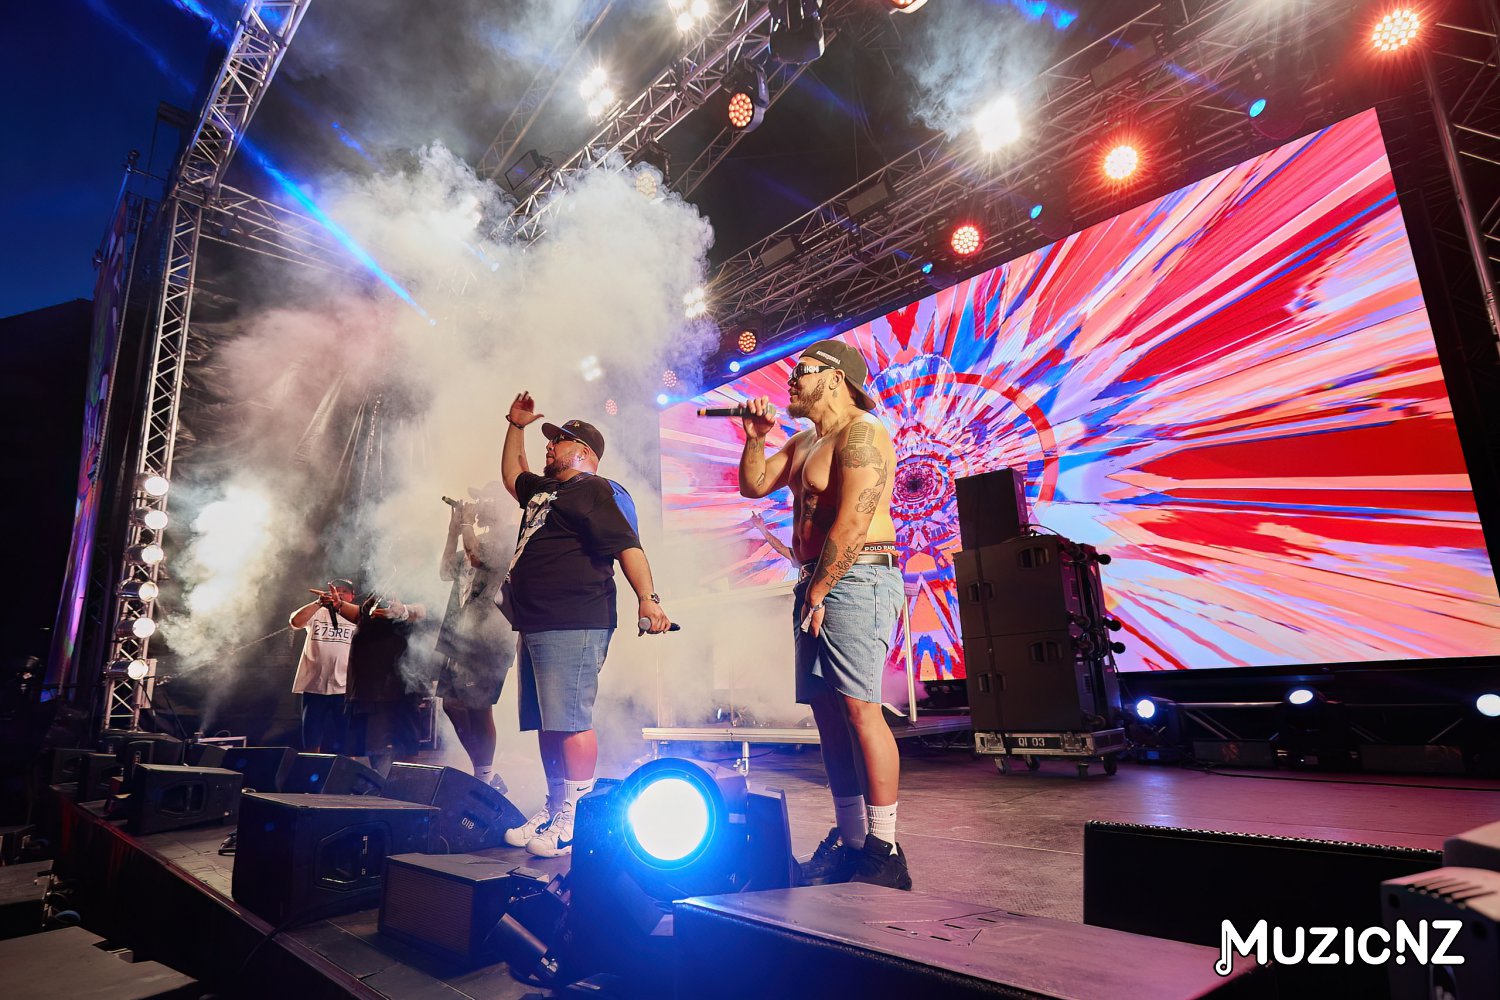
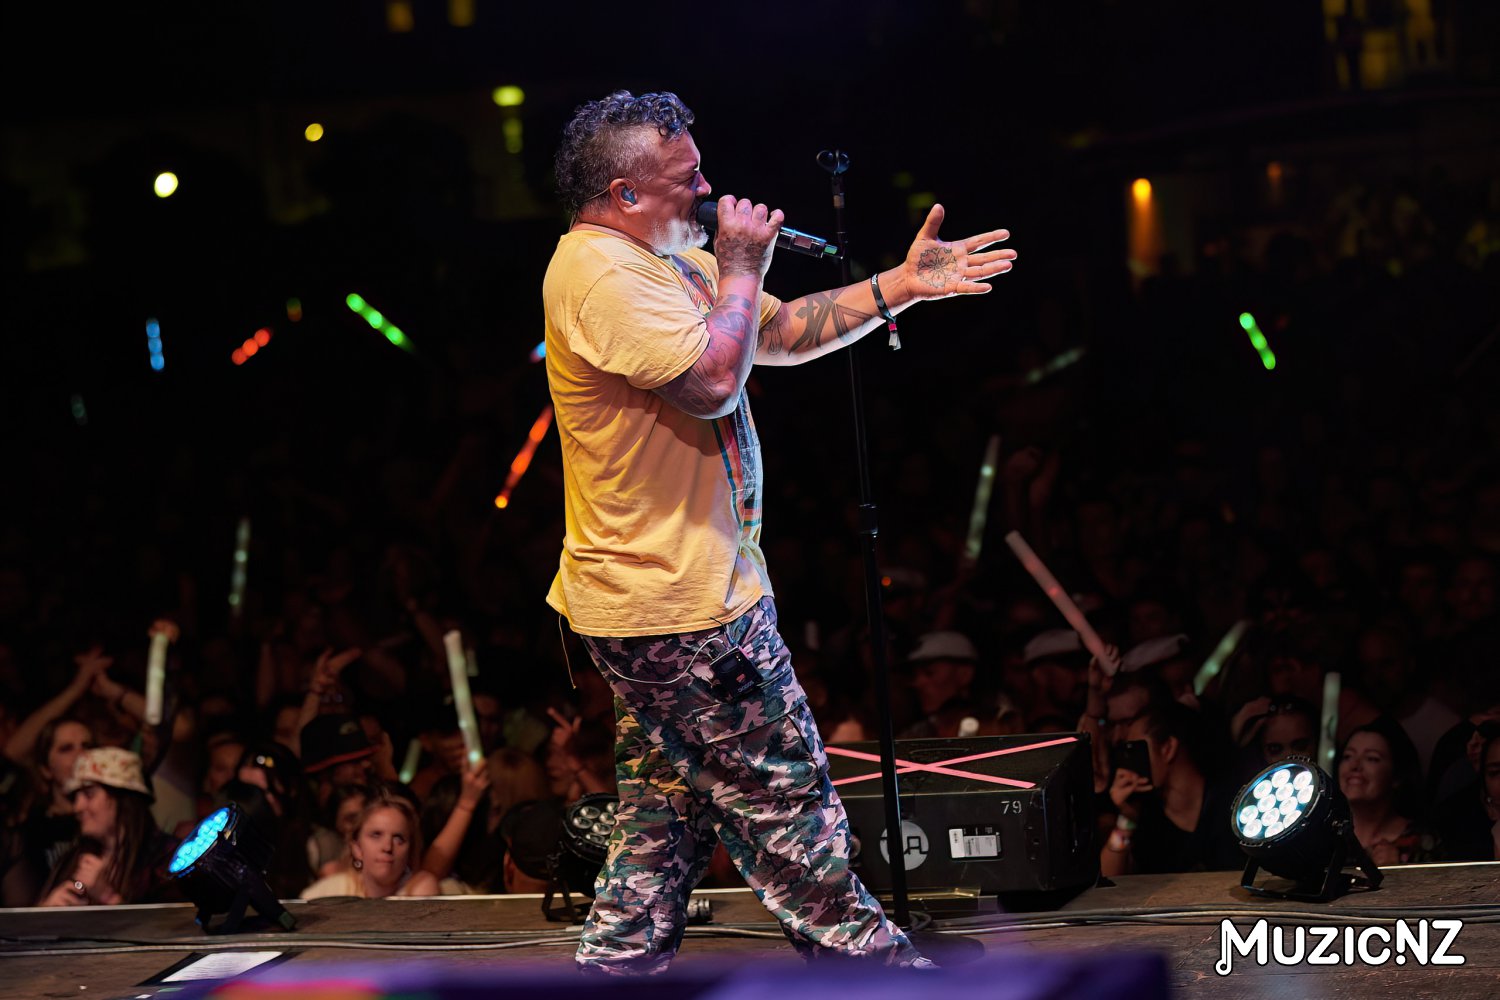
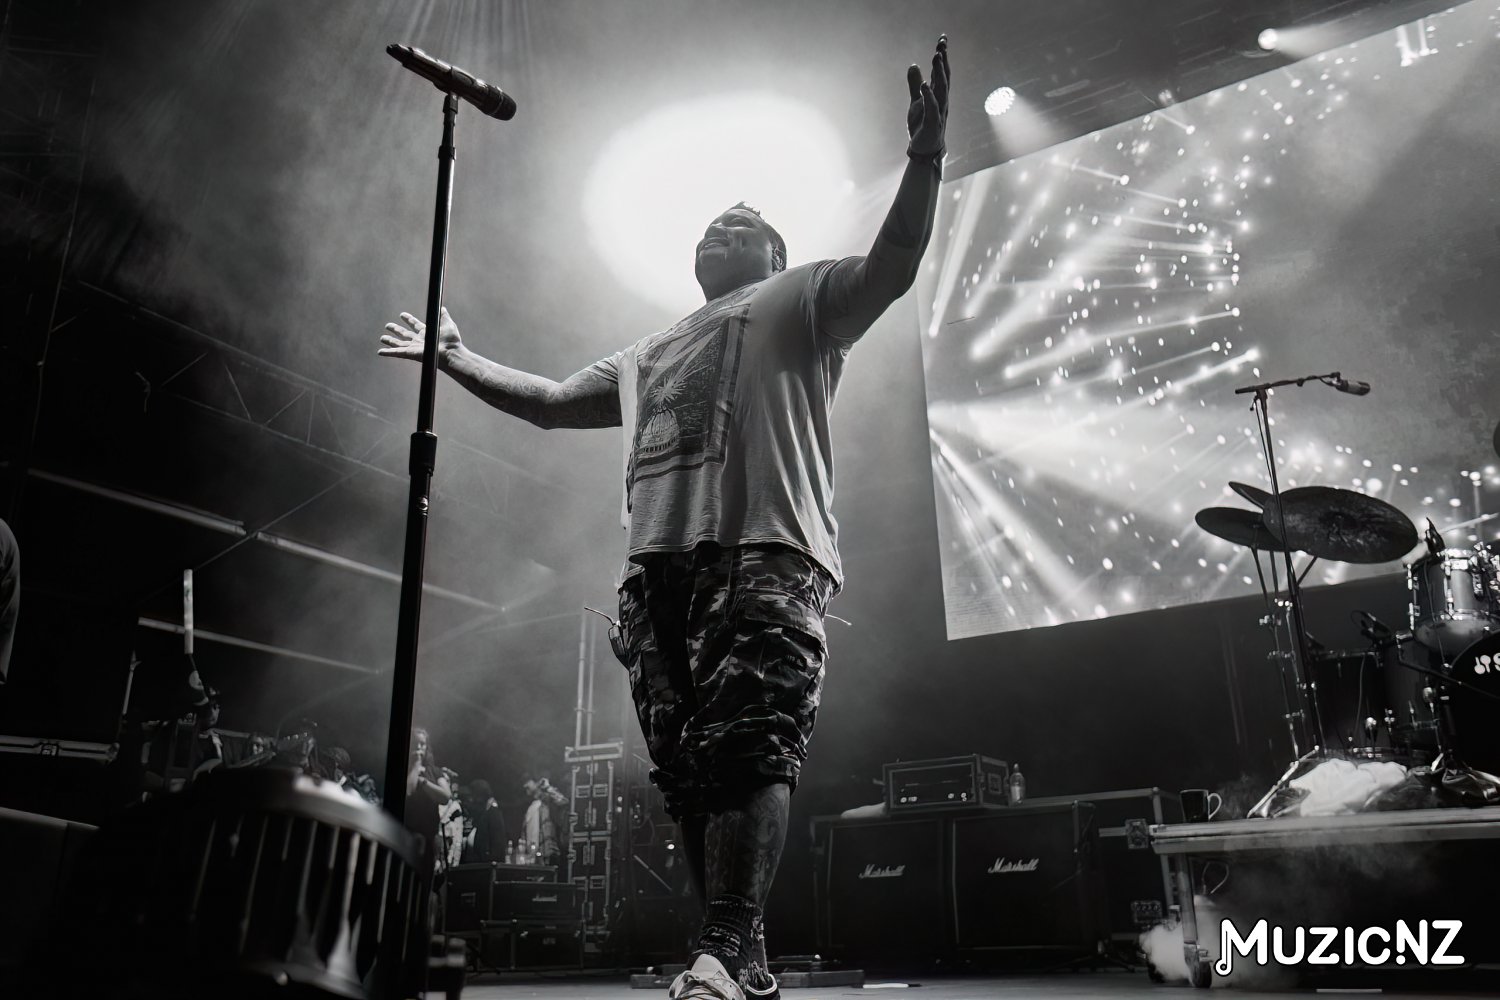
With a stacked line-up of 45 incredible NZ artists, Homegrown 2023 showcased the very best of Kiwi music and provided an unforgettable experience for the 23,000 attendees who were lucky enough to be at the sold-out event.
Held along Wellington's stunning waterfront, offering breathtaking views of the harbour and the city skyline, you really cannot beat Wellington on a good day.
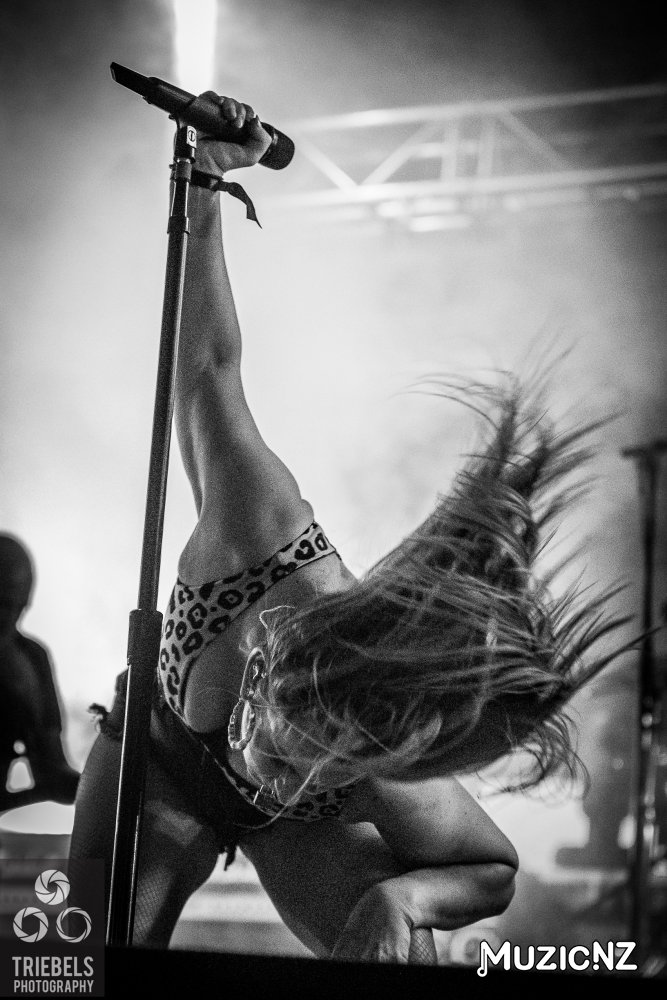
Many thanks to Bevan Triebels and Reef Reid for these photos.


Most Viewed Artists
NZ Top 10 Singles
- APT.
ROSÉ And Bruno Mars - DIE WITH A SMILE
Lady Gaga And Bruno Mars - BIRDS OF A FEATHER
Billie Eilish - TASTE
Sabrina Carpenter - I LOVE YOU, I'M SORRY
Gracie Abrams - ESPRESSO
Sabrina Carpenter - SAILOR SONG
Gigi Perez - LOSE CONTROL
Teddy Swims - A BAR SONG (TIPSY)
Shaboozey - GOOD LUCK, BABE!
Chappell Roan
More Content on muzic.net.nz
Google Site Search

Custom Search
100% New Zealand Music
All content on this website is copyright to muzic.net.nz and other respective rights holders. Redistribution of any material presented here without permission is prohibited.
 Report A Problem


